
Last updated November 18, 2026
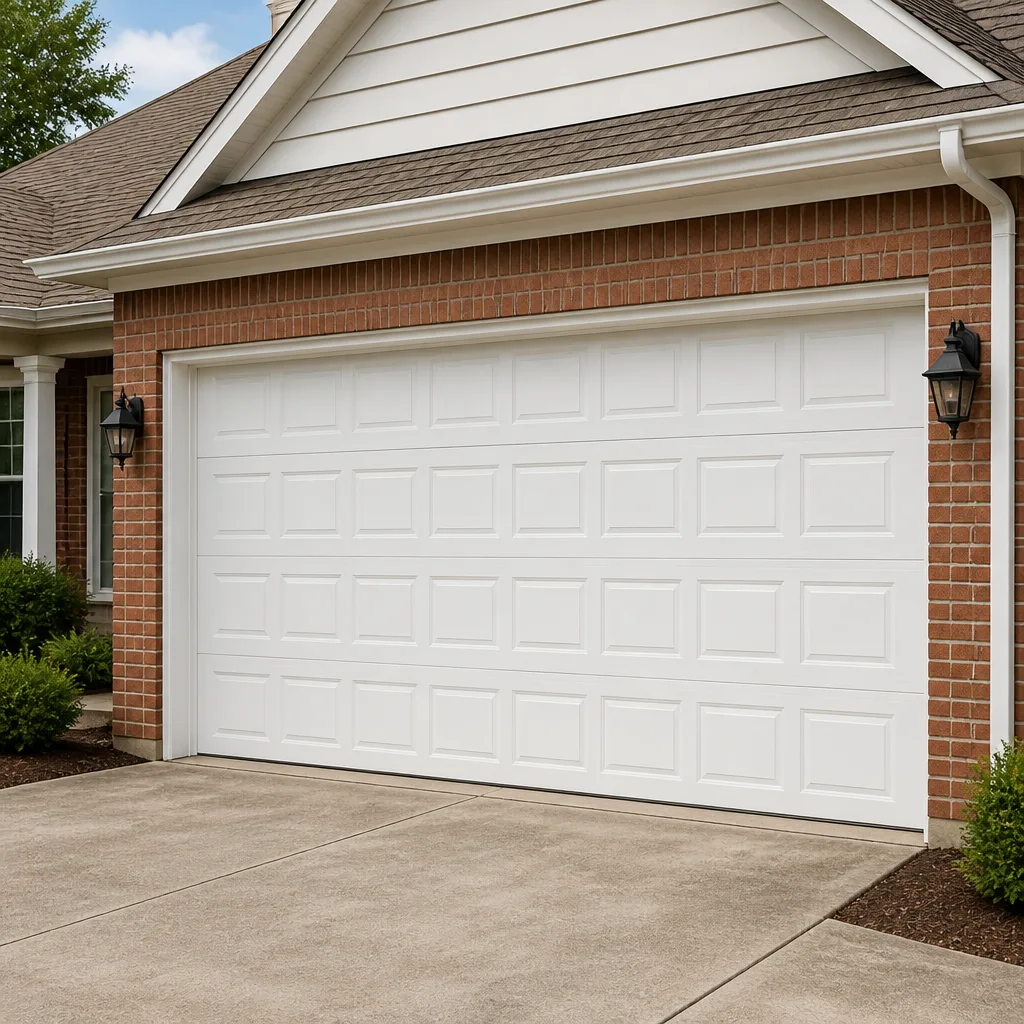 Raised-panel steel
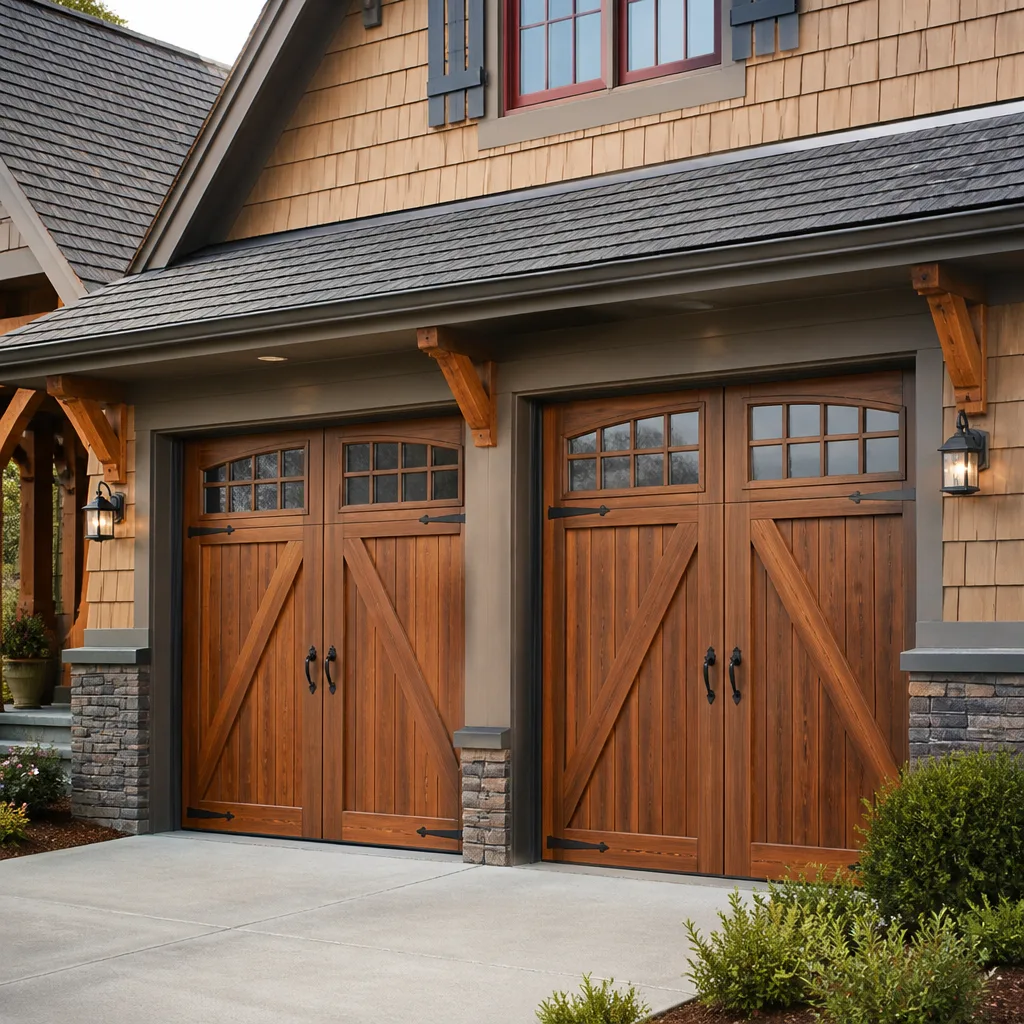 Carriage house
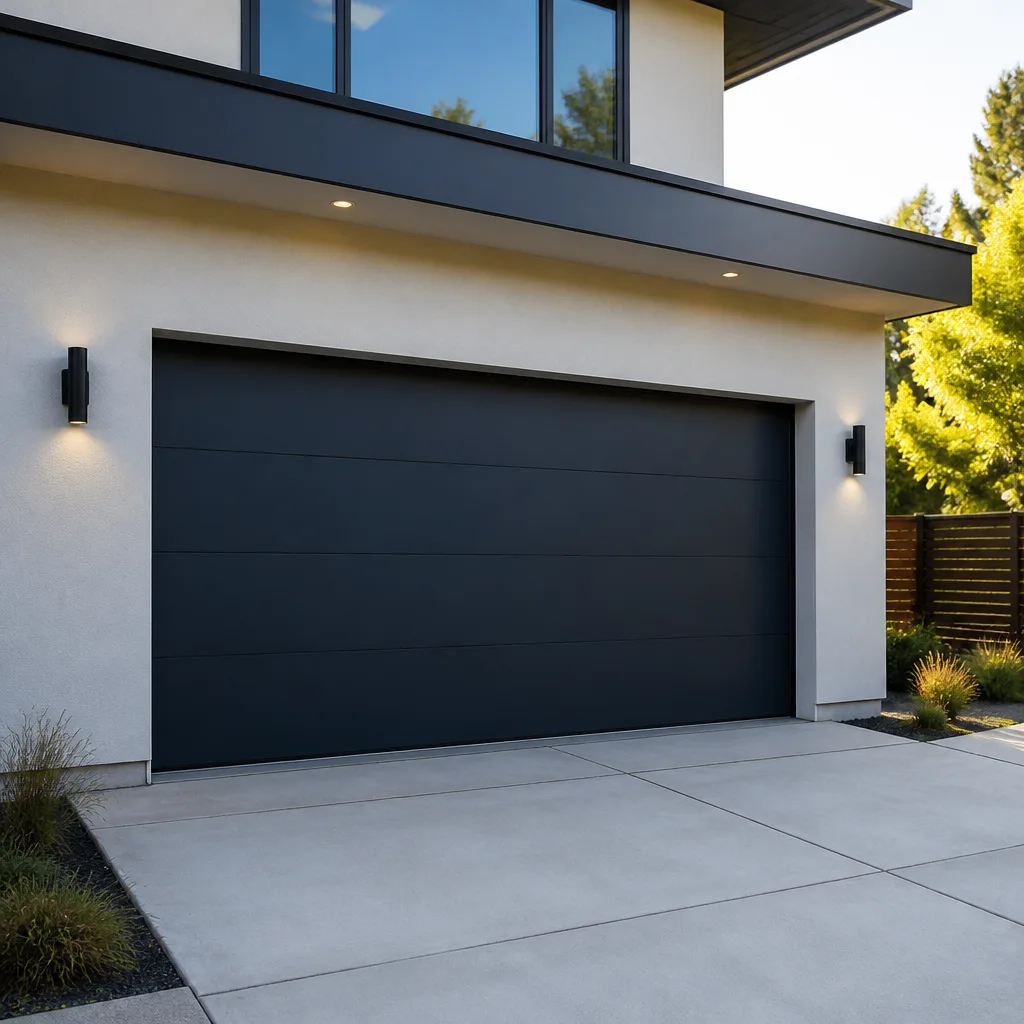 Modern flush
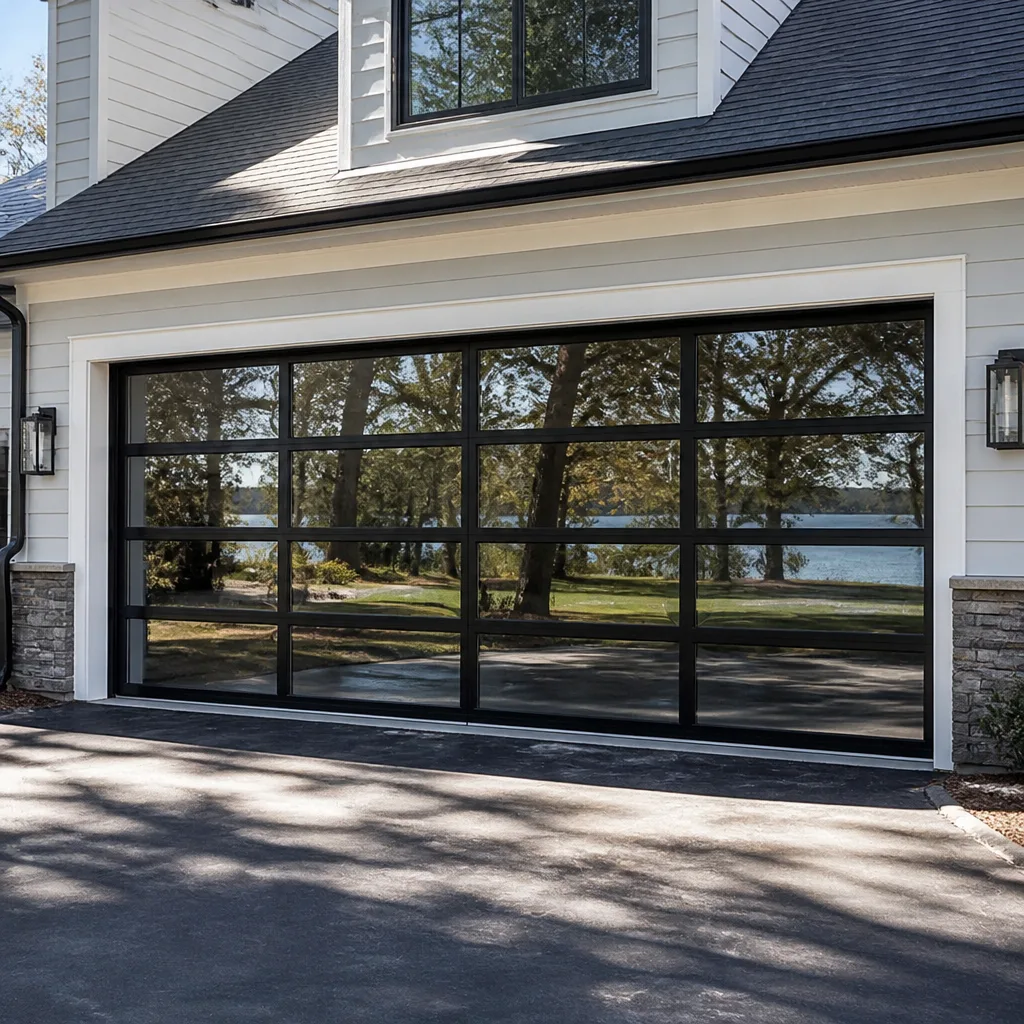 Full-view glass
 LiftMaster openers
 Chamberlain openers
Full 25-point door and opener safety check with every visit - springs, cables, rollers, tracks, and your LiftMaster or Chamberlain opener included
You get a price before we start. It does not change when the pro arrives.
Get your free estimateGarage Door Opener Repair Troubleshooting: Common Problems and How to Fix Them
Of every ten “my opener is broken” service calls we handle, about four turn out to be a photo-eye sensor alignment issue a homeowner could have corrected in three minutes. Two more are dead remote batteries or a tripped wall-switch lockout. Only around four actually require a technician to open a toolbag. The pattern holds in Boulder City as reliably as anywhere else. This guide teaches you to sort your opener problem into one of four categories – power, signal, mechanical, or programming – so you know whether you’re facing a five-minute fix or a call to a pro.
Quick Answer
Most garage door opener problems fall into four categories: power (dead outlet, tripped breaker, blown internal fuse), signal (remote, keypad, wall button, or Wi-Fi module failing to communicate), mechanical (trolley carriage, drive gear, rail, or motor), and programming (limit switches, force settings, travel range). A door that won’t respond to the remote at all is usually a signal problem; a door that runs but doesn’t move points to a broken trolley carriage. Diagnosing the right category first prevents the most expensive mistake homeowners make: replacing an opener when a $12 sensor or logic board adjustment was the whole problem.
Styles & brands we work with
- Raised-panel steel
- Carriage house
- Modern flush
- Full-view glass
- LiftMaster openers
- Chamberlain openers
Table of Contents
- The Four Categories of Opener Trouble
- Category 1: Power Problems
- Category 2: Signal Problems
- Category 3: Mechanical Problems
- Category 4: Programming Problems
- The Photo-Eye Sensor: The 4-Minute Fix
- Force Settings and the Door That Reverses
- Common Mistakes to Avoid
The Four Categories of Opener Trouble
Every symptom you can describe about your opener points to one of four systems. Sorting your problem into its category takes about 90 seconds and tells you whether a technician is even needed. Here’s the framework we use on service calls in Boulder City.
- Power – the opener isn’t getting electricity. Nothing lights up, nothing moves, no sound.
- Signal – the opener has power but isn’t receiving your command. Wall button works but remote doesn’t, or vice versa.
- Mechanical – the motor runs but the door doesn’t move, moves jerkily, or makes grinding or popping sounds.
- Programming – everything works but the door reverses early, doesn’t close fully, or stops in the wrong place.
A Craftsman or LiftMaster unit that’s completely silent has a power problem. A Chamberlain that beeps but won’t move has a signal or programming issue. A Raynor that runs but the door won’t lift is mechanical. These are not the same repair, and a technician who guesses wrong can cost you hundreds. If opener repairs keep stacking up alongside other issues, it may be time to look at Garage Door Repair in Boulder City as a broader assessment before investing in piecemeal fixes.
Category 1: Power Problems
Before you assume the opener itself has failed, rule out the wall it plugs into. In our experience, roughly one in five “dead opener” calls is an outlet or circuit issue.
- Check the outlet. Openers plug into a standard 110V outlet in the ceiling, usually near the motor head. Unplug the opener and plug in a lamp or phone charger. If nothing powers on, the outlet is the problem, not the opener.
- Check the breaker panel. A tripped breaker feeding the garage ceiling kills the opener silently. Flip it fully off, then on. If it trips again immediately, stop and call an electrician – that’s a wiring fault, not an opener problem.
- Check the internal fuse. Some opener models, particularly older Genie and Craftsman units, use a small glass or blade fuse on the logic board. A lightning strike or power surge in a summer monsoon can blow it. If the fuse is visibly black, it’s gone. Many homeowners miss this step entirely.
- Check the manual release. If someone pulled the emergency release rope, the opener will behave like it has no load. Re-engage the trolley carriage by lifting the door arm and letting the carriage click into the rail.
Boulder City sits on the grid that feeds the Hoover Dam area, and storms rolling off the McCullough Range produce enough power flickers to shorten the life of opener logic boards over time. If you’ve had a recent outage and your opener is dead, an internal fuse or surge-damaged board is a real possibility worth ruling out before you spend money on a replacement.
Category 2: Signal Problems
Signal problems are the most misdiagnosed category. The opener has power, but it doesn’t obey your commands – or obeys some of them and ignores others.
The wall-button lockout nobody knows about
This one fools a lot of people. On many LiftMaster and Chamberlain models, pressing and holding the wall control button for five to six seconds activates a lockout mode that disables every remote and keypad. The opener will still open and close from the wall button, but no remote will work. A homeowner sees a “dead” remote, replaces the battery, replaces the remote, and still nothing. What actually happened: someone inadvertently leaned on the wall button, or a child pressed it playing around. Press and hold the wall button again for the same five seconds to unlock. It’s a vacation lock feature, and it looks exactly like a failed logic board until you know it exists.
Other signal issues to rule out
- Dead remote battery. Swap the coin cell; test at the wall button first to confirm the opener itself listens.
- Rolling-code mismatch. After a power outage, some remotes need to be re-paired to the opener’s memory. The manual for your model has the pairing sequence.
- Wi-Fi module disconnection. If your opener has a smart hub, a router reboot or a firmware update can log it out. Reconnect through the app on your phone.
- Keypad lockout. Some outdoor keypads have their own internal lockout. Enter the master code followed by the lock toggle command in the manual.
- Interference. Rare, but a nearby device transmitting on the same frequency can jam a remote. Try the remote from inside the garage, close to the opener. If it works there but not from the driveway, you may have a signal strength issue.
If none of this resolves it, the problem is likely a failed receiver board or antenna connection. A trained technician can test the receiver circuit without replacing the whole opener. For related electrical troubleshooting, see our Garage Door Spring Repair in Boulder City page, where we cover how mechanical wear and opener stress often show up together.
Category 3: Mechanical Problems
The motor runs, the light comes on, you hear something happening – but the door doesn’t move, moves unevenly, or makes a grinding sound. That’s mechanical.
The trolley carriage
The trolley carriage is the part that rides along the rail above your door and connects the opener arm to the door itself. It has a small clip that can break from age or a slammed door. When that clip fails, the opener runs perfectly – the motor spins, the belt or chain turns – but nothing pulls the door. And here’s the diagnostic: if the opener runs with no resistance at all, the carriage clip is the likely culprit. A broken clip is a common failure on Chamberlain and Craftsman units using belt drive.
On most models, replacing the carriage clip is a DIY-safe fix. The part is inexpensive, the replacement is a physical clip-on, and you’re not touching a spring, cable, or high-tension component. If the trolley carriage itself has to be replaced rather than the clip, or if the door arm is bent, we’d recommend a technician because the alignment has to be exact or the door will bind.
When you need a professional
- Grinding noise from the motor head. The drive gear inside the opener has stripped. This requires opening the unit, and the gear is plastic on many models. Not a safe homeowner repair.
- Door binds and stops mid-travel. This could be a mechanical issue with the opener, but it could also be a failing spring, cable, or track alignment. Do not attempt to adjust or replace torsion springs or the cables attached to them yourself. These components hold the full weight of the door under extreme tension and can cause serious injury or death if a fastener slips or a cable snaps. Only a trained professional should service them.
- Motor hums but doesn’t turn. Failed capacitor or seized motor. A technician can diagnose the difference in minutes.
Boulder City’s dry climate slows corrosion on steel components compared to coastal areas, but the same dry air causes wood framing around older doors to shrink and shift, throwing rails out of alignment. That’s a common cause of binding we see locally.
Category 4: Programming Problems
If the opener responds but does the wrong thing – reverses before touching the floor, opens only halfway, or stops unpredictably – you have a programming or calibration issue.
Limit switches
Limit switches tell the opener how far to travel in each direction. They’re usually a screw or pair of screws near the motor head, often labeled “Open” and “Close” (or “Up” and “Down”). If they’ve drifted – from a bump, from a power surge, or from normal vibration – the opener will stop short or travel too far. A small quarter-turn on the adjustment screw is usually enough, and this is a safe homeowner adjustment.
Force settings
The force setting controls how hard the opener pushes. Too much force and it can crush or damage the door or a person; too little and the door reverses immediately while closing. See the dedicated section below for how to test and adjust this safely.
Travel range on digital units
Newer LiftMaster and Chamberlain units use a digital travel calibration rather than physical limit switches. When the unit loses calibration – after a power cut, for instance – it needs to be re-limited by running the open-set-close-set sequence in the manual. We do this often on units that lost programming during a summer storm.
The Photo-Eye Sensor: The 4-Minute Fix
The photo-eye sensor is the pair of small units mounted about six inches off the floor on each side of the door opening. One unit sends an infrared beam; the other receives it. If the beam is broken, misaligned, or the lenses are dirty, the opener will refuse to close the door, and it may beep or flash its ceiling-mounted light in protest.
What the LED colors mean
On LiftMaster and Chamberlain units, the sending eye typically shows a solid amber or orange LED. The receiving eye shows a solid green LED when the beam is intact. A flashing green on the receiving eye means it’s not seeing the beam. On Genie and Craftsman models the colors vary – check the manual, but a solid light on both units is your goal.
The dollar-bill alignment test
- Close the door and stand at the opening.
- Hold a dollar bill vertically between the two sensor units, in the beam path, and slowly slide it down.
- Watch the receiving eye’s LED. If it flickers from green (or solid) to flashing as you pass the bill through, the beam is intact. If it stays flashing the entire time, the sensors aren’t aligned or one has failed.
- Loosen the bracket holding each sensor and nudge them until both LEDs are solid and steady. Tighten gently – overtightening can throw alignment off again.
- Clean both lenses with a dry cloth. Dust and cobwebs are the entire problem more often than you’d think.
In Boulder City, the desert dust that settles on garage floors can build up on sensor lenses faster than most homeowners expect. If your sensor failure happens every spring and fall, set a twice-a-year cleaning routine and you’ll solve a lot of “my door won’t close” headaches before they start.
Force Settings and the Door That Reverses
When the door closes partway and then reverses, the culprit is almost never a failed motor. It’s the force setting or the sensor mechanism doing its job. The opener is designed to reverse when it meets resistance – that’s a safety feature protecting kids, pets, and anything left in the door’s path.
Here’s the priority order to check:
- Sensor first. Run the dollar-bill test. Misalignment, dirt, or a sunset glare hitting the receiving eye can all trigger false trips. On a west-facing door in Boulder City, afternoon sun in the eye can trip the sensor repeatedly in the late afternoon.
- Force setting second. If the sensors pass, look at the force dial or digital setting. On analog units it’s a small numbered dial on the motor housing; force up means the opener pushes harder before reversing. Increase it in small steps. On digital units, follow the force-set procedure in your manual.
- Obstruction third. A track misalignment, a rolling up of a bottom seal, or a cracked door panel can all create the resistance the opener reads as an obstacle. Inspect the door by hand with the opener disconnected – lift it manually. If it’s hard to lift, that’s the real problem.
- Limit switch fourth. If the door reverses because it thinks it’s hit the floor too early, the close-limit switch has drifted. Adjust only a quarter turn at a time.
If the force setting has been nudged repeatedly to compensate for something else, the real fix is often replacing worn door components. Our Garage Door Installation in Boulder City team regularly finds doors with warped panels or worn hinges causing false reverses that the homeowner blamed on the opener for years. A quick inspection of the whole system catches the real cause.
Common Mistakes to Avoid
- Replacing the opener when it’s a sensor or lockout issue. Four out of ten “dead opener” calls are resolved by pressing a wall button, checking a fuse, or aligning a photo-eye. A $400 replacement is a lot to spend on a $12 sensor.
- Adjusting force settings past the safe limit. Some homeowners crank force all the way up to force-closing doors against resistance. That defeats the safety reverse and can injure a person or crush a pet. Force settings exist to be adjusted between a small range, not maxed out.
- Hand-adjusting torsion springs or cables to “help” the opener. This is the most dangerous mistake on the list. High-tension springs and cables can cause serious injury. Never adjust them yourself – only a trained professional should handle these components.
- Ignoring the trolley carriage. If the opener runs and the door doesn’t move, an experienced homeowner would check for a broken carriage clip before assuming a motor failure. It’s the most common “the opener is dead” symptom that isn’t actually the opener.
- Overlooking the wall switch lockout. Press-and-hold on the wall button for 5-6 seconds is a vacation lock, and it makes every remote in the house stop working. A dead remote that still lights up is almost always this.
- Skipping the door itself. A door weight of 150-250 lbs on average means even a small track misalignment translates into significant resistance on the opener. Boulder City’s dry air causes wood door framing to shrink, which throws track alignment off. Checking the door manually catches problems an opener adjustment won’t fix.
- Calling a general handyman for opener wiring. A licensed, insured technician should always handle electrical work inside the opener housing. Untrained attempts at re-wiring opener circuits are a shock and fire hazard.
See the difference
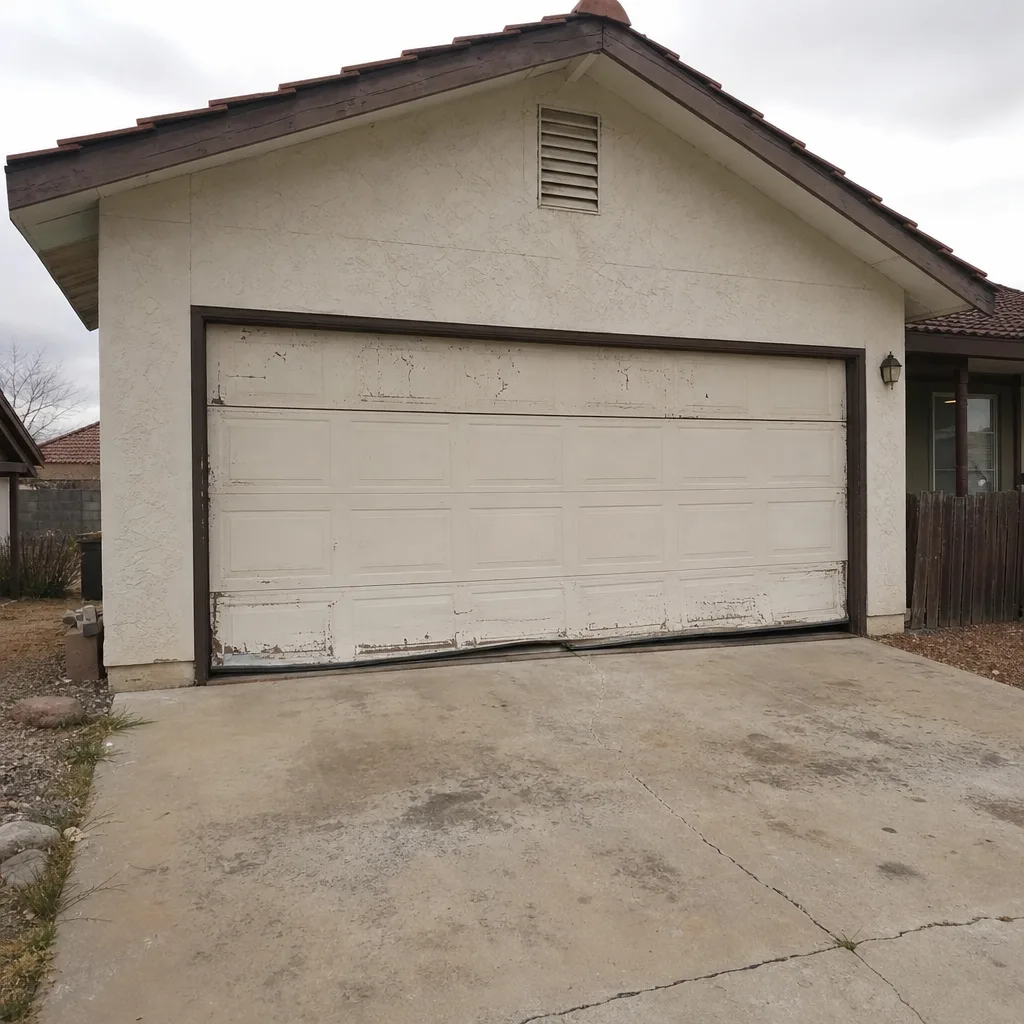 Before
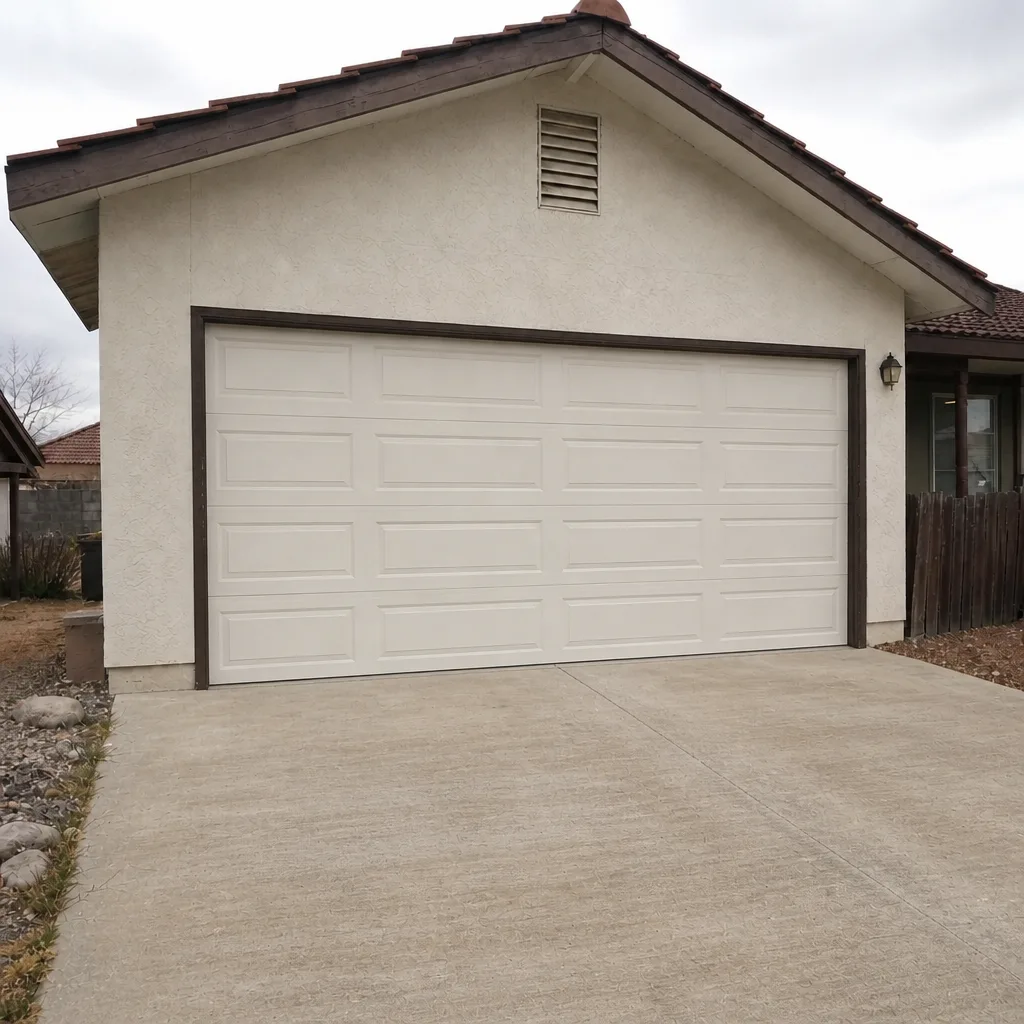 After
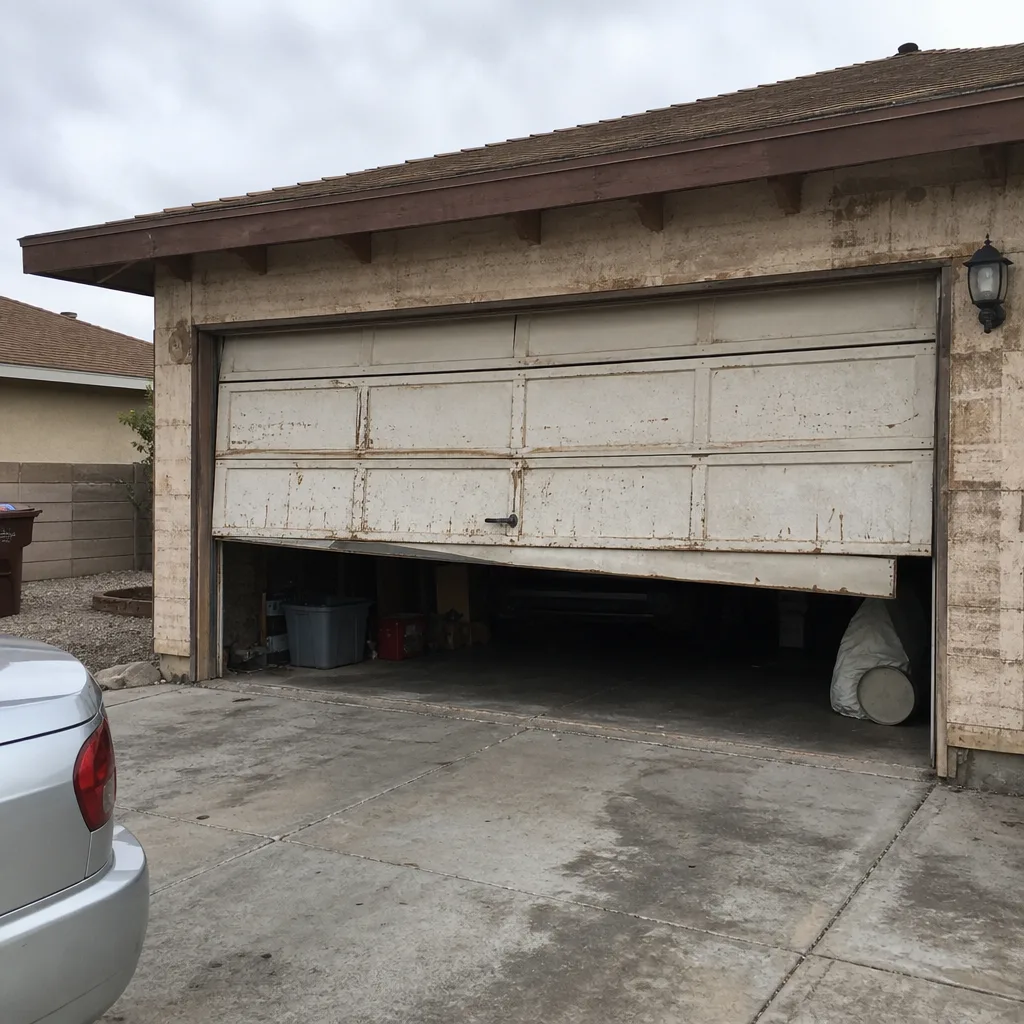 Before
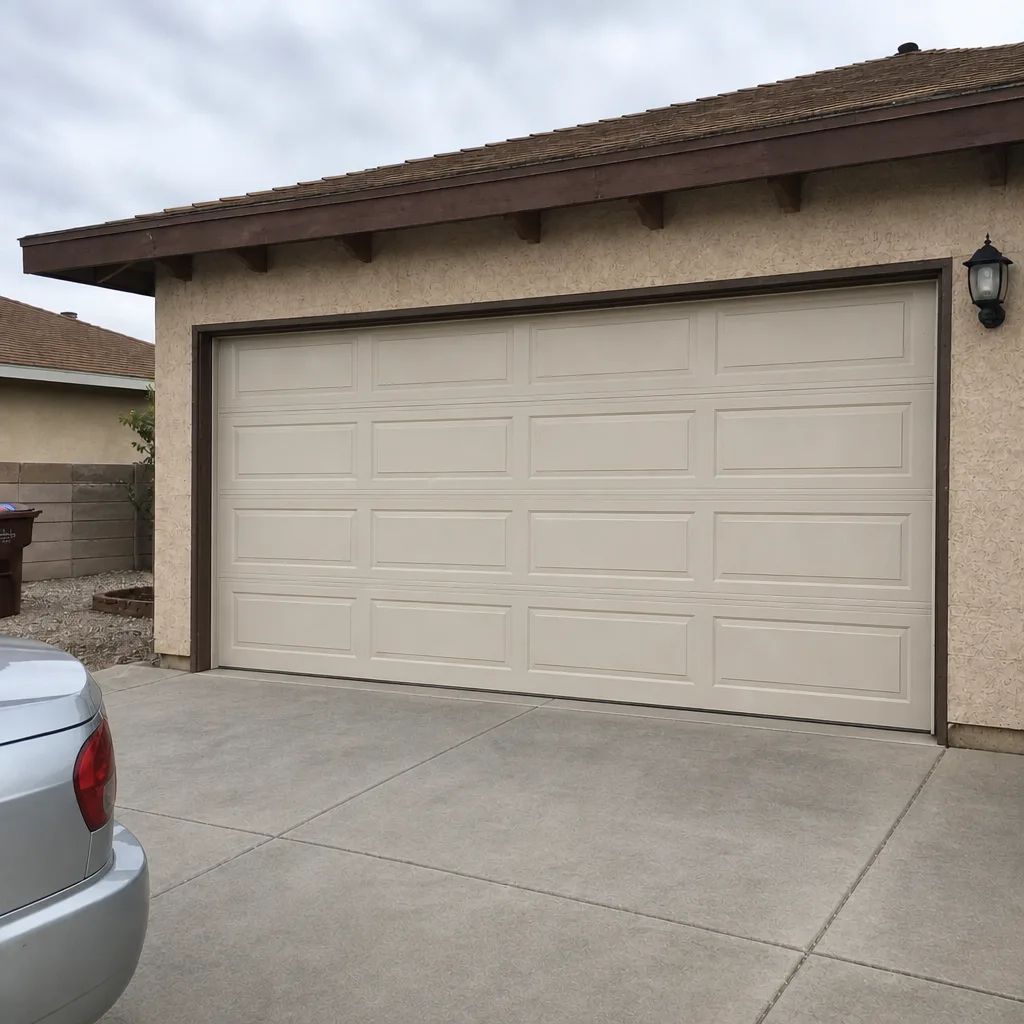 After
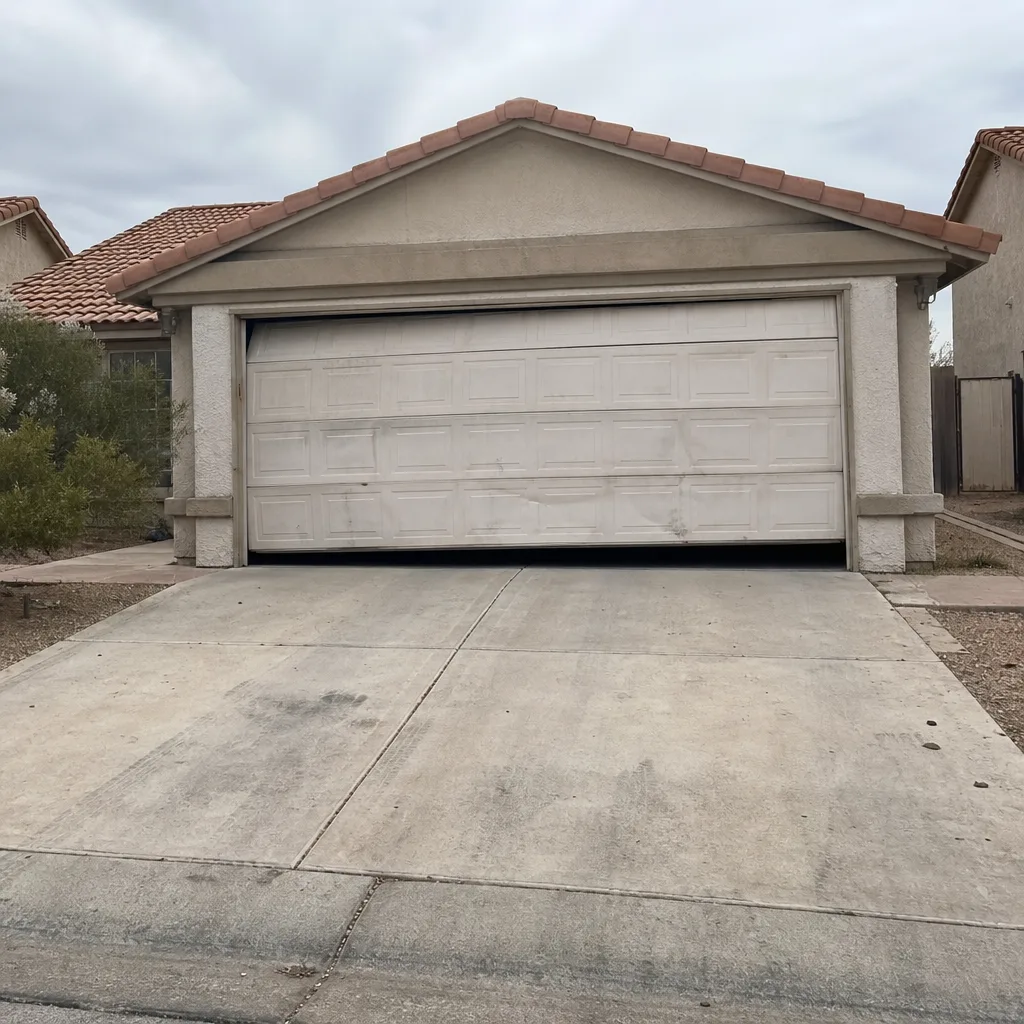 Before
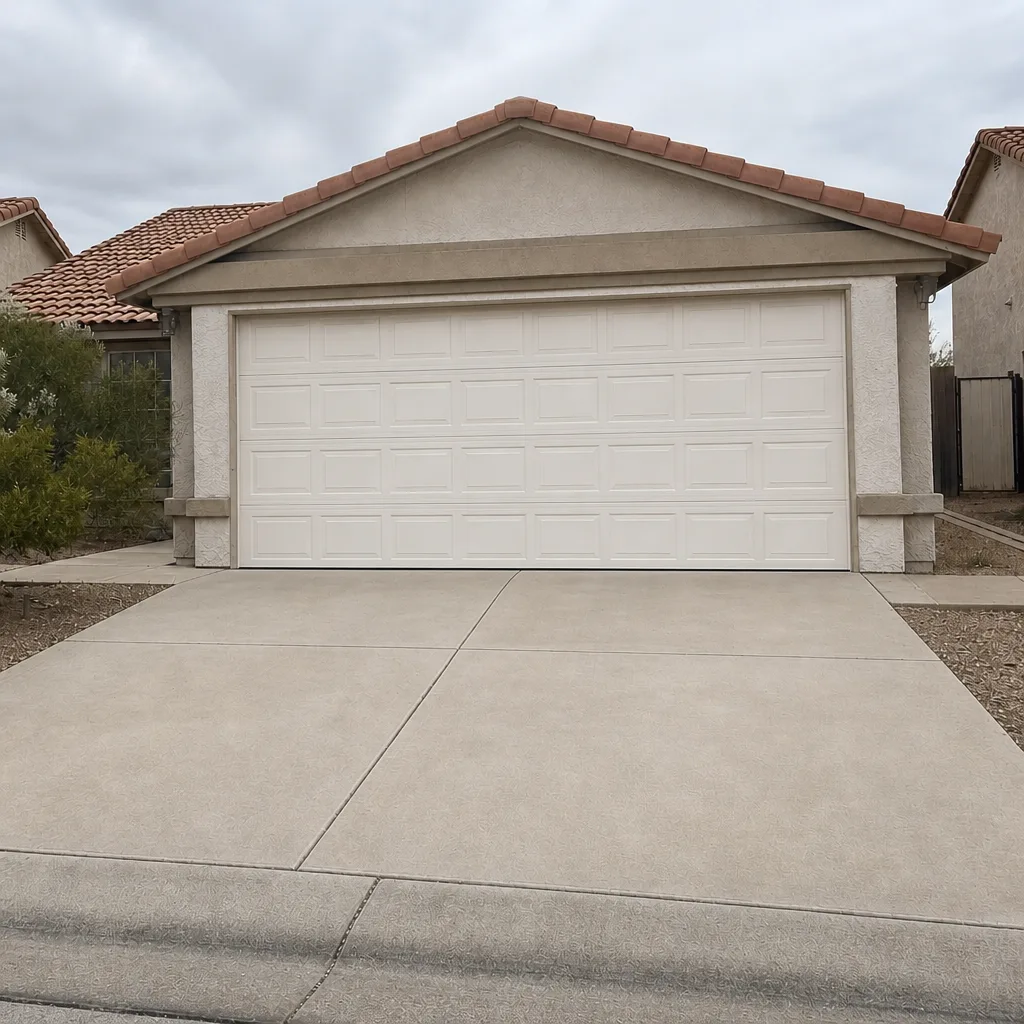 After
When to Call a Professional
Call a professional when: the opener requires opening the motor housing, the door isn’t moving on its own, you hear grinding from the drive gear, force-setting changes haven’t solved a reversing door after two attempts, the limit switches won’t hold adjustment, or you suspect a failing torsion spring or cable. Also call if your opener is older than about 12-15 years – repair versus replace becomes a real question at that age, and a trained eye can tell you which makes financial sense.
Bramwell Garage Door Repair Boulder City provides free estimates in Boulder City. A live person answers the phone 24 hours a day, 7 days a week, including nights, weekends, and holidays. Every repair comes with a written price before any work starts, a real arrival window, a clean job site, and a written guarantee. Our technicians have up to 25 years of experience and are authorized to service all major brands, including LiftMaster, Chamberlain, Genie, Craftsman, and Raynor.
Call (844) 560-4479 for a free estimate. The 365-Day Done Right Promise means if a covered repair fails within the guarantee period, we come back and fix it at no charge, in writing – not just said at the door.
Frequently Asked Questions
The trolley carriage clip is almost always the cause. The carriage is the piece that rides along the rail and connects the opener to the door; its clip can snap with age or after a hard slam. On most models, you’ll hear the motor spin cleanly with zero resistance and no load. The clip itself is a low-cost replacement and is a DIY-safe repair on most LiftMaster and Chamberlain units. Call (844) 560-4479 if you’d like us to check the carriage and the door arm alignment together – estimates are free.
You’ve almost certainly activated the wall-button lockout, a feature on many LiftMaster and Chamberlain openers. Press and hold the wall button for 5-6 seconds; that toggles lockout on and off. The wall button still works because it’s hardwired, while the remotes are locked out at the receiver. If holding the button for 5-6 seconds doesn’t unlock the remotes, the issue may be a rolling-code pairing failure or a failed receiver – call (844) 560-4479 for diagnosis.
In almost every case, it’s a sensor or force-setting issue rather than a motor failure. Start with the photo-eye: check that both eyes are clean, the receiving eye LED is solid (not flashing), and the beam isn’t blocked by a spiderweb or a basketball. If the sensors pass, the force setting may be too low. On a west-facing door in Boulder City, afternoon sun can blind the receiving eye – a small sun shade over the sensor or a slight bracket adjustment fixes that. Call (844) 560-4479 if you’d like a technician to test both in one visit; estimates are free.
Most opener repairs in Boulder City run $95-$250 for a diagnostic and repair, with sensor and remote issues at the low end and carriage or logic-board work at the high end. A full opener replacement typically runs $350-$650 parts and labor included depending on the model. Bramwell Garage Door Repair Boulder City gives you a written price before any work starts, so the number on the invoice matches the number you heard. Call (844) 560-4479 for a free estimate and exact pricing on your specific opener.
In most cases, yes. Opener problems are the kind of thing we can often handle same day in Boulder City, especially when a car is stuck inside the garage or the door won’t close. Call (844) 560-4479 – a live person answers 24 hours a day, 7 days a week, including nights, weekends, and holidays. We’ll give you a real arrival window, not a vague afternoon guess, and if the problem turns out to be something a remote battery or a lockout fixes, we’ll tell you on the phone before sending a technician.
Yes. Bramwell technicians are background-checked, arrive in uniform within a stated arrival window, and every repair is backed in writing by the 365-Day Done Right Promise. If a covered repair fails within the guarantee period, we come back and fix it at no charge. Our technicians have up to 25 years of experience and are authorized to service all major brands, including Craftsman, Raynor, LiftMaster, Chamberlain, Genie, Clopay, Amarr, and Wayne Dalton. Each Bramwell location is independently owned and operated and has agreed to work to the same Kingswell standards – the written price, the real arrival window, the clean job site, and the written guarantee – on every job.
The Bottom Line
Garage door opener troubleshooting gets dramatically faster once you know which of the four categories – power, signal, mechanical, or programming – your symptom belongs to. A dead opener is often a tripped breaker or blown fuse. A dead remote is often the wall-button lockout nobody knows exists. A door that runs but doesn’t lift is usually a broken trolley carriage clip. A door that reverses is almost always the photo-eye or force setting, not a motor failure. Handle what’s safe – sensors, remotes, limit switch nudges – and call a pro for high-tension components, internal motor work, or anything involving a spring or cable. In Boulder City, our team at Bramwell sees the same four failure points over and over; the systems tell you what they need if you know where to look.
To see the full range of what our Boulder City team handles, visit the Bramwell Garage Door Repair Boulder City home page. For brand-specific opener service on LiftMaster, Chamberlain, Genie, and Craftsman, we’re ready when you call.
Call (844) 560-4479 for a free estimate. A live person answers 24/7. Every repair comes with a written price before any work starts, a real arrival window, a clean job site, and the Kingswell Guarantee in writing. Our technicians have up to 25 years of experience, and the 365-Day Done Right Promise means if a repair fails within the year, we come back at no charge.
Written by the team at Bramwell Garage Door Repair Boulder City.