
Last updated November 18, 2026
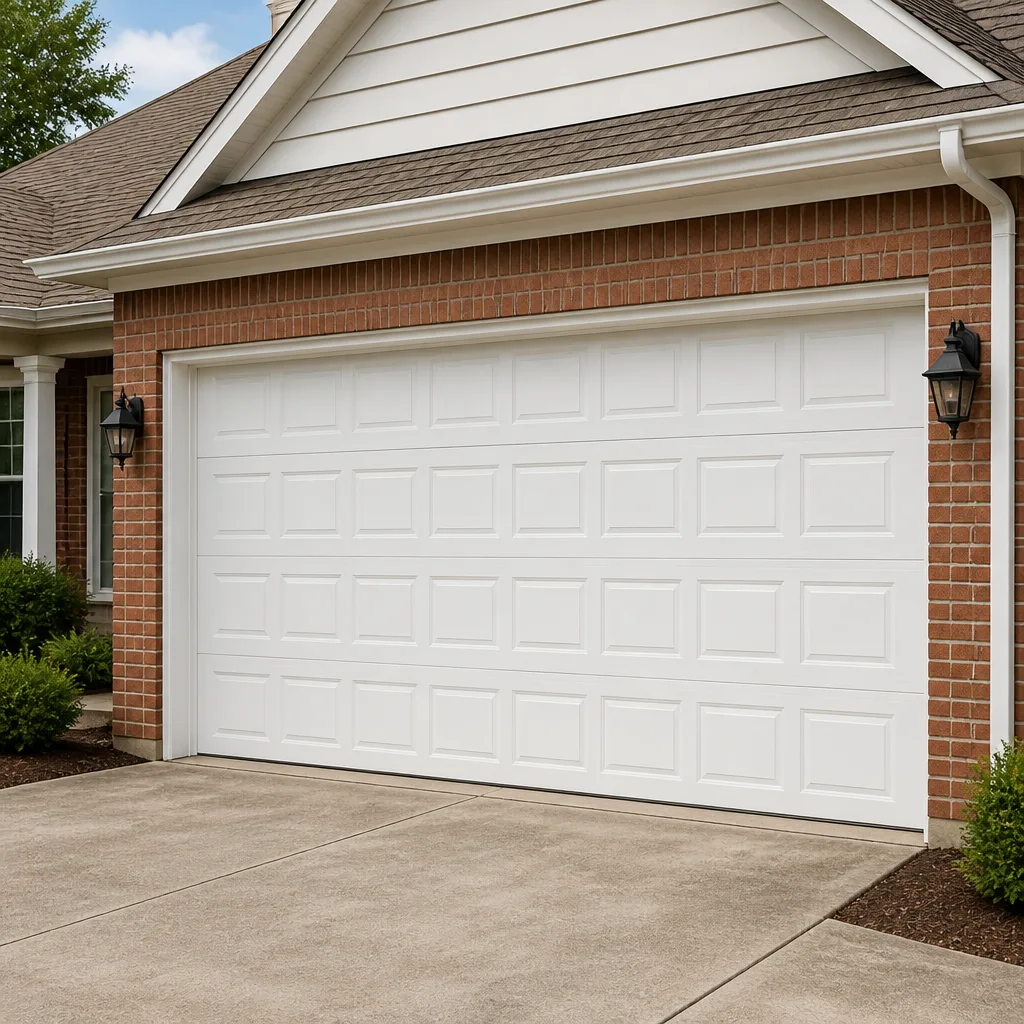 Raised-panel steel
 Carriage house
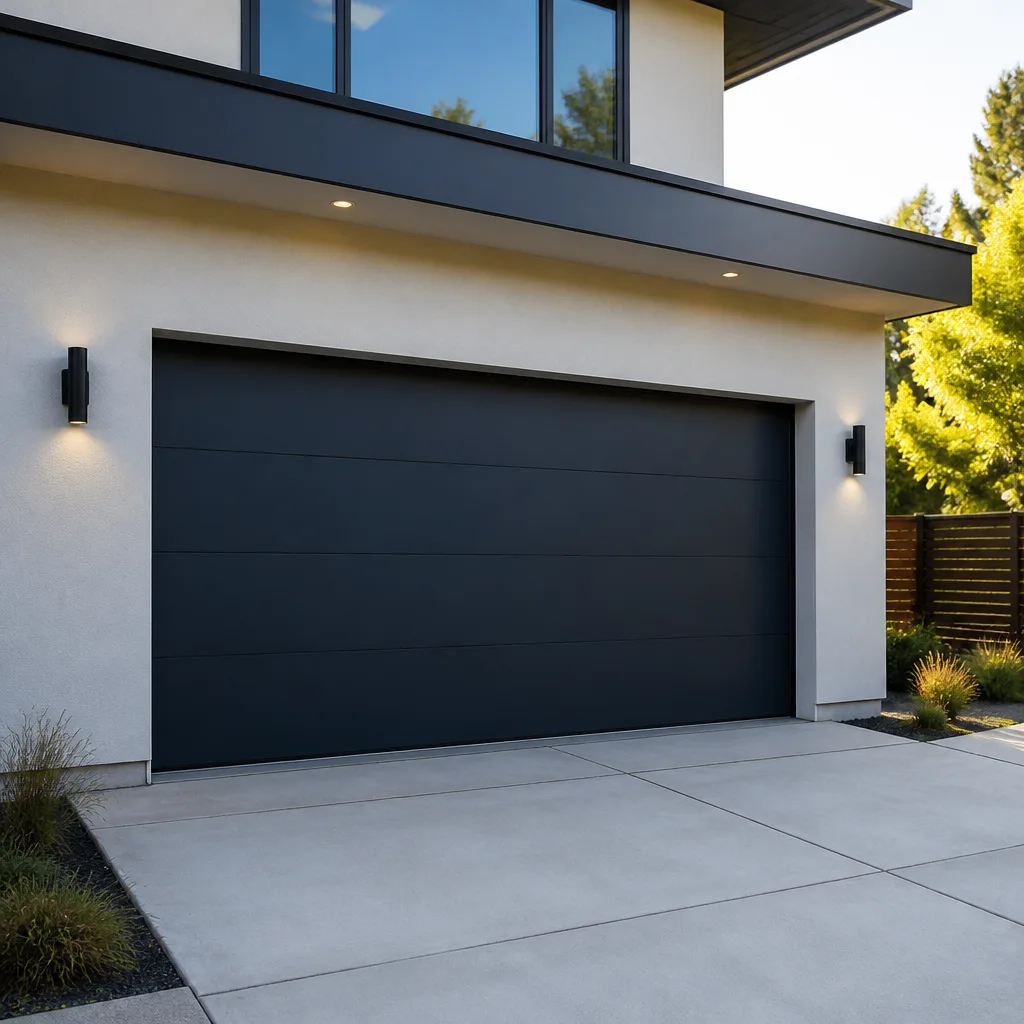 Modern flush
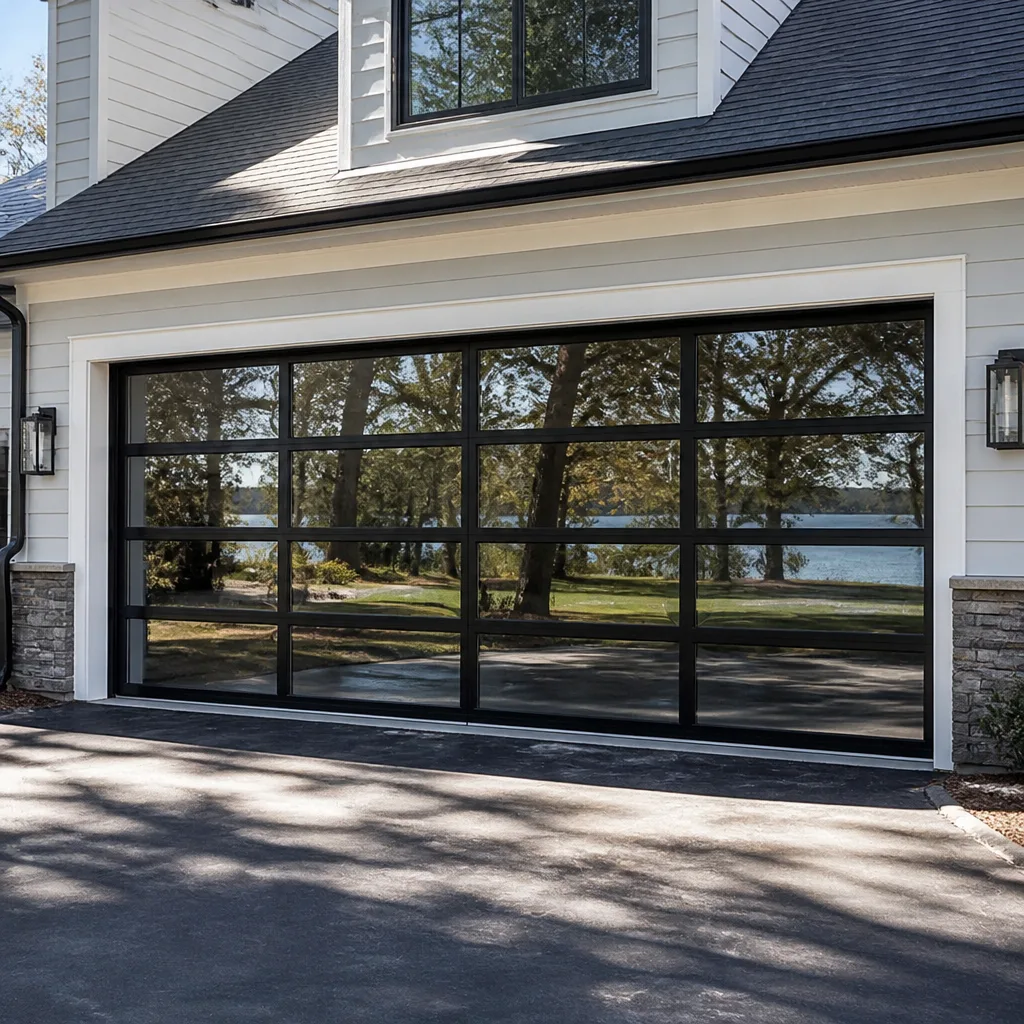 Full-view glass
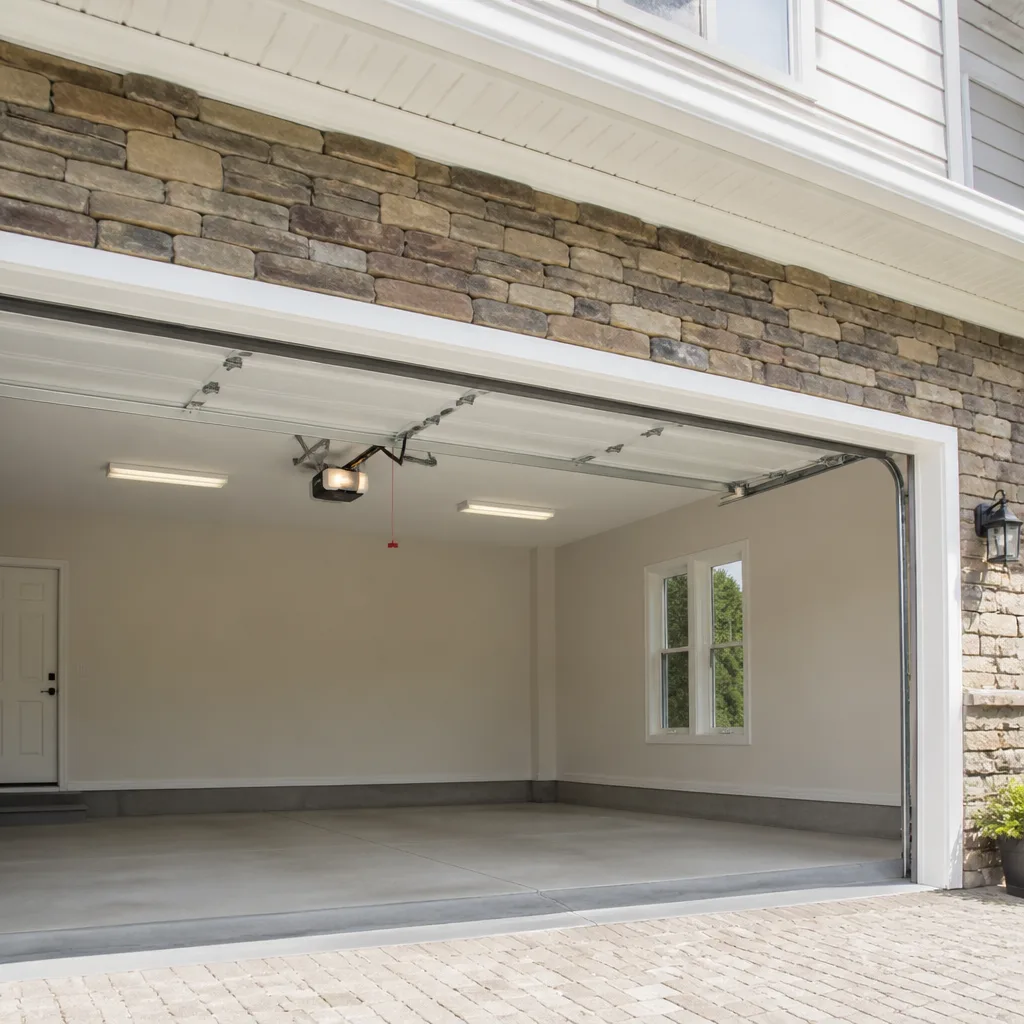 LiftMaster openers
 Chamberlain openers
Full 25-point door and opener safety check with every visit - springs, cables, rollers, tracks, and your LiftMaster or Chamberlain opener included
You get a price before we start. It does not change when the pro arrives.
Get your free estimateGarage Door Opener Repair Maintenance Schedule: What to Do and When
The average garage door opens and closes 1,500 times a year. That’s more mechanical stress than most homeowners put on any other moving system in the house, yet most people service it less often than they rotate their tires. Here’s the part almost every maintenance guide gets wrong: your opener doesn’t wear out by the month. It wears out by the cycle. One open plus one close equals one cycle, and that count drives everything – the drive belt, the trolley carriage, the limit switches. This guide shows you a cycle-based schedule you can actually follow in Boulder City, with the specific things to look for at each tier. You’ll learn what to check monthly, what to lubricate twice a year, and what to leave to a professional.
Quick Answer
Your garage door opener needs three tiers of care: a monthly visual and safety check (force settings and the auto-reverse test), lubrication and hardware tightening every six months or roughly every 750 cycles, and a professional inspection once a year or every 1,500 cycles, whichever comes first. In Boulder City, the desert heat breaks down lubricant faster than a mild-climate schedule assumes, so six-month tasks often need doing closer to every four or five months.
Styles & brands we work with
- Raised-panel steel
- Carriage house
- Modern flush
- Full-view glass
- LiftMaster openers
- Chamberlain openers
Table of Contents
- Why Cycle Count Beats the Calendar
- Monthly Checks: The 10-Minute Visual Round
- The Auto-Reverse Test: How to Run It and Read a Failure
- Six-Month Service: Lubrication Points and the Right Lubricants
- Annual Professional Inspection: What a Technician Actually Checks
- How Boulder City Heat Changes the Schedule
- Your Printable Cycle-Based Checklist
Why Cycle Count Beats the Calendar
Think about two identical openers a few blocks apart in Boulder City. One household leaves twice a day and comes home twice a day – call it four cycles. The other has a teenager who drives to work, to practice, and to a friend’s house, so that door cycles a dozen times before dinner. After a year, one door has 1,460 cycles on it and the other has more than 4,000. A calendar-based schedule treats them the same. A cycle-based schedule doesn’t, and that difference is where real wear gets caught before it turns into a repair bill.
The parts that age by cycle rather than by time are the ones doing the actual work:
- Drive belt or chain – the loop that pulls the trolley along the rail. A belt flexes over every pulley pass; a chain wears at every link pin. Both accumulate their damage per trip.
- Trolley carriage – the sliding piece that disconnects the door from the opener so you can lift the door by hand. Its shoe and release cord take a small shock each time the opener starts and stops.
- Limit switches – the sensors that tell the opener the door has reached fully open or fully closed. Every cycle trips them twice, and constant tripping is what eventually works them out of adjustment.
What ages by time instead? Rubber seals, plastic housings, and, in the desert, lubricant. So the smart schedule runs two clocks at once – count your cycles for the moving parts, watch the calendar for the grease and the safety systems. Most openers built by Clopay’s sister lines or any of the major brands are rated for a working life measured in cycles, not years, and the manual will tell you. If yours lists a cycle rating, that rating is your baseline for when to expect replacement, not repair.
Monthly Checks: The 10-Minute Visual Round
These are things you can – and should – do yourself. They take about ten minutes and they’re all visual or hands-on with the door not under motor load. Do them with the door disconnected from the opener carriage, using the release cord, so nothing moves while your hands are near it.
- Listen on the way up and down. A healthy opener sounds steady. A rattle, a grind, or a click that repeats at the same spot each trip tells you something’s loose or worn.
- Look at the belt or chain tension. With the door disconnected, the belt should have slight give but not sag into a curve. Chains should hang no more than about half an inch from straight.
- Check the rail and trolley. The trolley should slide smoothly along the rail with no visible wobble. A wobbly carriage is a carriage wearing its shoe down.
- Inspect the springs and cables from a distance. Look for gaps in a torsion spring coil, fraying on cables, or rust. Don’t touch either – we’ll cover why below.
- Confirm the safety sensors. The two small eyes at the base of the door should have steady indicator lights. A blinking light on either one is a fault.
- Watch the balance. Open the door halfway by hand (disconnected) and let go. A balanced door holds its position. One that drifts down is a spring losing tension.
Write down what you find each month. A log of “slight rattle, right side” turning into “steady rattle every trip” after two months is exactly the pattern that gets caught before failure. In Boulder City, where our winds kick up grit off the desert, the rail and trolley check matters more than it does in greener climates – that grit works into the trolley shoe and grinds the rail. A quick wipe with a rag every few weeks goes a long way.
Safety note: the torsion spring above your door is under enormous tension – the coil handles most of the door’s weight. Cables under load are just as dangerous. Never try to adjust, loosen, or “tighten” a spring or cable yourself. If a spring shows a gap or a cable looks frayed, that’s a professional call, not a weekend project. Garage Door Spring Repair in Boulder City explains what that repair involves.
The Auto-Reverse Test: How to Run It and Read a Failure
Every guide mentions the auto-reverse test. Almost none tell you what a failure looks like or which of the two systems actually failed. Here’s the plain version.
Garage door openers have two safety systems, and they’re tested separately. The first is the contact reverse, the mechanical feature that makes the door stop and reverse when it meets an obstacle. The second is the safety sensors (the photo eyes) that stop the door if something breaks the beam before the door closes on it.
Testing contact reverse:
- Place a piece of wood, a brick, or a full roll of paper towels flat on the floor in the middle of the doorway.
- Close the door using the wall button or remote and let it travel onto the object.
- The door must stop and reverse to fully open within about two seconds of contacting the object. If it stops but doesn’t reverse, or presses the object flat before reacting, the force setting is too high.
Testing the sensors:
- Start the door closing and wave a hand or a broom between the two sensors.
- The door should reverse immediately. If it doesn’t, one of the sensors is misaligned, dirty, or failing.
Now the interpretation part. If the door reverses on the wood block but presses harder than it used to, the force setting has drifted, usually because something in the door’s travel has gotten heavier – a binding roller, a dry hinge, a sagging panel. Turning the force setting down makes the symptom go away without fixing the cause, and that’s how these calls turn into bigger repairs. If the door reverses on a moving hand but not a stationary block, the sensors are fine and the contact reverse mechanism needs a professional look. And if the door reverses but the light blinks a specific pattern, count it – most openers, including those from Craftsman and LiftMaster, use that code to tell you exactly which limit or force threshold tripped. It’s the opener’s version of a check-engine light.
Six-Month Service: Lubrication Points and the Right Lubricants
Every six months, or roughly every 750 cycles, do a full lubrication pass. This is where the desert is working against you – in Boulder City, summer daytime temperatures regularly push past 100°F, and that heat cooks the lighter oils right out of a lubricant. Grease that would last a year in Seattle can go tacky in a Boulder City garage by month four. Plan the six-month pass closer to every four or five months during the summer stretch.
What to lubricate:
- Rail and trolley – use a white lithium grease in a spray can, applied in a thin coat along the rail. Wipe off the excess; too much grease collects grit and turns into a grinding paste.
- Chain drive – a light coat of chain-specific lubricant. A belt drive shouldn’t need lubrication; if it looks dry or glazed, that’s a sign of age, not lack of grease.
- Hinges and rollers – a few drops of lightweight oil at each hinge pivot. Rollers on the door’s vertical tracks need the shaft oiled, not the wheel face.
- Springs – a light spray of lubricant on the coil to reduce coil-on-coil friction. This is the one spring task that’s safe because you’re not putting tension on it – you’re just misting the outside.
What to avoid:
- Don’t use WD-40 as a long-term lubricant on the rail – it’s a solvent and light oil that evaporates and leaves the rail dry.
- Don’t use silicone spray on the trolley or chain; it’s too slick and won’t carry load.
- Don’t grease the vertical tracks the door’s rollers ride in. Tracks stay dry; the rollers get oiled, not the track.
Before you lubricate, tighten every bolt you can reach with a standard socket set. Most doors have a dozen or more fasteners on the hinges and brackets, and vibration loosens them steadily. A loose hinge bolt on a Wayne Dalton door we serviced in Boulder City last season had worn a groove in the track behind it.
Annual Professional Inspection: What a Technician Actually Checks
Once a year, or every 1,500 cycles, bring in a technician for the items that need instruments and training. A proper inspection goes beyond a visual check – it tests the electrified parts of the system that homeowners can’t safely probe.
Here’s what to expect when a technician from a company working to the Bramwell Garage Door Repair Boulder City home standard arrives. Background-checked and in uniform, they’ll:
- Test the capacitor – the opener’s start capacitor loses capacity with age, and a weak one shows up as the motor groaning or stalling on hot days. That’s a classic Boulder City symptom because the garage itself runs hot.
- Run logic board diagnostics – the board stores fault codes the average homeowner never sees. A technician reads them and tells you what tripped.
- Check limit switch calibration – confirm the open and close limits match the door’s actual travel with a small, safe margin.
- Test spring tension and balance – measure the door’s lift force and confirm the spring is carrying the weight it should. A door that’s heavy enough to strain the opener is a spring issue, not an opener issue.
- Inspect the manual release – the release cord and lock should function with the door disconnected.
- Confirm door-to-opener alignment – the opener’s travel should match the door’s full cycle without straining the trolley.
An inspection like this typically runs in the $80-$150 range, and if something needs repair, you get a written price before any work starts. The Kingswell Guarantee means the price you hear is the price on the invoice – no door-step surprises. We’ve seen too many homeowners burned by a technician who quoted $95 for an inspection and left with a bill for $600. The four promises behind our work – price stated first, real arrival window, clean job site, and a written guarantee – exist because that scenario is common enough to be a cliché.
How Boulder City Heat Changes the Schedule
Boulder City’s climate is closer to Las Vegas than to the rest of Nevada, with long stretches of dry heat and a garage that acts like an oven. That has three practical consequences for a maintenance schedule.
First, lubricant life shrinks. A mild-climate schedule of every six months on the rail and chain becomes every four to five months here, and the summer pass should be done in May, not June, before the worst heat hits the garage. Check the rail in July – if the grease has gone tacky, clean it and reapply.
Second, belts age faster. Belt drive openers are quieter, but the rubber compound cracks with heat and UV exposure. A belt that’s still fine after three years in a cooler climate can show glazing and surface cracks in two in Boulder City. Inspect it quarterly in the summer.
Third, wood doors and paint take heat damage that affects the opener. Door panels that dry out and warp add weight and change the door’s balance, which loads the opener. Repaint or seal wood doors regularly and check the balance after each hot season. This is where Garage Door Installation in Boulder City conversations often turn up – a door that’s reached the end of its life is adding wear to every cycle.
The one project that doesn’t shift with the heat: the annual professional inspection is best done in spring or fall, before the summer heat finds the weak spot. Scheduling it in April or October keeps you ahead of the season.
Your Printable Cycle-Based Checklist
Here’s the schedule in one place. Print it, stick it on the wall by the garage door, and check off each round. The “what to look for” column is the part you’ll use most.
Monthly or every 150 cycles
- Listen on the open and close cycle. Look for rattles, clicks, or repeated sounds at the same spot.
- Sight the belt or chain tension. Slight give on belts, no sag on chains.
- Wipe the rail and trolley with a dry rag. Look for grit, grease turning black, or visible wear on the trolley shoe.
- Check the two sensor eyes. Steady lights = good. Blinking = fault, look for sun glare, dust, or a misalignment.
- Run the auto-reverse test with a wood block. The door must stop and reverse within two seconds.
- Open the door halfway by hand and let go. It should hold itself. Drifting means a spring issue.
Every 4-6 months or 750 cycles
- Full lubrication pass: rail, chain (if chain drive), hinges, roller shafts, springs.
- Tighten every visible bolt on hinges and brackets.
- Wipe excess grease from the rail – grit on grease is worse than dry rail.
- Confirm door balance after the lubrication pass.
- Check the manual release cord and disconnection – it should move freely.
Annually or 1,500 cycles
- Professional inspection: capacitor test, logic board diagnostics, limit switch calibration.
- Spring tension and balance check by a technician.
- Full door hardware review, including hinges, rollers, and bearings.
- Review the opener’s fault code history with the technician.
- Assess the door’s overall condition for replacement planning.
For a full range of repair services, the team also handles everything from opener motors to track replacements – Garage Door Repair in Boulder City covers the common issues that turn up on these inspections.
Common Mistakes to Avoid
- Treating the calendar as the only clock. A family running 12 cycles a day wears a door out far sooner than a retired couple on 2. Count your cycles for one week and adjust the schedule.
- Turning the force settings down to “fix” a stiff door. The stiff door is the problem – the setting is just the warning. Lowering force makes the door quieter while the actual binding gets worse.
- Using WD-40 as a long-term rail lubricant. It evaporates and leaves the rail dry within weeks, especially in Boulder City’s dry heat, and the trolley wears faster as a result.
- Greasing the vertical tracks. The rollers need lubrication, not the tracks. Grease in the tracks collects desert grit and turns into a grinding paste.
- Ignoring a blinking sensor light. A blinking sensor is the opener telling you something. In Boulder City, low afternoon sun hitting the sensor eye is a common false trigger – check the mounts and reposition the sensors slightly if needed.
- Doing spring work yourself. Torsion springs hold the door’s full weight in tension, and a sudden release can be serious. This is the one task to hand off without debate.
- Skipping the annual inspection when everything seems fine. Capacitor decline and limit switch drift show no symptoms until they fail. That’s exactly what the annual visit is for.
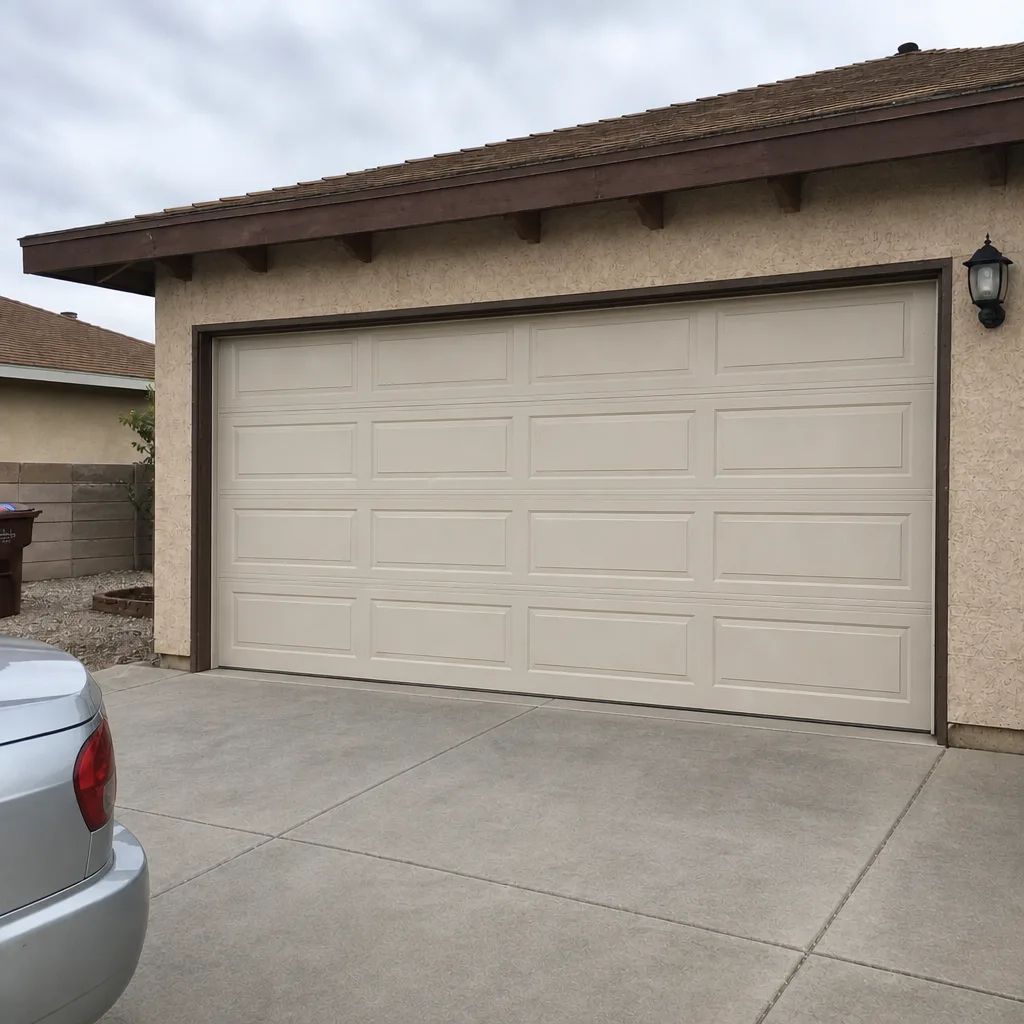
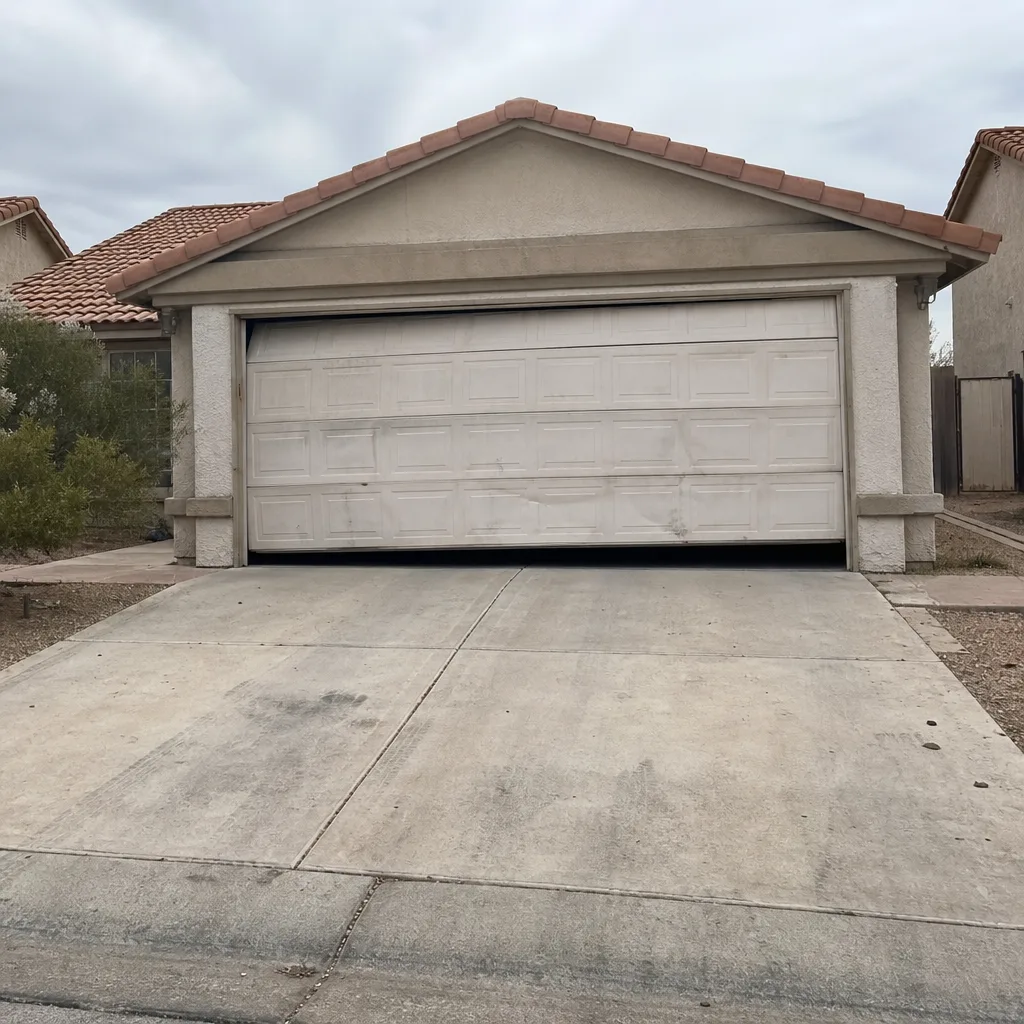
See the difference
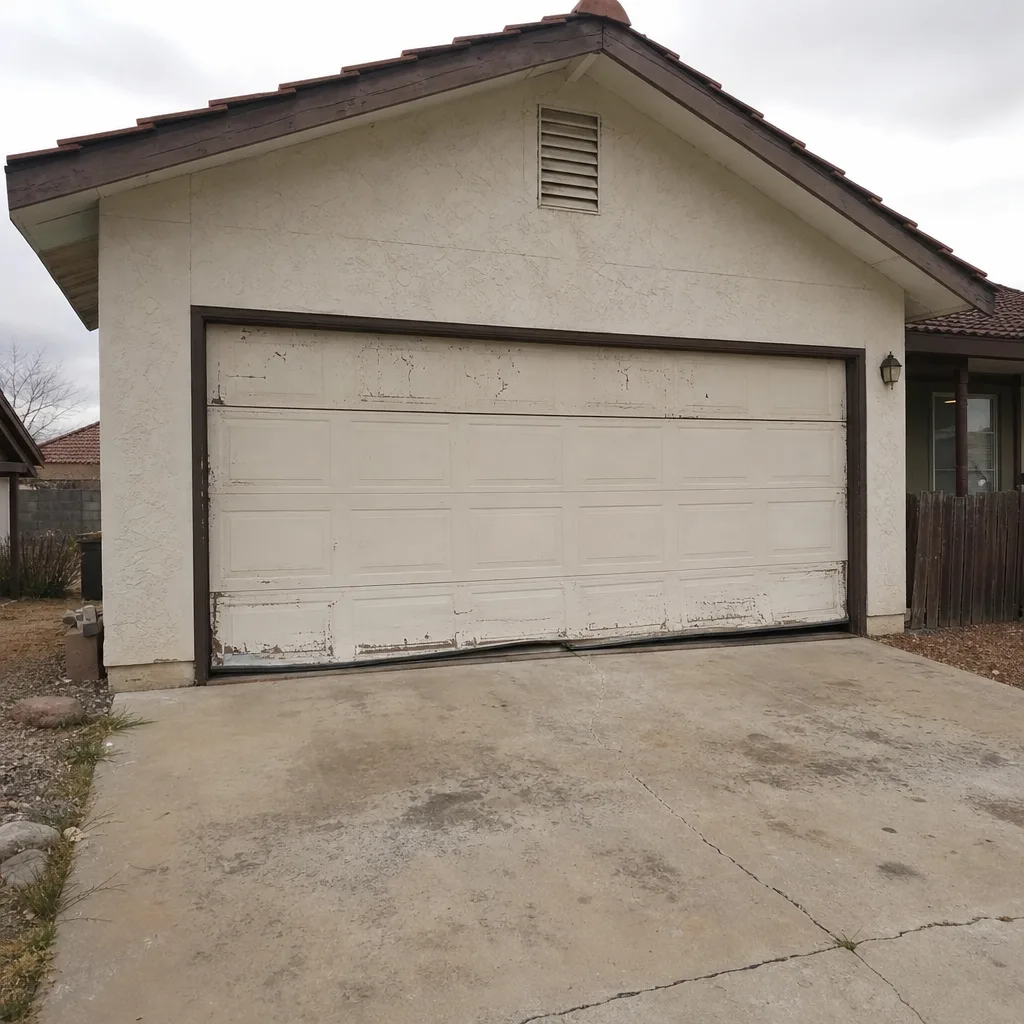 Before
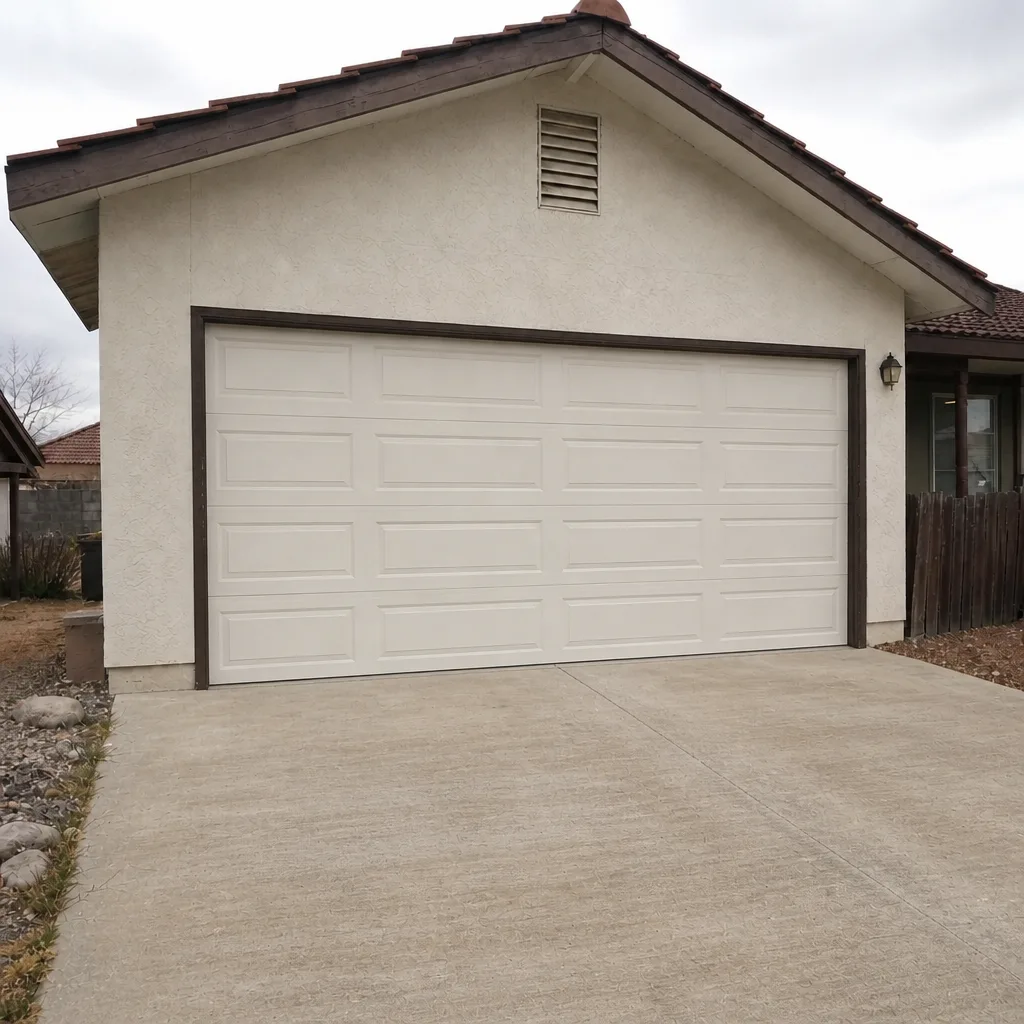 After
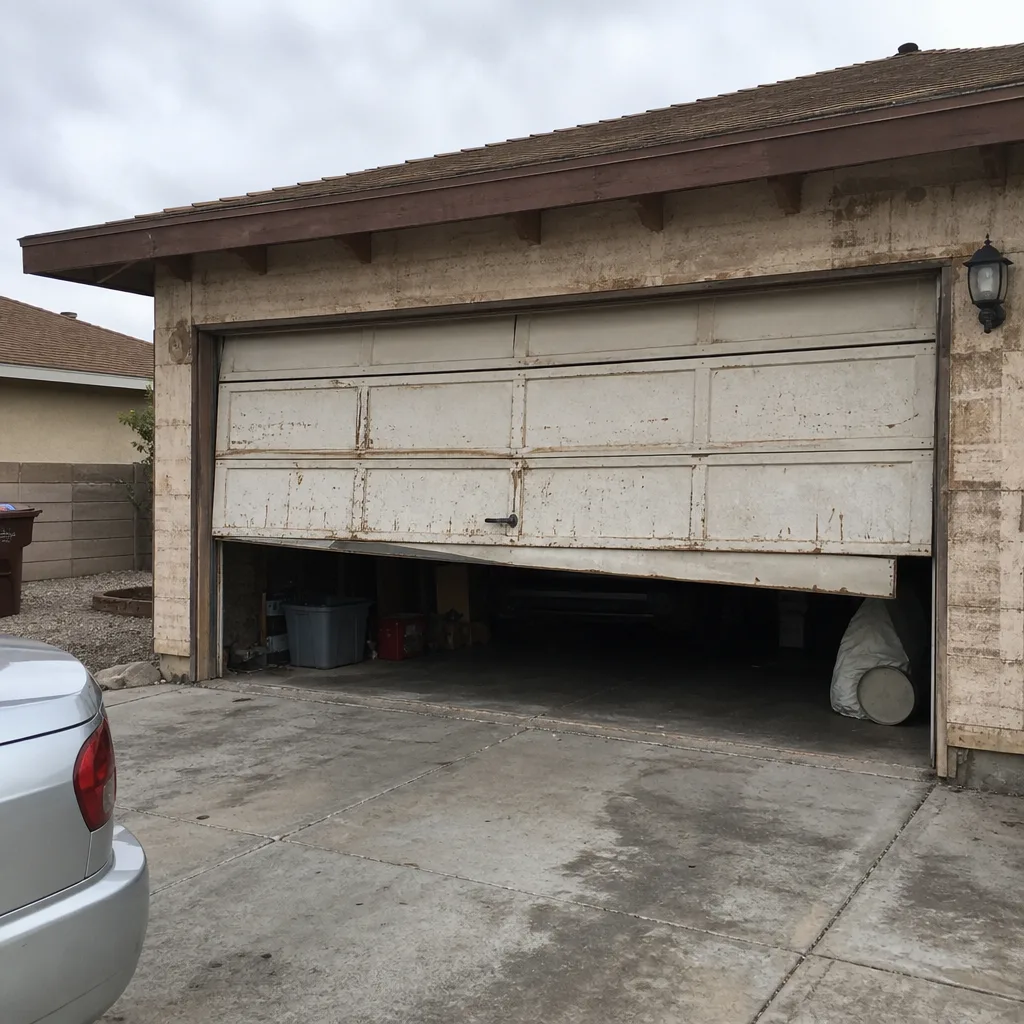 Before
 After
 Before
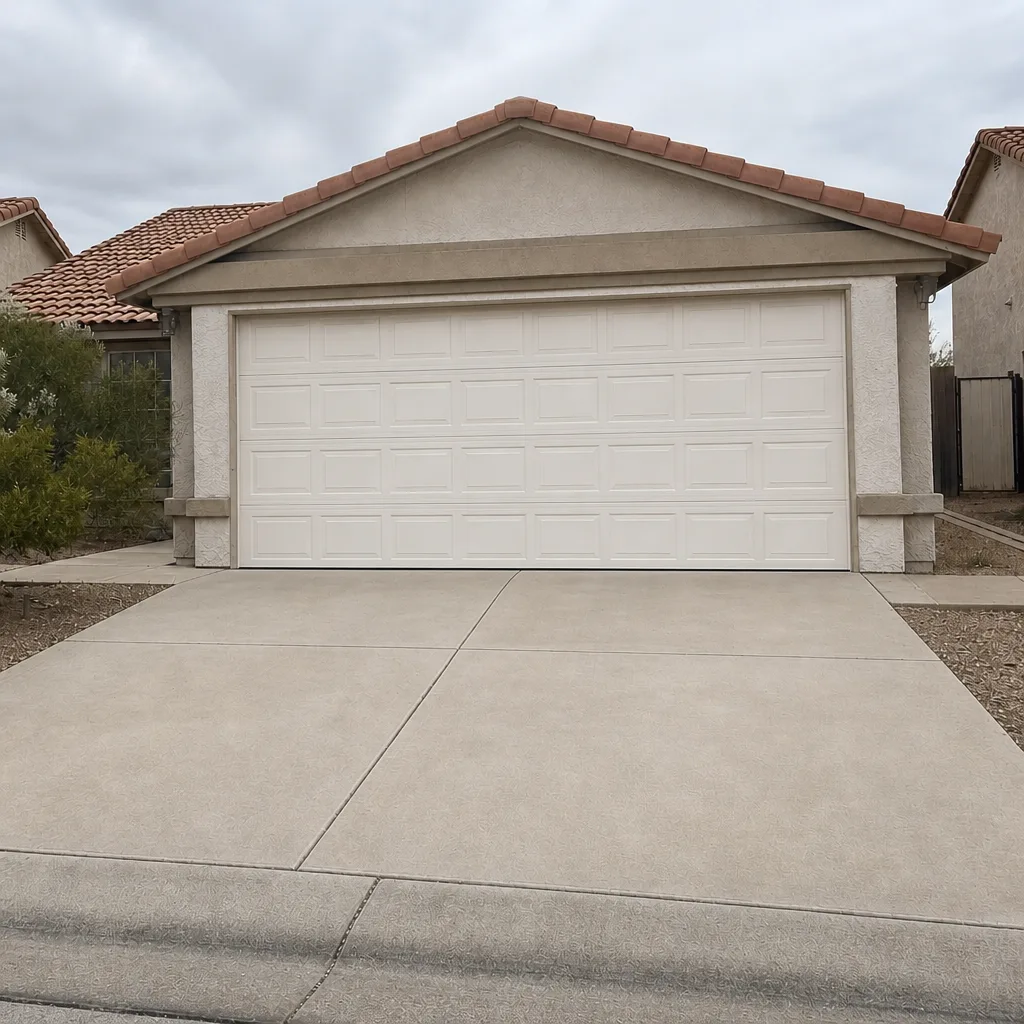 After
When to Call a Professional
Call a professional when a spring shows a visible gap or your door won’t hold halfway open, when a cable looks frayed, when the opener reverses on a moving hand but not on a stationary object, when the motor groans or stalls in hot weather, or when the door binds partway through its travel. These are the calls where the fix is either quick and cheap with proper tools, or expensive and painful without them. Bramwell Garage Door Repair Boulder City offers free estimates in Boulder City – call (844) 560-4479 and a live person will answer, whatever time it is. The technician will give you a written price before any work starts, show up in the window you were promised, and leave the garage cleaner than it was when they arrived. If a repair fails within the 365-day window, we come back and fix it at no charge, and that promise is in writing.
Frequently Asked Questions
Every six months for lubrication and hardware checks, and once a year for a professional inspection – but adjust to your cycle count. If your door cycles more than 1,500 times a year, add a second lubrication pass and consider an earlier professional visit. In Boulder City, the summer heat calls for moving the lubrication pass up to every four or five months.
It tells you whether the door will reverse on contact with an object, and a failed result usually points to a force setting that’s drifted or a sensor that’s misaligned. If the door presses the object flat before reacting, the force is too high and the door’s travel may be binding. A door that reverses on a moving hand but not a stationary block has good sensors and a force issue. Call (844) 560-4479 for a quick diagnostic – estimates are free.
That’s usually a capacitor losing capacity under heat or a lubricant that’s cooked out of the rail. The motor is working harder than it should, and the groan is the sign. Have it inspected before the poor performance becomes a dead opener mid-summer. Call (844) 560-4479 to schedule a look.
Yes – a functioning door can have a weak capacitor, drifting limits, or a spring losing tension without any obvious symptom until it fails. The annual inspection reads the fault codes and tests those parts – a $80-$150 inspection is cheaper than an emergency repair. Call (844) 560-4479 for a free estimate.
White lithium grease on the rail and trolley, and a chain-specific lubricant on chain drives. Don’t use WD-40 (too light and evaporates) or silicone spray (too slick for load-bearing parts). Belt drives generally need no lubrication. Ask our technician when they’re out – a written guarantee covers every repair, so the question is free to ask.
Yes, we serve homeowners throughout Boulder City, and a live person answers the phone 24 hours a day, so you get a real appointment window rather than a callback. For a first inspection, an early-season booking (April or October) gives you the best slot before the summer rush. Call (844) 560-4479 – estimates are free and the price is in writing before work starts.
The Bottom Line
The schedule that keeps a garage door opener running for years isn’t a calendar – it’s a cycle count. Open and close the door once and that’s one cycle, and the parts that fail first (the belt, the trolley carriage, the limit switches) wear by that count, not by the month. Pair your cycle count with two calendar anchors: a six-month lubrication pass, tightened to every four or five months in Boulder City’s heat, and an annual professional inspection that tests the capacitor, logic board, and spring tension. Add a five-minute monthly visual check and the auto-reverse test, and you’ll catch real wear while it’s still a $20 fix instead of an emergency. For anything spring-related or anything that fails the auto-reverse test, call a professional – free estimates and a written price, every time.
Bramwell Garage Door Repair Boulder City is here when you need a hand. Call (844) 560-4479 for a free estimate – a live person answers 24/7, and the price is in writing before any work starts.
Written by the team at Bramwell Garage Door Repair Boulder City.