
Last updated November 18, 2026
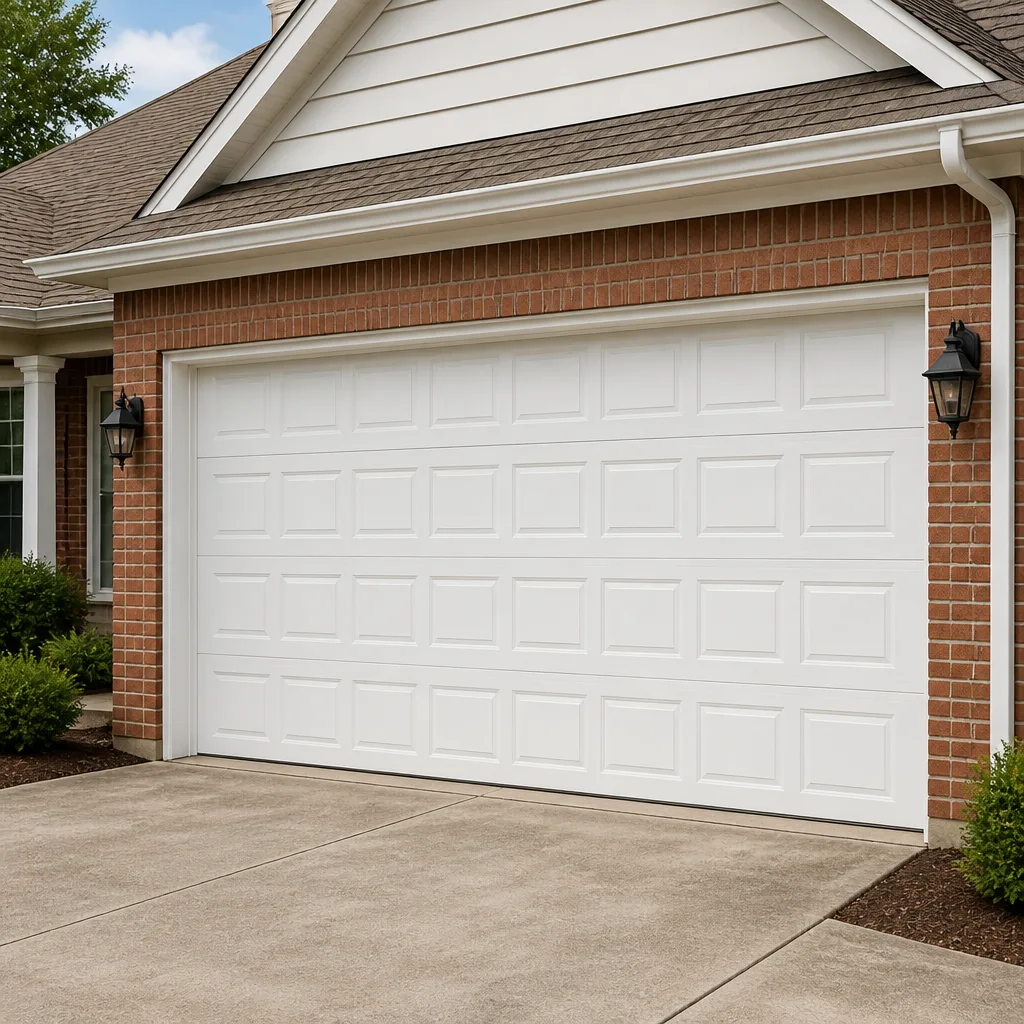 Raised-panel steel
 Carriage house
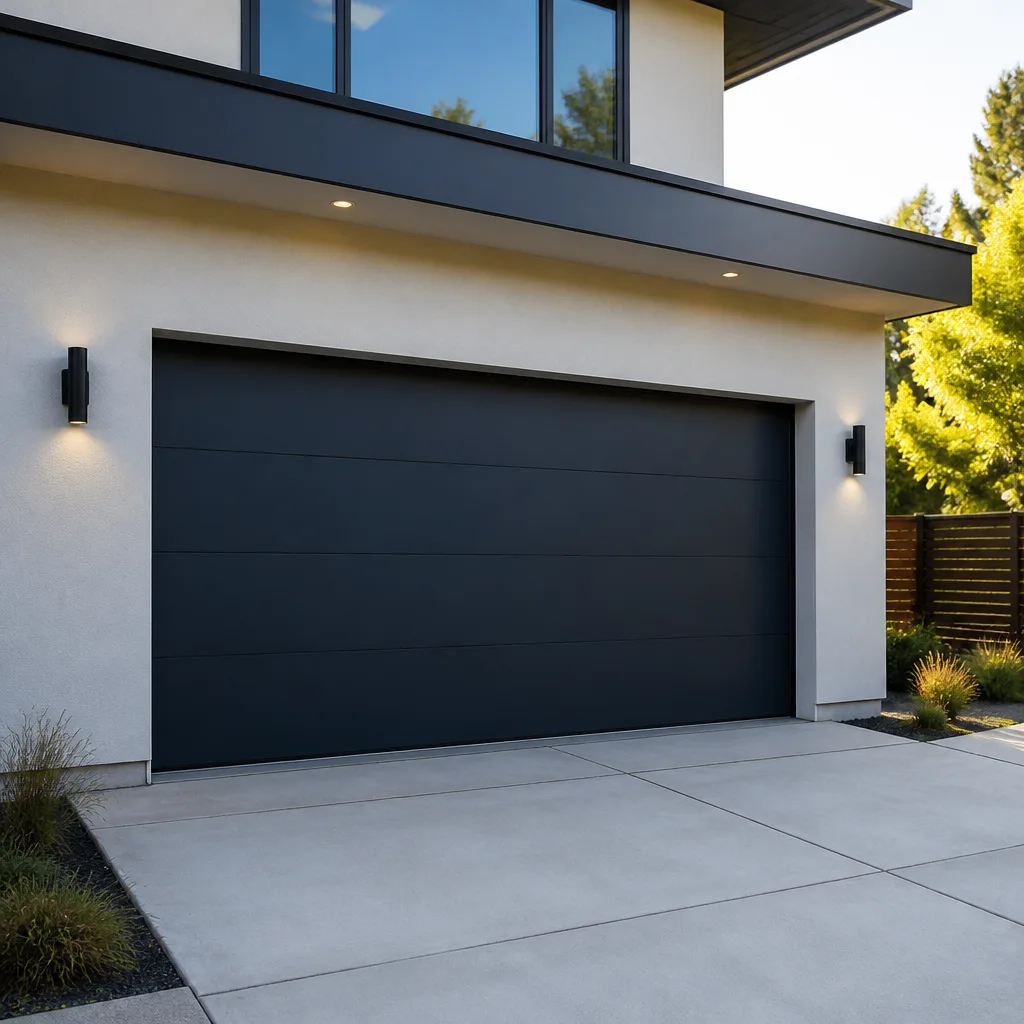 Modern flush
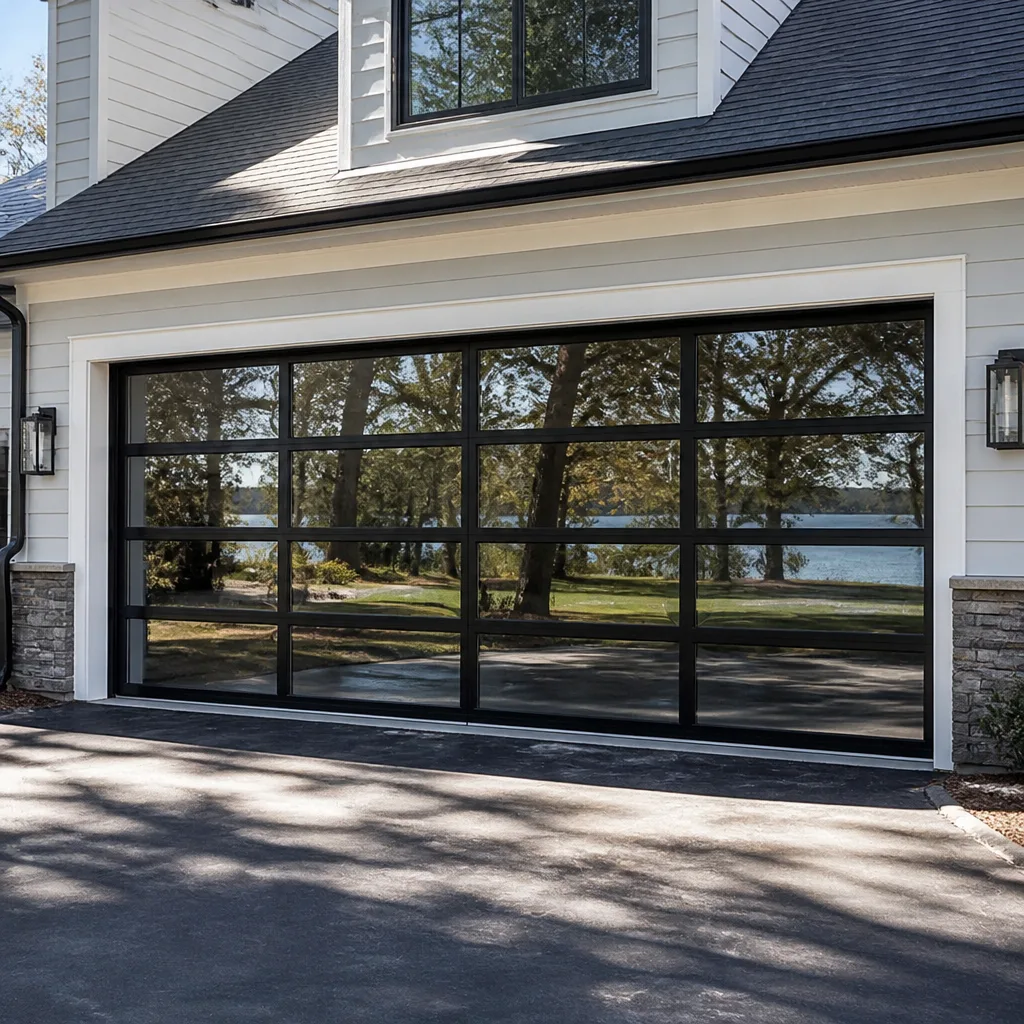 Full-view glass
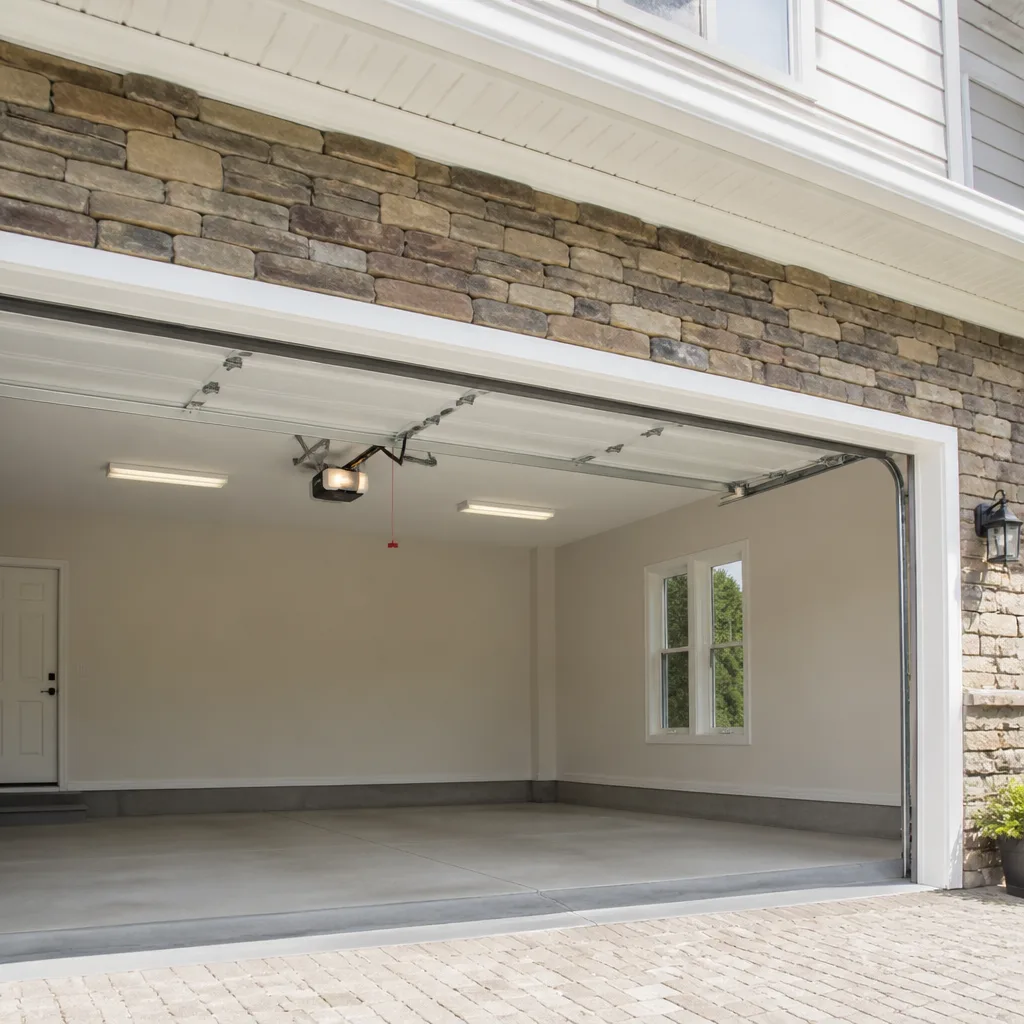 LiftMaster openers
 Chamberlain openers
Full 25-point door and opener safety check with every visit - springs, cables, rollers, tracks, and your LiftMaster or Chamberlain opener included
You get a price before we start. It does not change when the pro arrives.
Get your free estimateGarage Door Installation Troubleshooting: Common Problems and How to Fix Them
Here’s the pattern we see most often in Boulder City: a homeowner calls two weeks after a new door goes in, convinced the door is defective. In nearly every case it isn’t. The door is fine. What failed is setup – limit switches never calibrated for the actual travel distance, a track that wasn’t shimmed plumb against an older garage frame, or a sensor knocked out of line when the installer packed up. These aren’t manufacturing defects. They’re installation-stage details that only surface once the door has cycled a few dozen times.
This guide is for homeowners still inside their first month with a new door. By the end you’ll know which problems are normal settling, which are genuine installation errors, what the installer should have walked you through, and what to document now so a warranty claim holds up later. We’ve sent technicians across Boulder City for years, and the difference between a five-minute adjustment and a full callback almost always comes down to one thing: knowing what you’re actually looking at.
Quick Answer
Most post-installation garage door problems – unexpected reversal, binding, a gap at the floor, excess noise – trace back to setup errors, not broken parts. A door that reverses on its own in the first two weeks usually has limit switches that weren’t set for the door’s installed travel, and that’s a quick calibration job. A door that binds or leaves an uneven gap is usually a track alignment or spring tension issue that needs a technician to correct.
Styles & brands we work with
- Raised-panel steel
- Carriage house
- Modern flush
- Full-view glass
- LiftMaster openers
- Chamberlain openers
Table of Contents
- The Six Most Common Post-Installation Problems
- Normal Break-In vs. an Installation Error: How to Tell
- What a Proper Post-Installation Walkthrough Should Include
- How Limit Switch Calibration Works on Chamberlain, LiftMaster, and Genie
- What to Document in the First 30 Days
- Checks That Are Safe to Do Yourself
- Common Mistakes to Avoid
- When to Call a Professional
- Frequently Asked Questions
If you’re still deciding on a door or an installer, our guide to Garage Door Installation in Boulder City covers how a new door gets measured and scheduled. If your door is already fighting you, read on. And if you’re mid-repair on an existing door, the Garage Door Repair in Boulder City page covers the common fixes.
The Six Most Common Post-Installation Problems
Nearly every callback in the first thirty days falls into one of six buckets. Here’s what each one is, and where in the installation process it started.
- Unexpected reversal. The door closes partway, then snaps back up. Root cause: limit switches or force settings that weren’t calibrated to the door’s actual installed travel distance and weight. A heavier Clopay or Amarr door needs more force than a light builder-grade panel, and the opener ships from the factory set for a generic door.
- Binding or jerking. The door stutters on the way up. Root cause: track mounted slightly out of plumb, or hinges and rollers not aligned to the new door’s panel spacing. In older Boulder City garages with a settled slab, this shows up fast.
- Uneven gap at the floor. Light shows under one corner. Root cause: the bottom weather seal wasn’t fitted to the floor’s actual slope, or the door wasn’t leveled during mounting. A garage floor that tilts toward the drain will leave a gap if an installer assumed it was flat.
- Opener strain. The opener labors, sounds loud, or trips its safety reverse mid-cycle. Root cause: torsion spring tension set for a different door weight, so the opener is carrying load it shouldn’t.
- Sensor misalignment. The door refuses to close, and the opener light blinks. Root cause: the safety sensors (the two small eyes near the floor) got bumped during clean-up or were never squarely aimed at each other.
- Excessive noise. A new door rumbles or screeches on the rails. Root cause: rollers seated dry, hinges over-tightened, or the opener rail not secured to the header properly. A quick fix when caught early.
Notice the pattern: every one of these is a stage in the install, not a part failure. That’s why the fix is usually an adjustment, not a replacement.
Normal Break-In vs. an Installation Error: How to Tell
New doors do have a short break-in period. Springs settle, rollers seat into the rails, and the whole assembly quiets down over the first week or two of regular use. The question is whether what you’re hearing and seeing is that settling, or something that needs a callback.
Here’s the rule we use: a new door should get quieter and smoother over time. It should not get louder or more erratic.
- Normal: A faint click where the rollers pass a joint. Quieter after five to ten cycles. Slight panel flex as the door comes down.
- Needs a callback: Growing banging or grinding. A door that reverses more often as the weeks pass. A gap at the floor that gets wider. A door that stops climbing at the same height every time.
That last one is the tell. A door that fails at a consistent point is hitting a limit; a door that fails randomly is usually a sensor or force-setting issue. Either way, it’s the installer’s setting to fix, not something you should live with. In our experience running calls around Boulder City, most of these get sorted in a single visit once a technician actually sees the door cycle.
What a Proper Post-Installation Walkthrough Should Include
A good installer doesn’t hand you a remote and drive off. They walk you through the door, and you should expect a specific set of steps. If your walkthrough was rushed or skipped, that’s your first clue about the quality of the setup – and a reason to get eyes on it.
Here’s what a complete walkthrough covers:
- Full cycle test. The installer runs the door up and down at least three times in front of you, watching for smooth travel and clean stops.
- Safety reverse test. They block the photo-eye sensor with a hand to show the door reverses, then test the mechanical reverse with a light object on the floor.
- Force and limit demonstration. They show you where the limit and force adjustments are on your opener, and confirm the settings match the door.
- Balance check. They disengage the opener and lift the door by hand to prove it holds position halfway up – the test for correct spring tension.
- Manual release demo. They show you the emergency pull cord and how to reset the door after a power outage.
- Warranty paperwork. You leave with the written guarantee in hand and know exactly what it covers and for how long.
If any of those didn’t happen, it doesn’t mean the door is bad – it means you’re missing the baseline. The Kingswell Guarantee we operate under puts that walkthrough in writing: a written price before work starts, a real arrival window, a clean job site, and a written guarantee on every repair. Boulder City homeowners should expect all four on a new install too.
How Limit Switch Calibration Works on Chamberlain, LiftMaster, and Genie
Limit switches tell the opener where “fully open” and “fully closed” are. If they’re set wrong, the door reverses early, stops short, or grinds against the stops. Here’s how the calibration behaves on the three most common opener brands so you can confirm it was done right.
Before anything else – do not stand under the door or try to hand-adjust a torsion spring to compensate. Torsion springs carry enough stored energy to cause serious injury. Limit switch adjustment is safe. Spring work is not. Leave that to a trained technician.
Chamberlain
Chamberlain openers use up and down travel limits adjusted with screwdriver-turned dials or, on newer models, a program button with LED confirmation. A properly set Chamberlain closes until the door meets the floor and the opener stops cleanly without flexing the bottom panel.
LiftMaster
LiftMaster uses the same travel-limit approach as Chamberlain (they’re made by the same manufacturer) but with the MyQ and safety-reverse logic layered in. On a LiftMaster, test that the door travels fully down and the light doesn’t blink on close – blinking usually means a sensor or force issue, not a limit problem.
Genie
Genie openers use a set of limit switches on the rail, adjusted by turning screws until the carriage stops at the right points. On a freshly installed Genie, an incorrect limit often shows as a door that opens fully but closes about a foot short.
If your opener brand isn’t one of these, or you’re not sure your settings are right, the honest answer is a technician visit. Changing a limit setting on a door that’s already out of balance can cause more problems than it solves.
What to Document in the First 30 Days
The first month is your window. If something does fail early, the homeowner who documented it wins the warranty claim; the homeowner who didn’t, loses it. Here’s what to capture.
- The install date and installer name. Photograph the receipt or invoice and the written guarantee. Note who performed the work.
- A video of the door cycling normally. Twenty seconds of the door operating well is your baseline. If it later grinds or reverses, you have proof of when it changed.
- Photos of the sensor alignment. Show both sensors squarely facing each other with the LED lit. This proves they were properly set.
- A written note of any issue you notice. Time, date, and what happened. “Door reversed at 2:15 p.m. on 3/14, no obstruction.” These notes matter if you call.
- Your calls and texts with the installer. Save them. A written trail of “the door is still reversing” is what a warranty claim rests on.
This is also where the written guarantee matters. Ours – the 365-Day Done Right Promise – means if a covered repair fails within a year, we come back and fix it at no charge. That’s in writing, not just said at the door. If your installer didn’t put their promise in writing, the documentation above is your leverage.
Checks That Are Safe to Do Yourself
Some troubleshooting is homeowner-safe and some absolutely is not. Here’s the line.
Safe to check yourself:
- Look at both safety sensors. Are the LEDs on? Are they aimed at each other?
- Clear anything in the door’s path – a garden hose, a shovel handle, a kid’s bike. A surprising share of “door won’t close” calls are an object in the beam.
- Check that the opener is plugged in and the wall unit has power.
- Lubricate the rollers, hinges, and track with a garage door lubricant (not WD-40; use a proper door lube). Do not touch the springs.
- Pull the manual release and lift the door by hand to feel for binding. It should lift smoothly and hold halfway up.
Not safe – call a technician:
- Adjusting or replacing torsion springs or cables.
- Replacing the opener or rewiring anything electrical.
- Adjusting track alignment on a door that’s binding.
At the centre of the safe/unsafe line is one part: the torsion spring – the heavy coil mounted above the door that handles most of the lifting weight. If you’re not 100% sure the problem traces to the spring, that’s also a “call a technician” moment. Our Garage Door Spring Repair in Boulder City page explains what a spring repair involves and what it should cost.
Common Mistakes to Avoid
- Assuming a reversing door is defective. It’s almost always a limit or force setting. A five-minute adjustment, not a replacement.
- Cranking the force setting up to “fix” a binding door. That masks the problem and strains the opener. Binding means a track or alignment issue; fix the cause, not the symptom.
- Paying a callout before confirming the warranty. If your installer offered a written guarantee, the callback should be free. Don’t pay twice for the same repair.
- Relying on a verbal promise. In Boulder City, we’ve taken calls from homeowners whose installer said “call if anything comes up” and then stopped answering. Get the guarantee in writing, every time.
- Skipping the manual release test. If the power goes out during a monsoon-season storm and you can’t open the door, that’s a problem the walkthrough should have prevented.
- Letting small noise become a big repair. A grinding roller caught in week two is a five-minute fix. Left for six months, it chews through the track.
- Ignoring the sensor LED. A blinking light on the wall unit is a code. Read it before you call – it tells the technician what to bring.
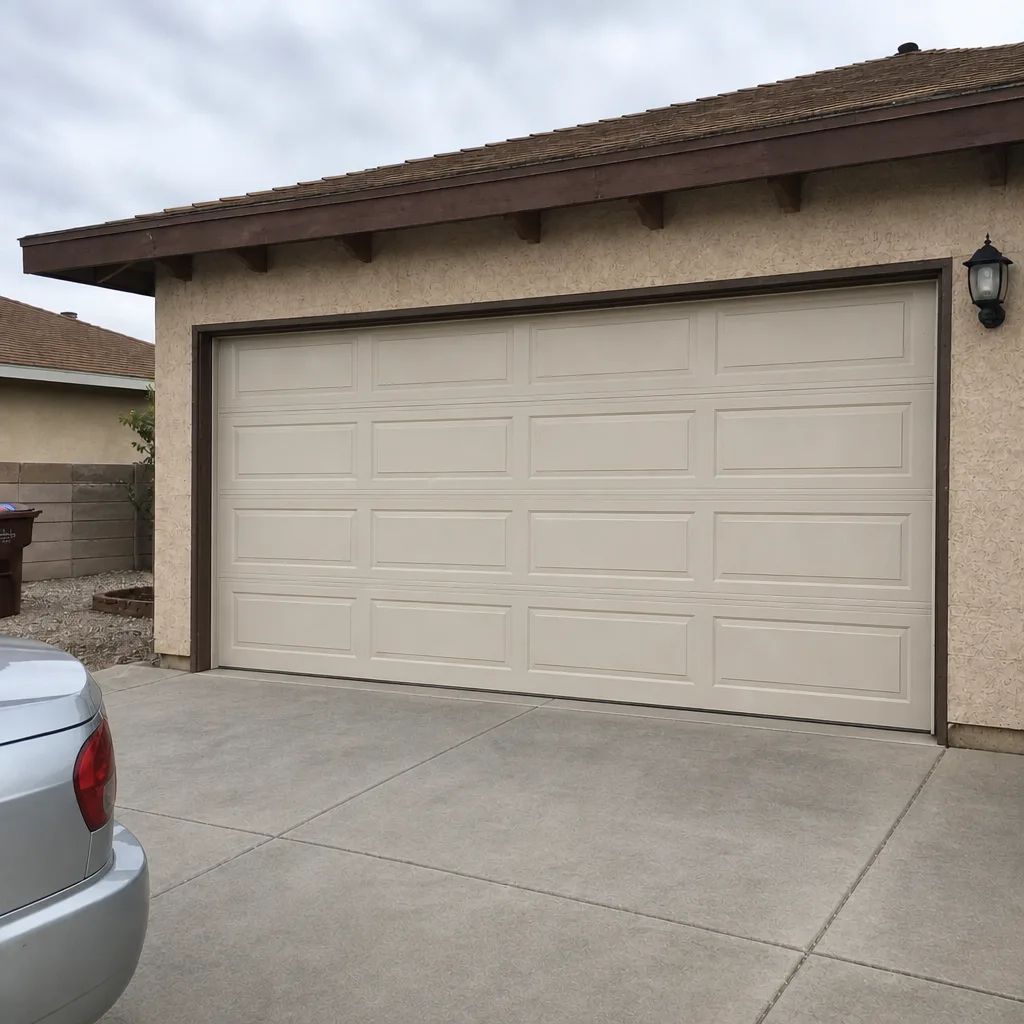
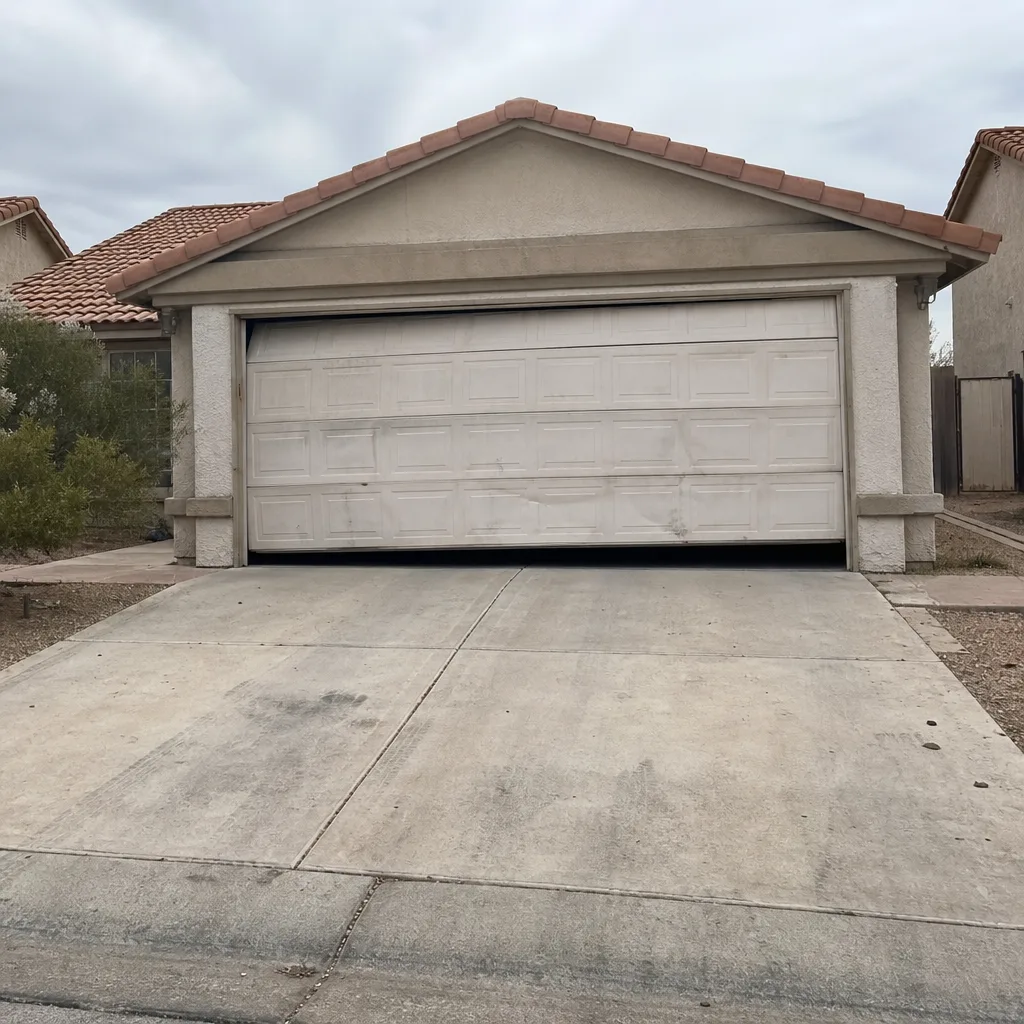
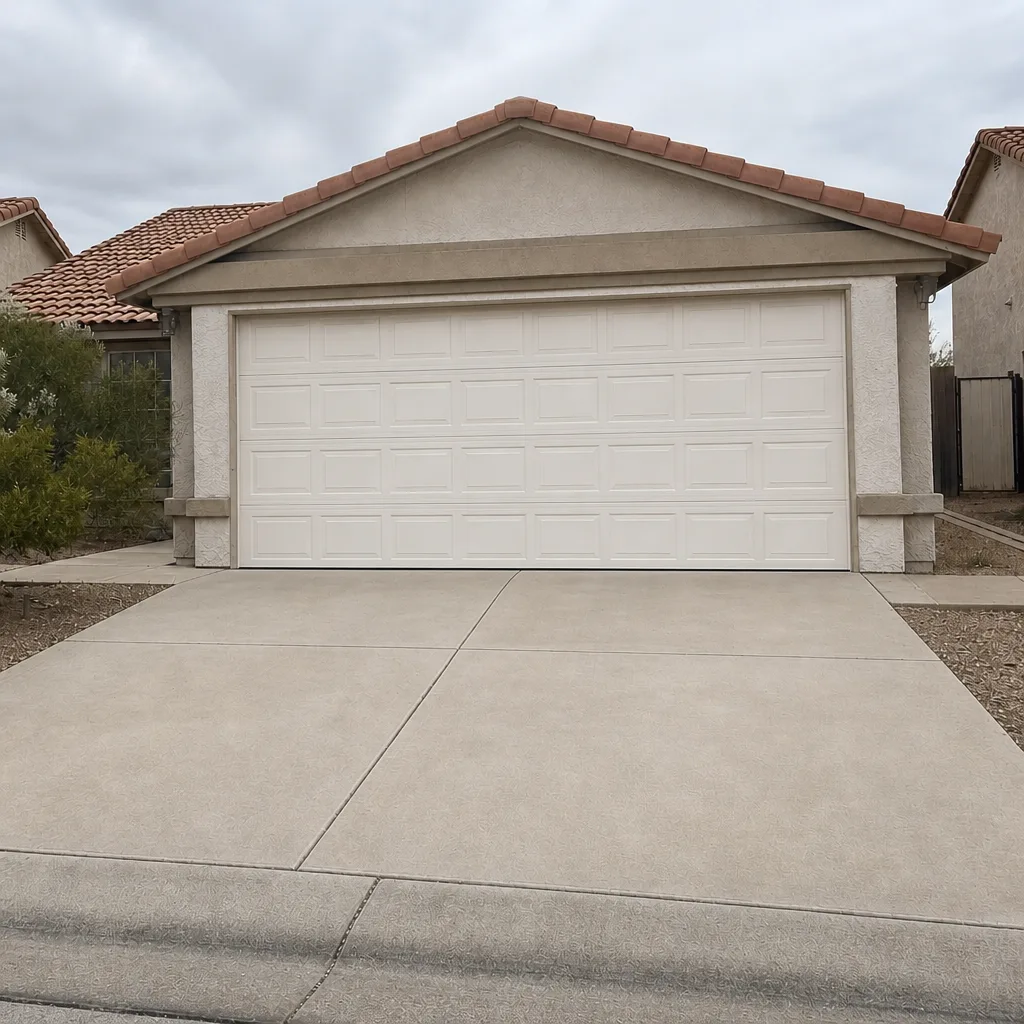
See the difference
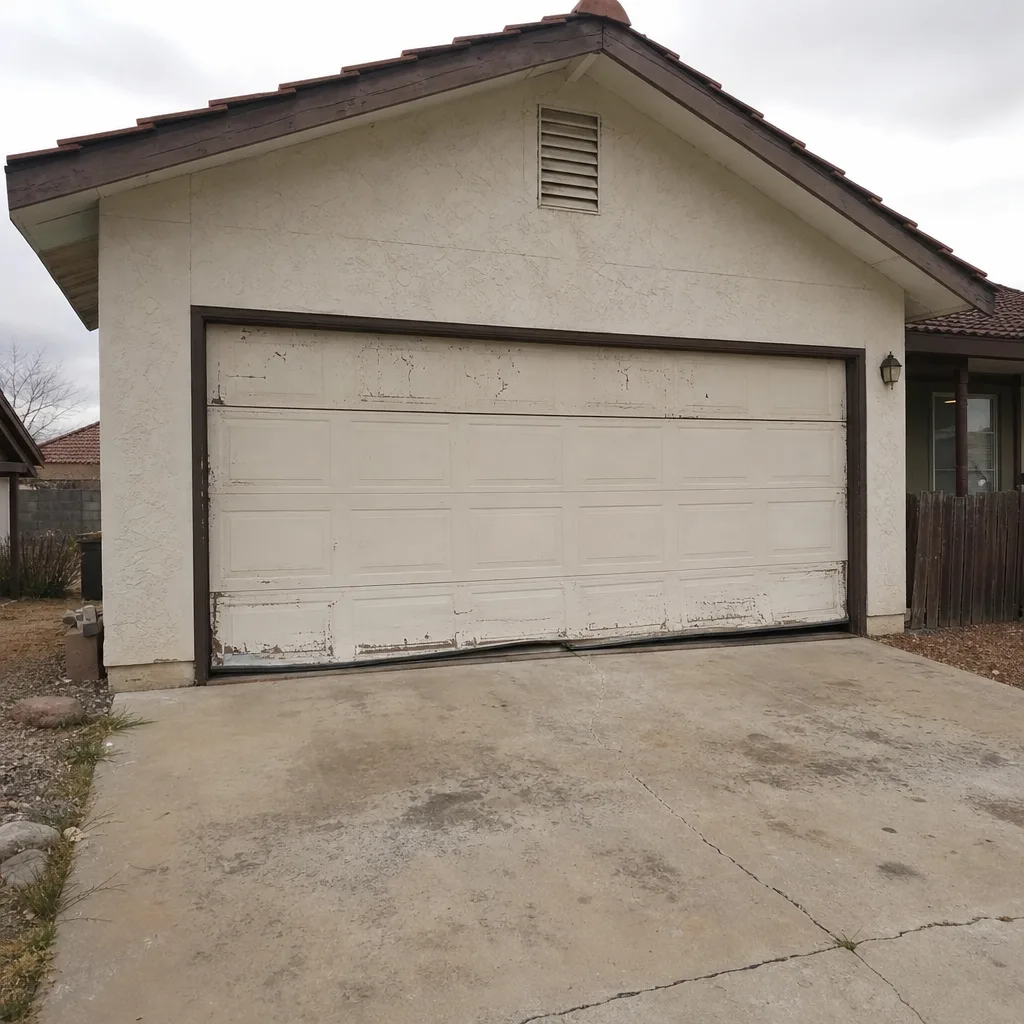 Before
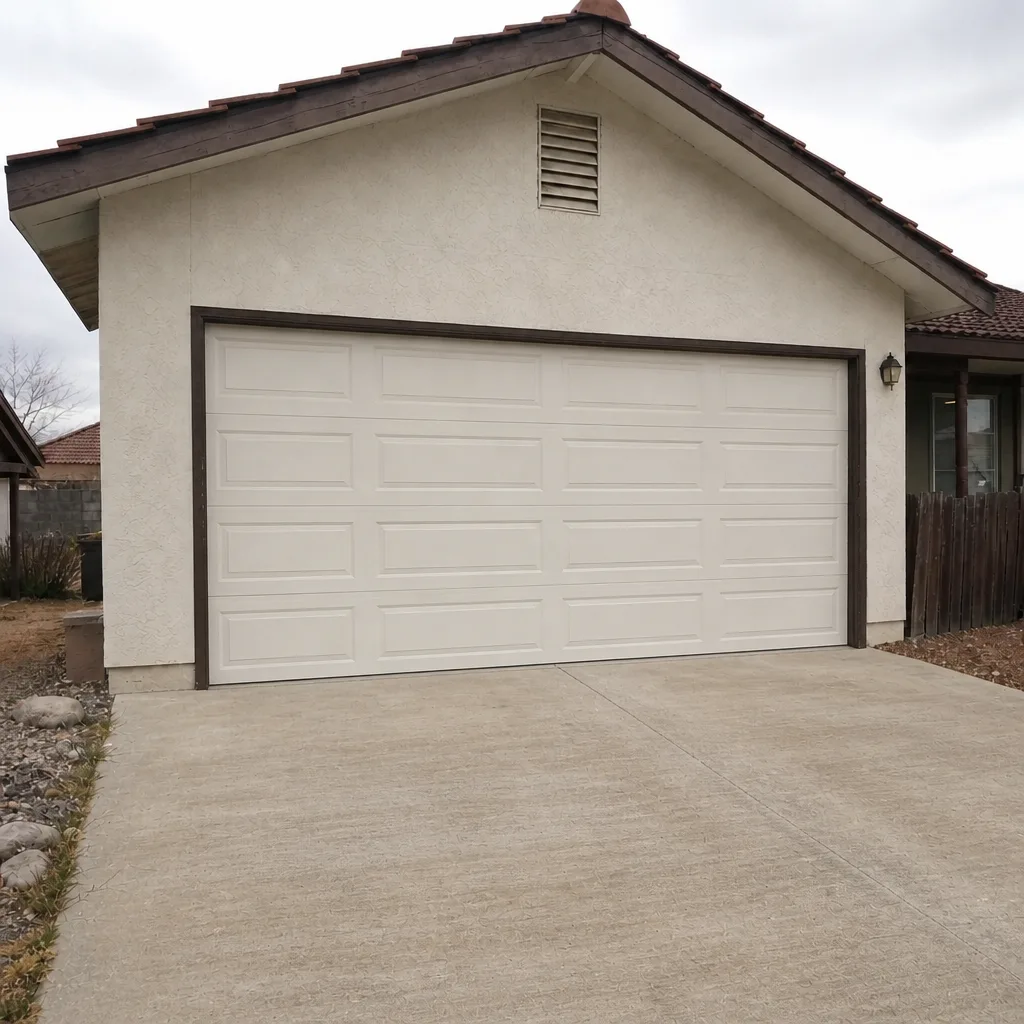 After
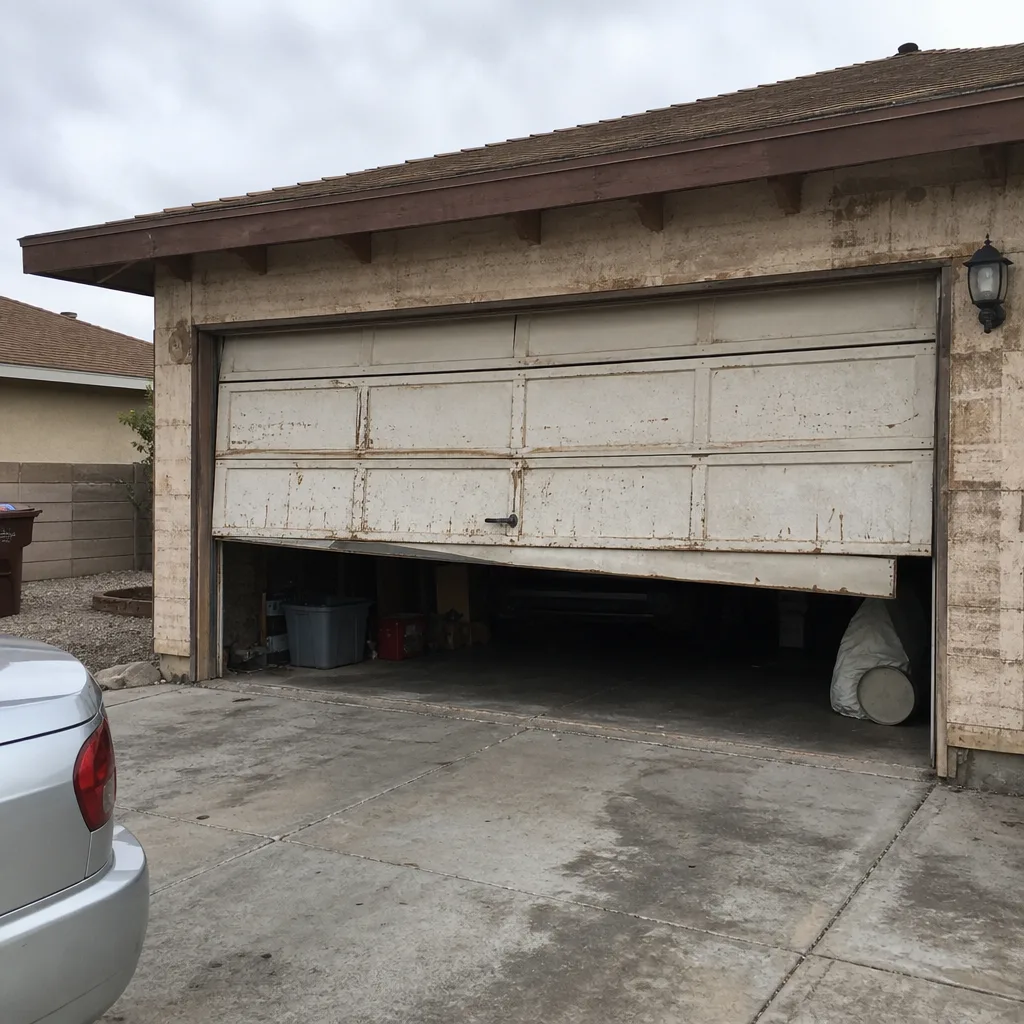 Before
 After
 Before
 After
When to Call a Professional
Call a technician if the door reverses at a consistent point, binds or jerks on the way up, leaves a gap at the floor that gets wider, the opener labors or trips, or you can hear grinding that wasn’t there in week one. Also call if you never got a written guarantee, or the installer hasn’t returned your calls. Each of those is a sign the setup needs correcting – and on the spring or cable side, it’s a sign you shouldn’t touch it yourself.
Bramwell Garage Door Repair Boulder City offers free estimates in Boulder City – call (844) 560-4479 and a live person answers, day or night. Our technicians have up to 25 years of experience, they’re background-checked, they arrive in a stated window, and they present a written price before any work starts. You’ll know exactly who’s in your driveway and exactly what the job costs before it begins. If this is a brand-new install and you’re still inside the installer’s window, we can look at it too – the same 365-Day Done Right Promise backs every repair we do. For the broader picture on Bramwell Garage Door Repair Boulder City home service, our main page spells out what the Kingswell standard means on every job.
Frequently Asked Questions
Almost always a limit switch that wasn’t calibrated to the door’s installed travel distance, or a force setting too low for the door’s actual weight. It’s a quick adjustment – not a defect. Call (844) 560-4479 for a free estimate and we’ll set the limits correctly.
About one to two weeks of normal use, or roughly 15 to 30 cycles. A properly installed door gets quieter and smoother over that period. If it’s getting louder or more erratic, that’s not break-in – that’s an installation issue worth having checked.
Yes. A complete walkthrough includes the photo-eye and mechanical reverse tests, a balance check, and a limit/force demonstration. If yours didn’t, the door may still work fine, but you’re missing the baseline – get a technician to verify it.
Most written installation warranties do, as long as the problem traces to setup rather than misuse. The 365-Day Done Right Promise covers any of our repairs for a full year: if it fails inside the period, we come back and fix it at no charge. That’s the standard in writing.
Only if you’re comfortable and the door isn’t binding or grinding. Limit adjustment on a Chamberlain, LiftMaster, or Genie opener is a safe, simple setting. But if you’re also fighting a binding door, that’s a track or spring issue – not a limit issue – and it needs a technician.
Every Bramwell location is independently owned and operated and works to the full Kingswell standard: background-checked technicians, a written price before work starts, a real arrival window, and a written guarantee on every job. Call (844) 560-4479 to confirm coverage in Boulder City.
The Bottom Line
Most “new garage door problems” in the first month aren’t defects – they’re settings and alignment from the install. A reverse before the floor is usually limit switches. Binding or a widening gap at the floor is a track or spring issue that needs a technician. The difference between a five-minute adjustment and a callback comes down to knowing which is which, and documenting the first thirty days so any early failure gets covered. Get the walkthrough. Get the guarantee in writing. If your installer is gone, call a company that answers. Bramwell Garage Door Repair Boulder City is here for both – free estimates, a written price before any work starts, and the 365-Day Done Right Promise backing every repair.
Written by the team at Bramwell Garage Door Repair Boulder City.