
Last updated November 18, 2026
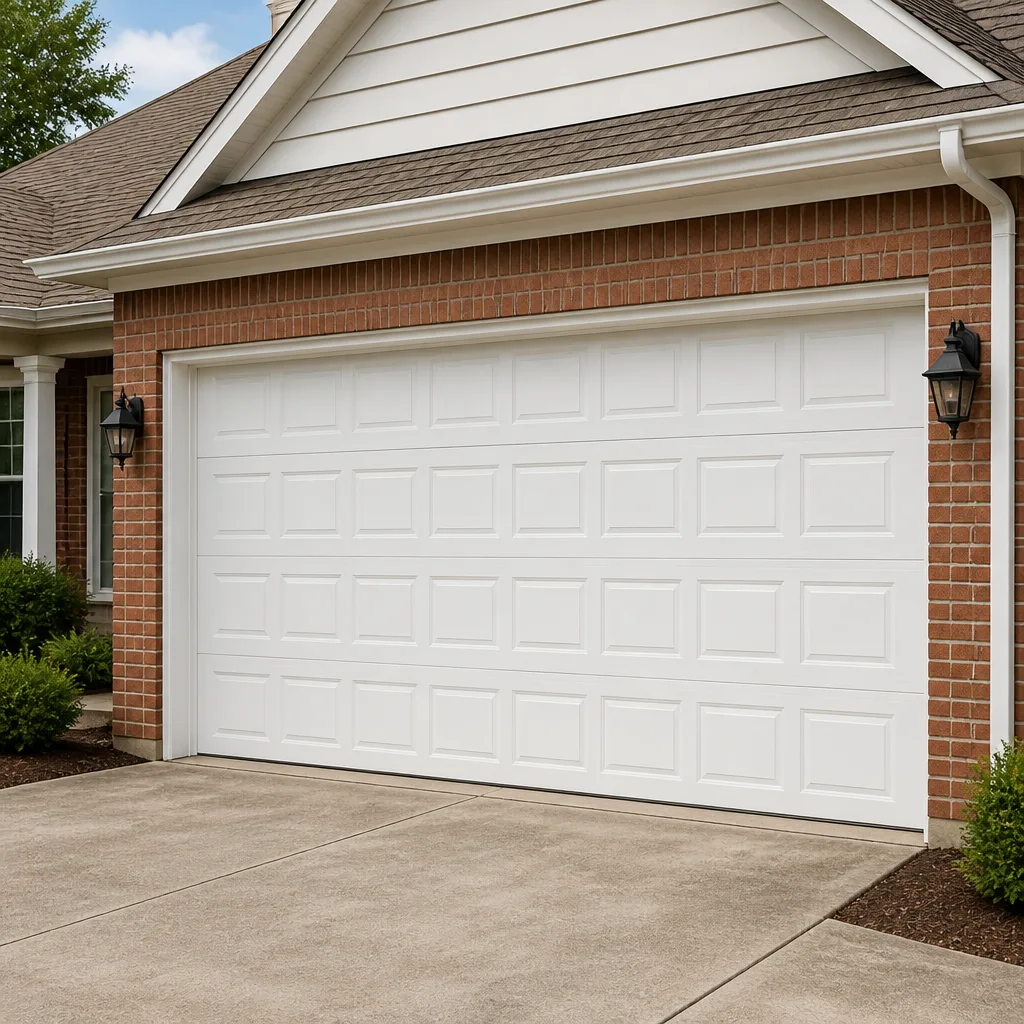 Raised-panel steel
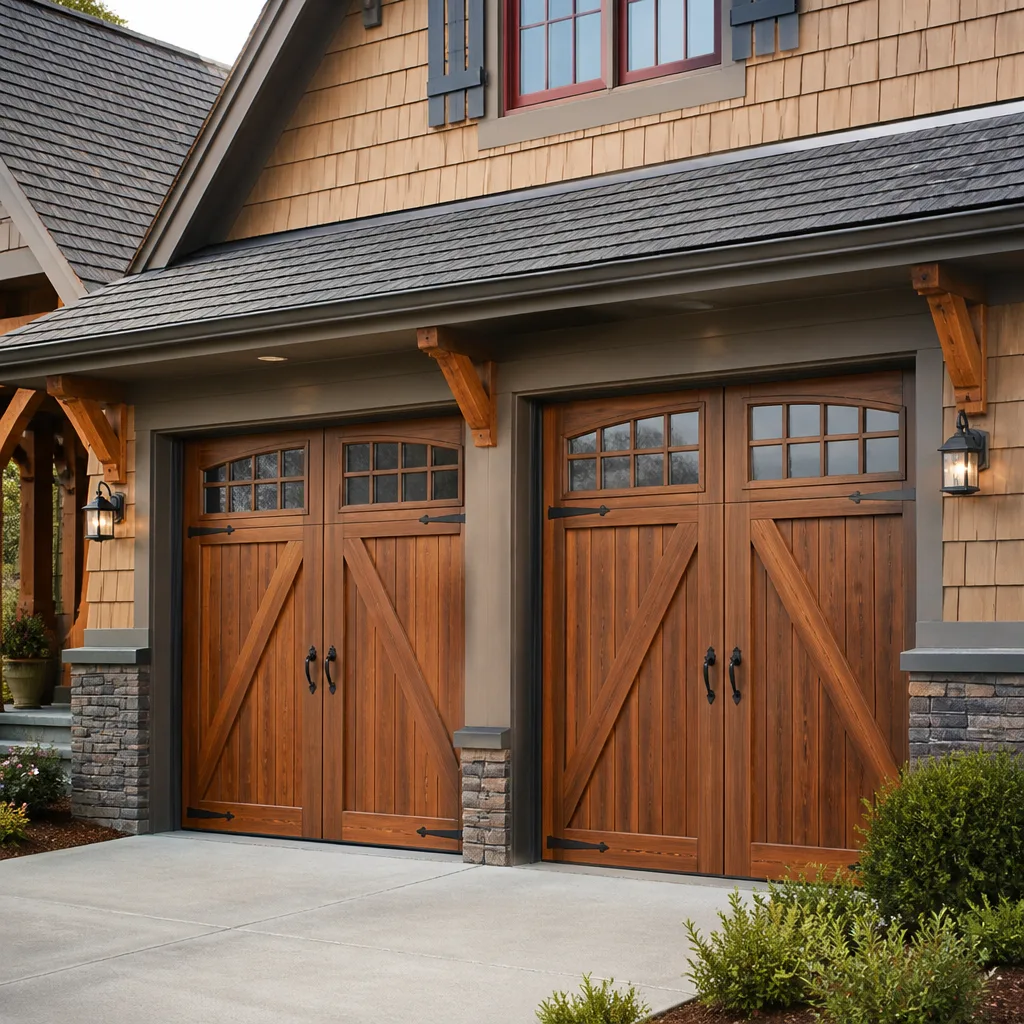 Carriage house
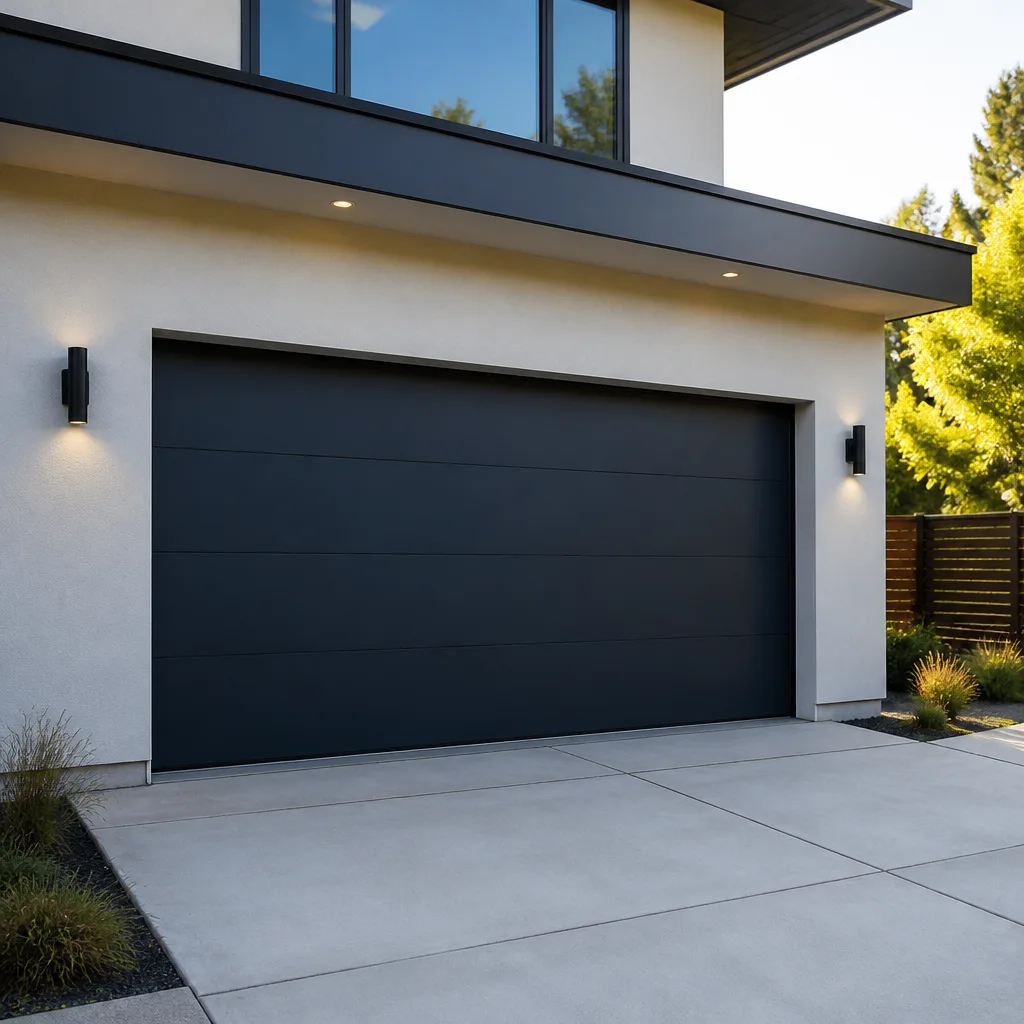 Modern flush
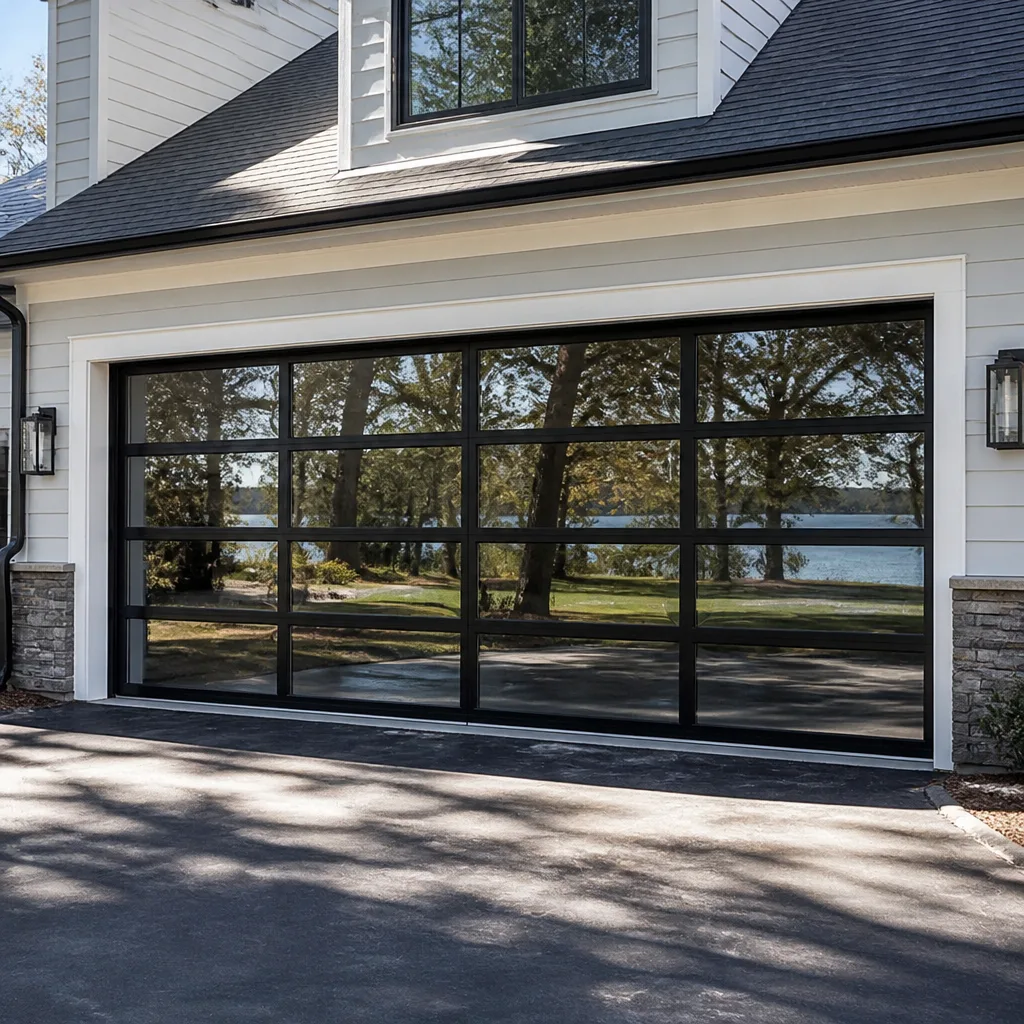 Full-view glass
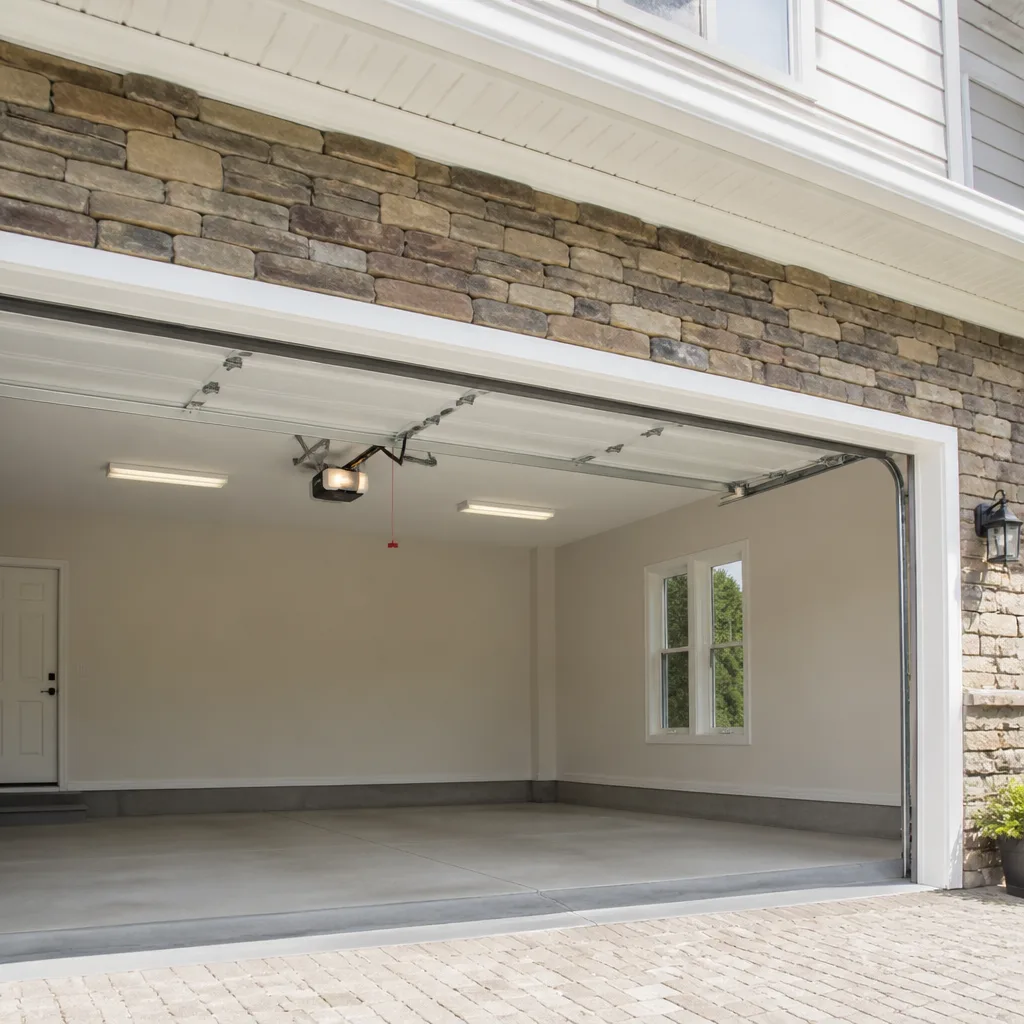 LiftMaster openers
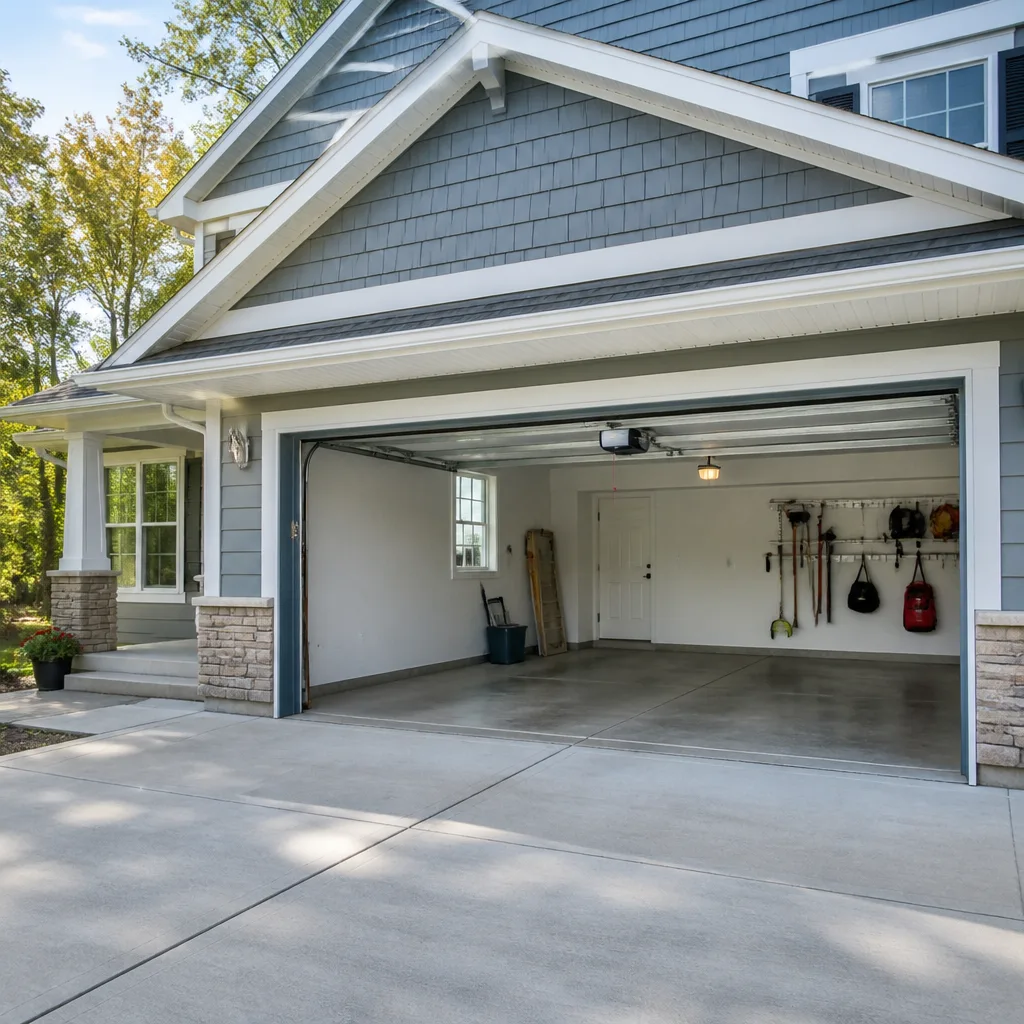 Chamberlain openers
Full 25-point door and opener safety check with every visit - springs, cables, rollers, tracks, and your LiftMaster or Chamberlain opener included
You get a price before we start. It does not change when the pro arrives.
Get your free estimateDIY vs Professional Garage Door Opener Repair: What’s Safe to Do Yourself
A torsion spring stores roughly the same energy as a loaded crossbow. The opener motor does not. Treating both as equally risky, or equally safe, is where most garage door injuries happen. When the door stops working, the question homeowners should ask isn’t “How handy am I?” It’s “Which part am I touching?” That single distinction – stored energy versus low-voltage logic and motion – is the clearest, safest guide you can use. In this guide, we’ll draw a hard line between opener-system parts and door-system parts, list the jobs a careful homeowner can genuinely handle, name the ones that only look simple, and explain what a professional measures during a repair that a video tutorial can’t replicate. We’ll also give honest cost math for Boulder City homeowners so you can decide with facts, not fear.
Quick Answer
Reprogramming remotes, aligning safety sensors, lubricating tracks and rollers, and replacing a worn trolley carriage on a belt-drive opener are genuinely safe DIY tasks. Anything that involves torsion springs, cables, bottom brackets, force settings, travel limits, or locking the door out of manual override should be handled by a trained technician, because those parts hold stored energy or directly control how the door falls. If your door won’t move at all or the opener clicks but nothing happens, that’s a diagnostic call, not a wrench in your hand.
Styles & brands we work with
- Raised-panel steel
- Carriage house
- Modern flush
- Full-view glass
- LiftMaster openers
- Chamberlain openers
Table of Contents
- The One Rule That Decides DIY vs Professional
- Opener-System Parts vs Door-System Parts: A Clear Line
- Six Opener Repairs That Are Genuinely Safe to Do Yourself
- The Jobs That Look Simple but Aren’t
- What a Professional Actually Does in a Repair Visit
- The Cost Math: When a $15 Fix Becomes a $300 Repair
- Boulder City Conditions That Speed Up Wear
- Common Mistakes to Avoid
The One Rule That Decides DIY vs Professional
Every garage door system is really two systems stacked on top of each other. The opener is the electric system – a motor, a logic board, sensors, remotes, and a rail. The door is the mechanical system – springs, cables, brackets, and hinges. One runs on low-voltage logic and light mechanical movement. The other is a tensioned machine that can cause serious injury in less than a second.
Here’s the practical version: if the part can move on its own or needs to be released before you touch it, stop. If the part only works when the opener sends a signal and doesn’t counterbalance any weight, it’s usually fair game for a careful homeowner with a step stool and a screwdriver.
We’ve seen this play out repeatedly in Boulder City. A homeowner confidently reprograms a dead remote, saves forty dollars, and feels great. Then the same person reads a badly written online guide about “just twisting the spring back,” tries it, and ends up with a bent door panel and a bill ten times higher than a scheduled repair. The skill level between those two tasks isn’t the difference. The stored energy is.
Understanding which part is which makes the decision simple and fast:
- Stored energy: torsion springs (the heavy coil above the door), extension springs (the coils running along the sides), cables, and bottom brackets.
- Low-voltage, no stored energy: motor head, logic board, remote and keypad, trolley carriage (once released), safety sensors, wall button, and limit switches (with the door down and the opener unplugged).
That’s the framework. The rest of this guide fills in the detail – what to do, what to skip, and when a call to Bramwell Garage Door Repair saves time and money on top of the safety question.
Opener-System Parts vs Door-System Parts: A Clear Line
Opener systems and door systems get discussed as one unit because they work together, but they are built very differently. Here’s the breakdown we use with customers during a service visit, and it’s worth reading twice.
Opener-System Parts (usually safe for careful DIY)
- Motor head – the box on the ceiling that contains the drive and the logic board.
- Logic board – the circuit board that interprets remote signals and safety sensor input.
- Remote controls and wireless keypads – the hand-held and outside-wall remotes that open the door.
- Trolley carriage – the sliding piece on the rail that connects the door arm to the opener’s belt or chain.
- Safety sensors – the two small eyes at the bottom of the opening that stop the door if something crosses them.
- Wall button and photo-eye wiring – low-voltage wiring that carries signal, not power.
- Limit switches – the internal stops that tell the opener how far to travel.
On major brands like LiftMaster, Chamberlain, Genie, and Craftsman, most of these components are user-accessible by design. You can reprogram a remote or swap a trolley without going near a spring.
Door-System Parts (not for DIY)
- Torsion springs and extension springs – carry hundreds of pounds of counterbalance.
- Lift cables – run under tension along the sides of the door.
- Bottom brackets and drums – hold the cable under load and can release suddenly.
- Center bearing plate and spring anchor – the assembly the torsion system depends on.
These are the crossbow. No repair on them is a “watch a video” job. When a cable snaps or a spring breaks at a Boulder City home, we treat the door as under load until it’s secured – and we’d want any homeowner to do the same.
If any of the door-system parts need attention, that’s a Garage Door Spring Repair in Boulder City call, not a Saturday project.
Six Opener Repairs That Are Genuinely Safe to Do Yourself
If the opener is on but the door won’t respond, or a remote suddenly quits, the fix is often simple, and it’s completely reasonable to try these six tasks yourself before calling. Each one keeps you away from springs and cables.
- Reprogram a remote or wireless keypad. Every major brand uses a “learn” button on the motor head. Press it, then press the remote within a few seconds, and you’re done. If your remote stopped working after a power outage or an unusually dry Boulder City winter, this is almost always the fix.
- Align the safety sensors. Look for a solid light on each sensor. If one is blinking, the lenses don’t see each other. Wipe the lenses, then nudge the bracket until both are solid. Sun glare, dust, and a slightly bumped bracket are the common causes.
- Clean and lubricate the track and rollers. Wipe the track with a dry cloth, then apply a small amount of garage-door-specific lubricant – not oil, not WD-40 – to the rollers. This quiets the door and reduces strain on the opener.
- Replace a worn trolley carriage on a belt-drive unit. Once you’ve pulled the emergency release handle so the door is detached and fully down, the trolley can be removed with basic hand tools. This is one of the few repairs a confident homeowner can do without specialized tools.
- Change the battery in the remote or wall unit. It sounds obvious, but a dead coin-cell battery in a wall remote is one of the most common service calls we get in Boulder City. Swap the battery, then re-test.
- Reconnect and re-test the emergency release. If someone pulled the red handle, the trolley needs to be re-engaged on the belt. Pull the handle toward the motor until it clicks, then run the door with the opener and confirm normal travel.
Each of these tasks is reversible, keeps you away from stored energy, and takes 5-20 minutes. If you don’t feel comfortable on any one of them, that’s fine too – a scheduled repair is cheaper than a fall from a step stool.
The Jobs That Look Simple but Aren’t
Every year we get called to fix something that started as a “quick adjustment.” These are the jobs that look safe on video and go wrong quickly in real life.
Adjusting travel limits incorrectly
Travel limits tell the opener how far to push the door before it stops. If they’re set too far, the opener drives into the ceiling stop and can strip the drive gear or buckle a top panel – especially on lighter steel panels used on many Clopay and Wayne Dalton models. If they’re set too short, the door reverses before it fully seats, and the weather seal fails. On some openers, the travel limit adjustment and the force adjustment share nearby screws; touch the wrong one and the door won’t reverse properly on obstruction. That’s a safety failure, not a convenience failure.
Forcing a door off its track during “manual override”
Pulling the emergency release is the correct step for a stuck door. Forcing a door that’s jammed on the track is the wrong one. A door that comes off a bent track can drop several feet in under a second, and the momentum of a full door is more than one person can arrest. If the door won’t open smoothly by hand with the opener released, stop. That’s a mechanical fault, not a released-trolley problem.
Swapping a broken torsion spring or cable “by feel”
The correct wind of a torsion spring depends on the door’s weight, height, and drum size. Getting it close isn’t good enough – an undertensioned spring lets the door drop, and an overtensioned spring strains the cables until one snaps. Neither is a job that YouTube shows you how to do safely, and neither is worth attempting.
Adjusting the force setting to compensate for a stiff door
When a door gets stiff, the temptation is to crank up the opener’s force setting so it pushes through. That masks the real problem (usually rollers, hinges, or a spring losing tension) and removes the safety margin the opener is supposed to give you. A door that needs more force to close is a door that needs a service visit, not a force increase.
What a Professional Actually Does in a Repair Visit
Here’s the part most DIY guides skip. A trained technician isn’t just doing the same tasks with better tools – the technician is doing a series of measurements and checks that a homeowner can’t replicate with a wrench and a phone tutorial.
- Reads fault codes from the logic board. Modern openers from Genie, LiftMaster, and Chamberlain store short flash codes that tell the technician exactly what the board saw – a blocked sensor, a stalled motor, a limit fault. That single step narrows the repair down in under two minutes.
- Measures the door’s balance and spring torque. The technician lifts the door by hand at the halfway mark and checks whether it stays put. That tells them if the springs are still doing their job or if the opener has been compensating for a weakening spring without the homeowner knowing.
- Calibrates force settings with a gauge. Force isn’t a “feel it” setting. It’s measured against the manufacturer’s spec, so the door reverses within a safe distance when it meets something.
- Checks cable tension and drum seating. A cable that’s starting to slip a drum is not visible from the outside. Catching it on a service visit is often the difference between a repair and a full replacement.
- Tests the door’s full cycle at load. Up and down multiple times, with the safety reversal checked at the right spot on the floor. If the reverse threshold is off, the technician adjusts it – not to hide a problem, but to bring the door back to spec.
That’s what “professional repair” really means. When you call us through Bramwell Garage Door Repair Boulder City home, a background-checked technician arrives inside a stated window, presents a written price before any work starts, and hands over a written guarantee on the repair. If a covered repair fails inside the guarantee period – the 365-Day Done Right Promise – we come back and correct it at no charge.
The Cost Math: When a $15 Fix Becomes a $300 Repair
Honest cost math helps homeowners make better decisions than scare tactics. Here’s how the numbers actually land in the Boulder City market.
| Task | DIY Cost | Professional Cost | Risk if DIY Goes Wrong |
|---|---|---|---|
| Reprogram a remote | $0 | Usually included in a service call | None |
| Replace remote battery | $3-$8 | Included in a service visit | None |
| Realign safety sensors | $0 | Included in a service visit | None if alignment only |
| Lubricate track and rollers | $10-$20 | Included in maintenance | None |
| Replace trolley carriage (belt drive) | $15-$30 in parts | $80-$160 installed | Minor if released correctly |
| Adjust travel limits | $0 (attempt) | $60-$120 | $150-$300 panel or drive damage |
| Replace logic board | $40-$90 in parts | $130-$250 installed | Wiring faults; voided warranty |
| Torsion spring replacement | Not DIY | $150-$280 parts and labor | Serious injury risk |
The pattern is clear. The tasks under thirty dollars of parts are usually worth a try. The tasks that involve force settings, travel limits, or springs are the ones where a DIY attempt most often turns into a $300 repair because the door, the tracks, or the drive mechanism gets damaged on the way to a “cheap” fix.
Two more numbers worth knowing. Most opener repairs in Boulder City run $80-$220 parts and labor included, and a full opener replacement (motor head only, not the door) usually runs $350-$650 depending on model and drive type. When a diagnostic visit costs less than a repair attempt that might ruin a panel, the visit pays for itself. Free estimates are available from Bramwell Garage Door Repair – call (844) 560-4479 for a written price on any opener repair.
Boulder City Conditions That Speed Up Wear
Garages in Boulder City age differently than garages in wet climates. We see specific patterns here that homeowners don’t get warned about in generic online guides.
- Dust and grit. The dry Mojave air carries fine dust that settles into the tracks and rollers. That grit is abrasive. It wears the bearings on rollers faster than humidity ever would, and it makes the door sound louder than it should after a few years. Lubricating the rollers twice a year is not a scam at a Boulder City address – it’s a genuine extended-life move.
- Extreme summer heat. The logic board inside the opener runs warmer than it should when the garage hits 110°F in July and August. We get more “opener clicks but doesn’t run” calls in June through August than any other time of year. It’s not a coincidence – the board’s internal thermostat is doing what it should be doing.
- Dry winter air and cracked rubber. The same dry air that cracks skin cracks the rubber weather seal at the bottom of the door. When the seal cracks, air leaks, and the opener forces the door past a seal that no longer compresses. Small loads stack up on the opener over a few seasons.
- Ranch-style homes and longer door cycles. Many Boulder City homes have wide single-car or double-car doors with more cycles per day than a climate-controlled garage in a wetter city. More cycles mean faster wear on the trolley carriage, the moving hinges, and the drive belt or chain.
If you live near Boulder City High School or out toward the lake, that drive away from the cooler valley floor means your garage is running warmer, drier air than a homeowner down the hill – the opener’s board works a little harder, and the rollers need a little more attention. Not a huge difference, but it shows up in service history.
Our technicians have up to 25 years of experience, and much of that time has been spent on this kind of heat-and-dust wear. When you call Garage Door Repair in Boulder City, we’ll name what we see instead of guessing.
Common Mistakes to Avoid
- Assuming the opener is broken when the door is the problem. Nine times out of ten, when a homeowner calls saying “the opener broke,” it’s a balance issue, a stiff roller, or a broken spring. If the door is hard to lift by hand with the opener released, the door – not the motor – needs attention.
- Using WD-40 on the tracks. WD-40 attracts dust. In Boulder City, that means dusty WD-40 gumming up the rollers within a month. Use a purpose-made garage door lubricant, and use it sparingly.
- Disengaging the emergency release without securing the door. If the door is propped up on one side or sitting halfway, the release can let it drop. Always lower the door fully before pulling the release handle, or get hands on the door first.
- Cranking up the opener’s force setting to quiet a noisy door. That removes the safety margin and hides the real problem – usually rollers, hinges, or a spring losing tension. Fix the source, not the symptom.
- Trying to adjust travel by ear. Modern openers need travel set to spec. A door that reverses two inches too early or drives into the ceiling stop shortens the drive gear’s life – especially on chain-drive units that don’t flex the way belt drives do.
- Ignoring rust on an Amarr or Clopay steel panel. It’s easy to ignore the small bubbling rust on a panel bottom. Left alone, it lets moisture into the panel seam, warps the panel, and eventually binds the door. Panel-level maintenance is a Boulder City habit worth building.
- Buying a replacement opener before diagnosing the door. A new opener installed on a door with a weakening spring or a bent track will fail too. Diagnose first, then buy – never the other way around.
See the difference
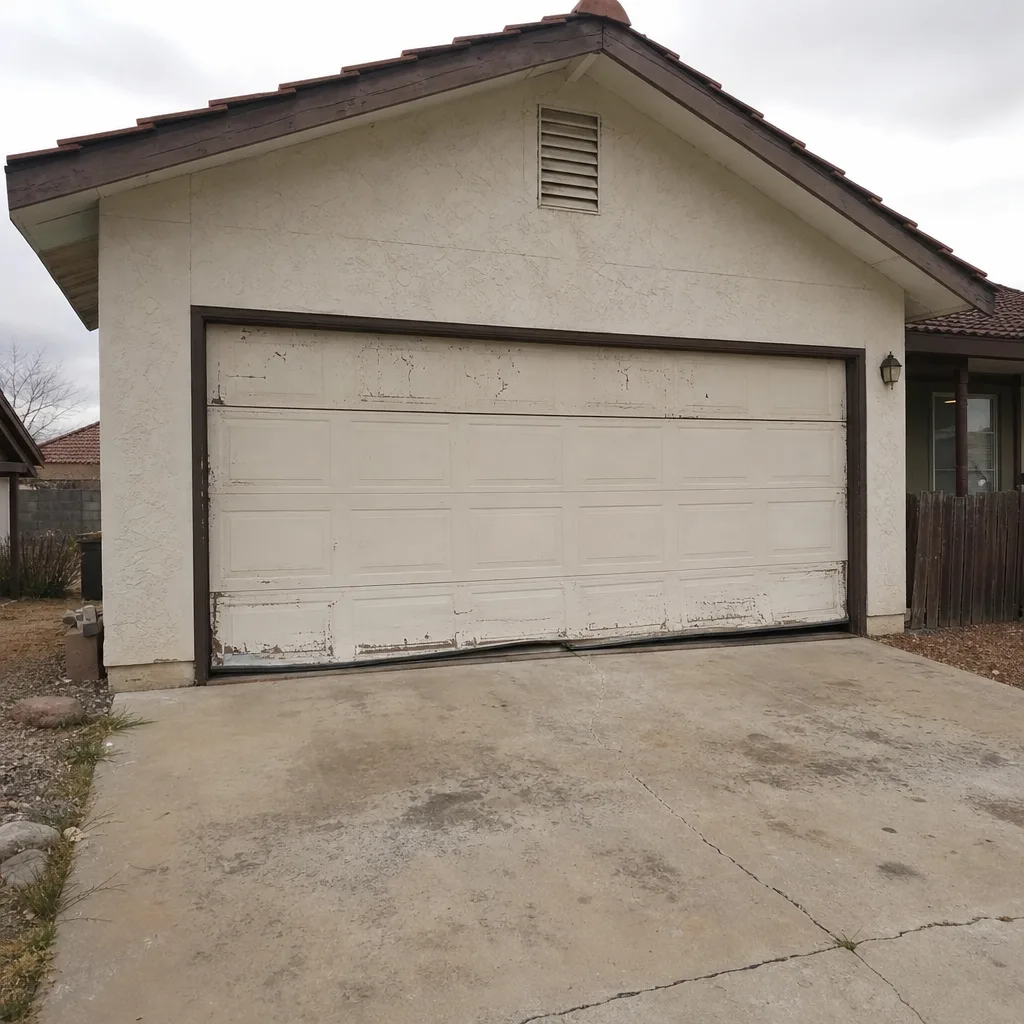 Before
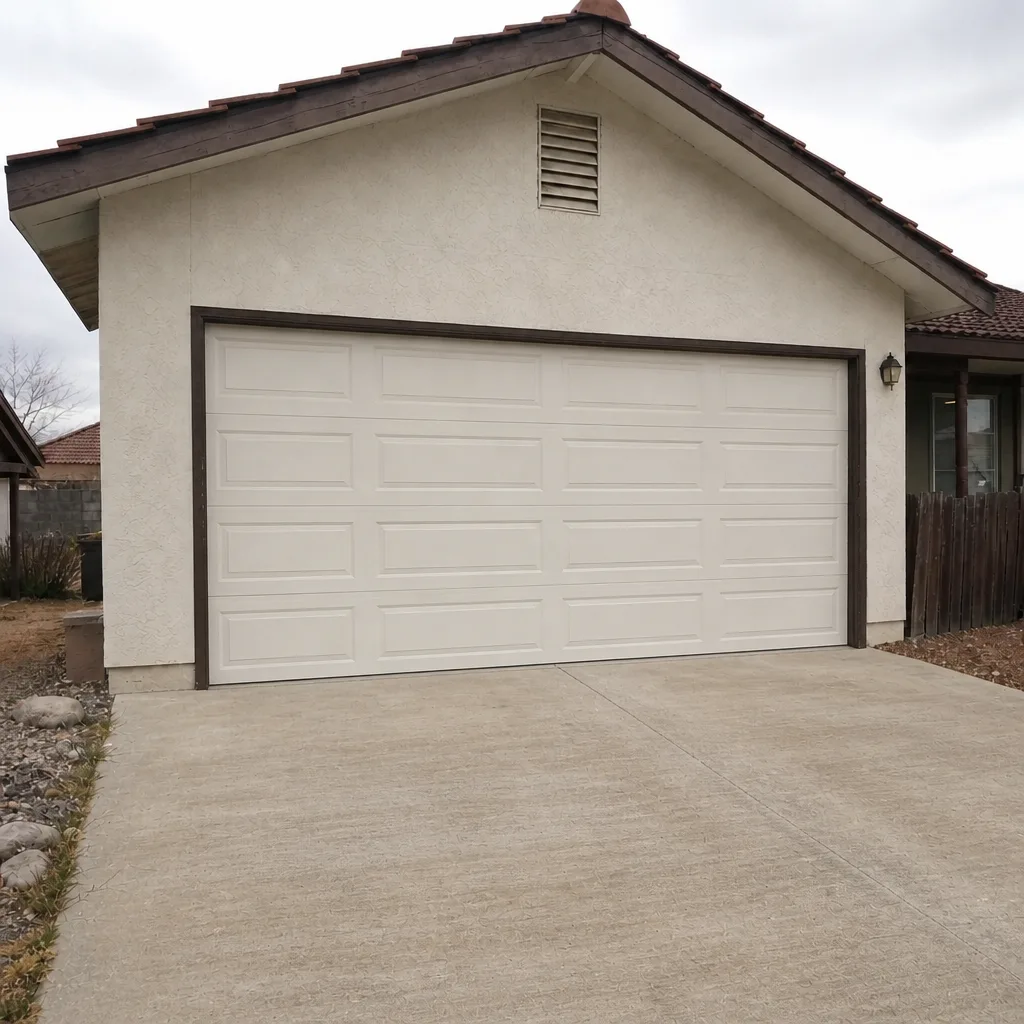 After
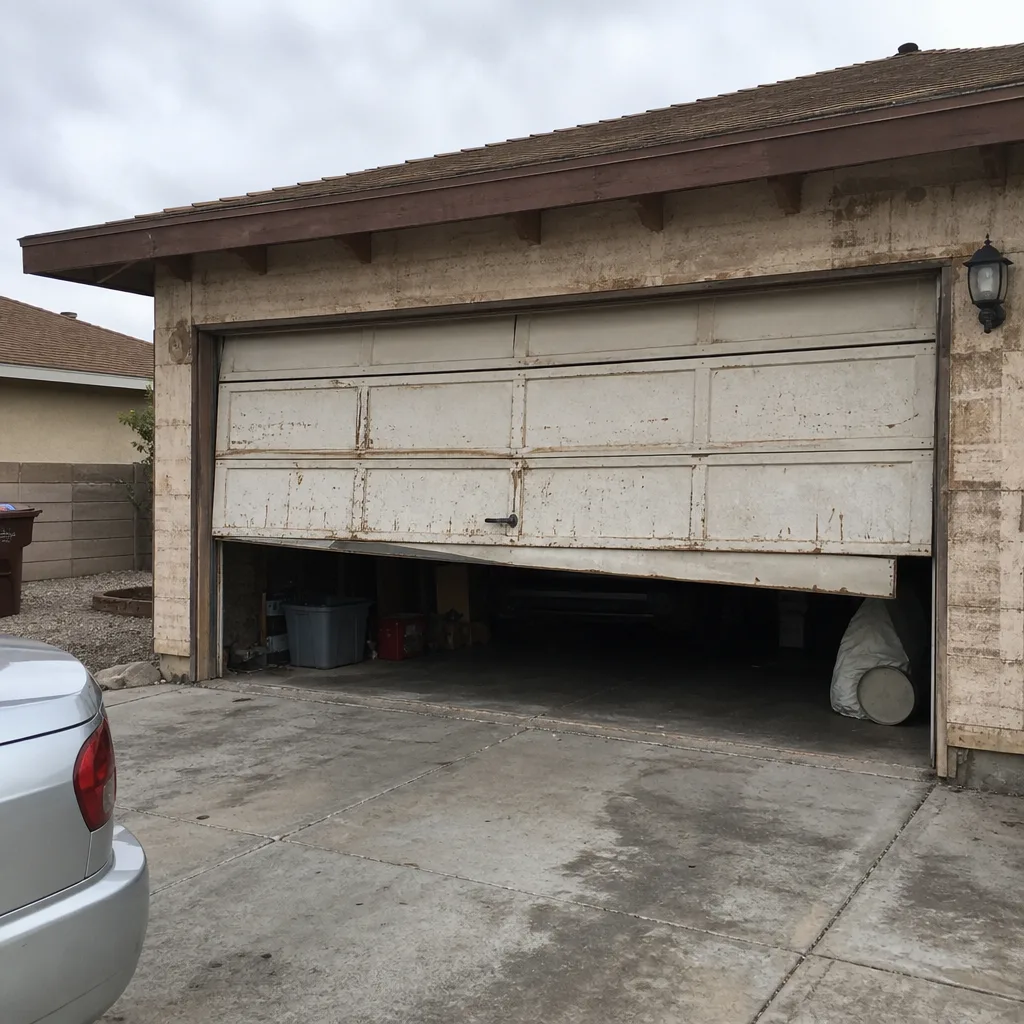 Before
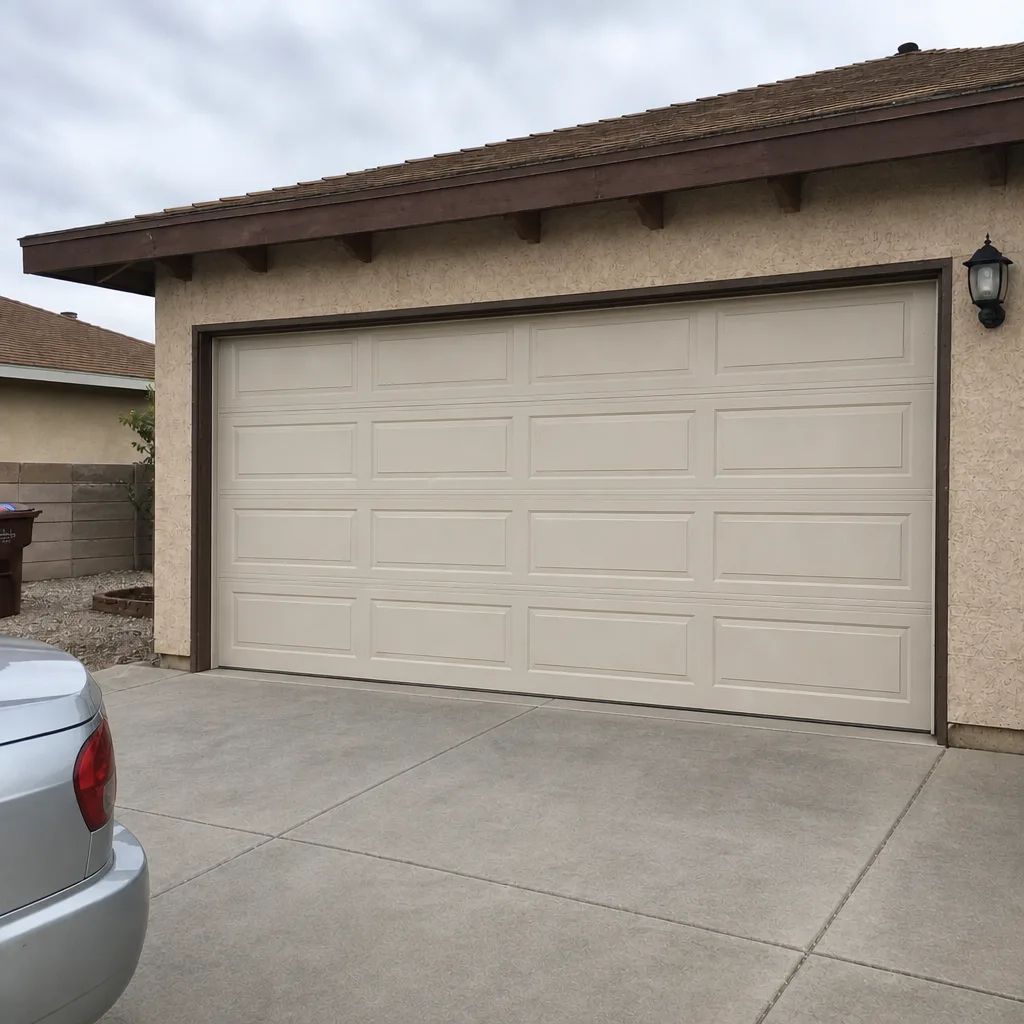 After
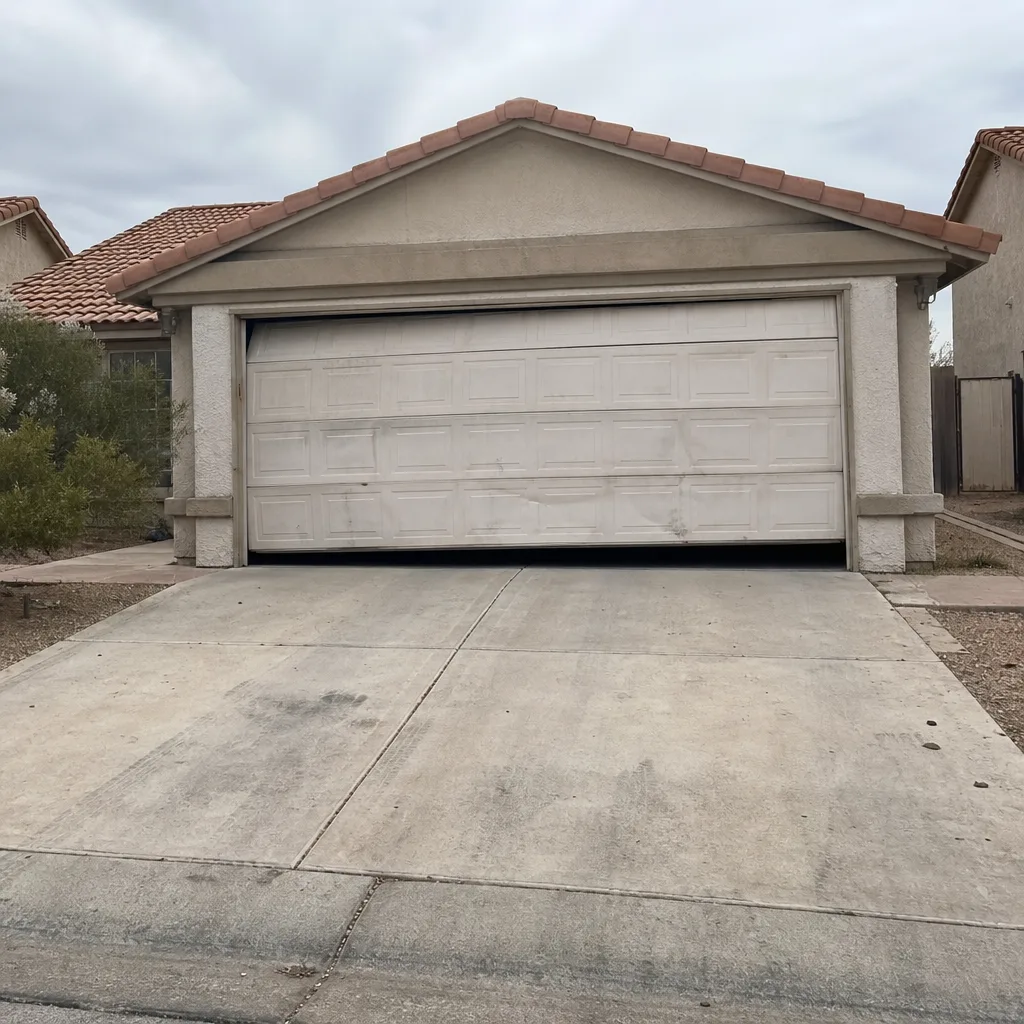 Before
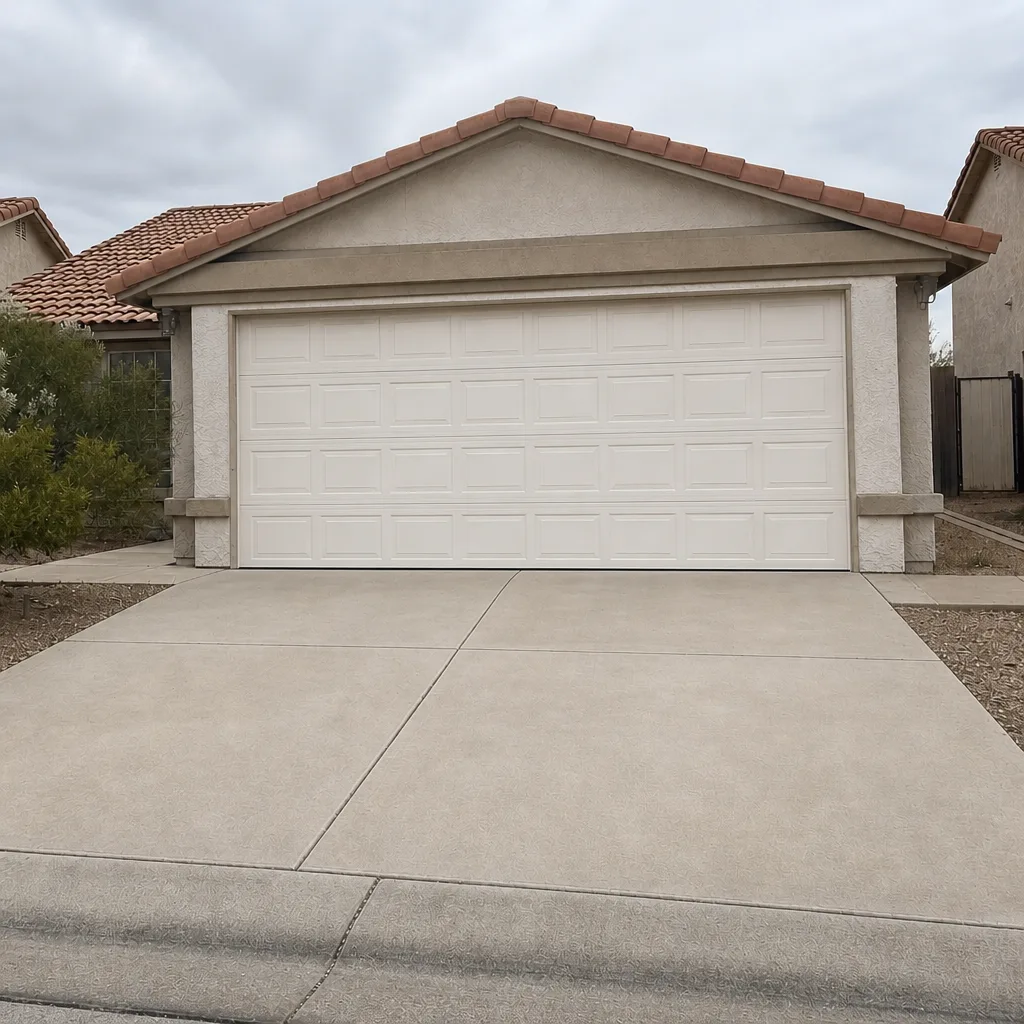 After
When to Call a Professional
Call us when the door won’t move at all, when the opener run but the door doesn’t follow, when you hear a snap or pop from above the door, when a cable is visibly slack or off the drum, when the door hangs unevenly, or when the bottom of the door needs a physical push to close. Call when you’ve tried the safe DIY steps and the problem is still there, and call before you attempt anything near a spring, cable, or bottom bracket. Bramwell Garage Door Repair Boulder City offers free estimates in Boulder City – call (844) 560-4479. A live person answers 24 hours a day, and every technician arrives background-checked, in uniform, and inside a stated arrival window. If you’re ready to talk about a door that needs replacing rather than repairing, Garage Door Installation in Boulder City has the same written-price approach.
Frequently Asked Questions
It’s safe if the work stays in the opener-system group – remotes, sensors, trolley carriage, lubrication, and battery replacement. It’s not safe once the work touches a torsion spring, extension spring, cable, or bottom bracket, because those parts hold enough stored energy to cause serious injury. The single safest rule for DIY: if the part can move on its own or needs tension released before you touch it, leave it for a trained technician.
Most opener repairs in Boulder City run $80-$220 parts and labor included, depending on the failure. A trolley carriage replacement usually runs $80-$160 installed, logic board replacement $130-$250 installed, and travel limit or force calibration $60-$120. Torsion spring replacement, if that’s the real issue, runs $150-$280 parts and labor included. Call (844) 560-4479 for an exact quote – estimates are free, and the written price we quote is the price that gets billed.
Stop using the door if you hear a snap or pop from above the door, if one side of the door hangs lower than the other, if a lift cable is visibly slack or off the drum, if the door reverses before it fully closes, or if the opener runs but the door doesn’t follow. Each of those points to a mechanical failure the opener is trying to hide, and continuing to run the door adds stress to panels, tracks, and the drive.
Travel limit adjustment is where most DIY opener attempts go wrong. The screws are close together on many models, and one of them is the force setting. Getting travel wrong can strip the drive gear, buckle a top panel, or leave the door unable to reverse properly. A technician measures the door’s full cycle and sets both travel and force to spec in a single visit, which is often less expensive than the damage the mistake can cause.
It depends on the opener brand and what you touched. Changing a battery or realigning a sensor rarely affects warranty coverage. Replacing a logic board without manufacturer guidance, or adjusting force settings outside spec, can void coverage on some brands. If your opener is still inside its warranty window, read the terms before starting anything beyond the safe list in this guide.
Yes to both. We work on all major brands, including LiftMaster, Chamberlain, Genie, Clopay, Amarr, Wayne Dalton, Craftsman, and Raynor, and we cover the whole Boulder City area – from ranch homes near the historic district to homes closer to the lake. Every visit includes a written price before any work starts, a real arrival window, a clean job site, and a written guarantee on the repair. If a covered repair fails inside the guarantee period, we come back at no charge.
The Bottom Line
The DIY vs professional question is not really about how handy you are. It’s about which components hold stored energy. Remotes, sensors, lubrication, and belt-drive trolley carriages are safe for a careful homeowner. Torsion springs, cables, bottom brackets, and anything that controls how the door falls belong with a trained technician. Add in the heat and dust of Boulder City, and the split becomes even clearer: the opener is something you can maintain between visits, but the door is a machine that deserves a professional eye. When you need one, call (844) 560-4479 for a free estimate in Boulder City.
Written by the team at Bramwell Garage Door Repair Boulder City.