
Last updated November 18, 2026
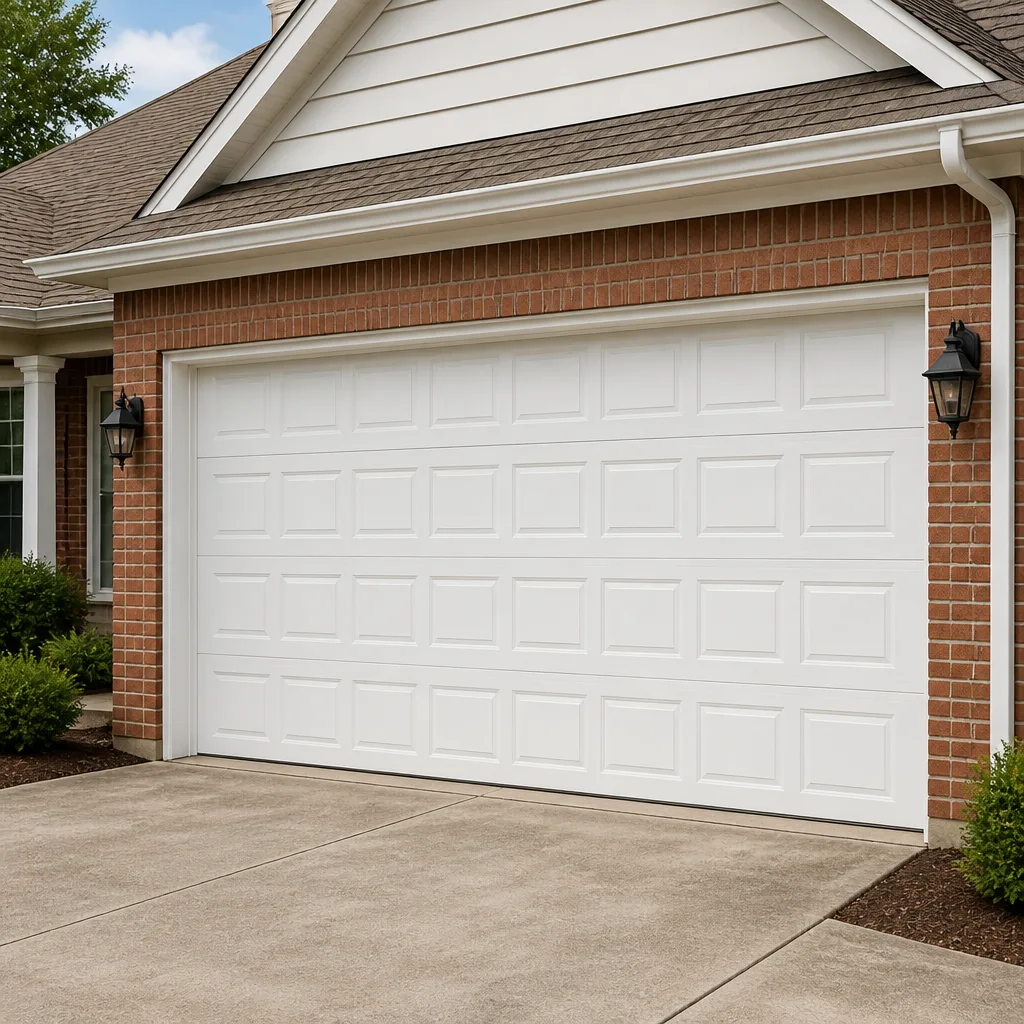 Raised-panel steel
 Carriage house
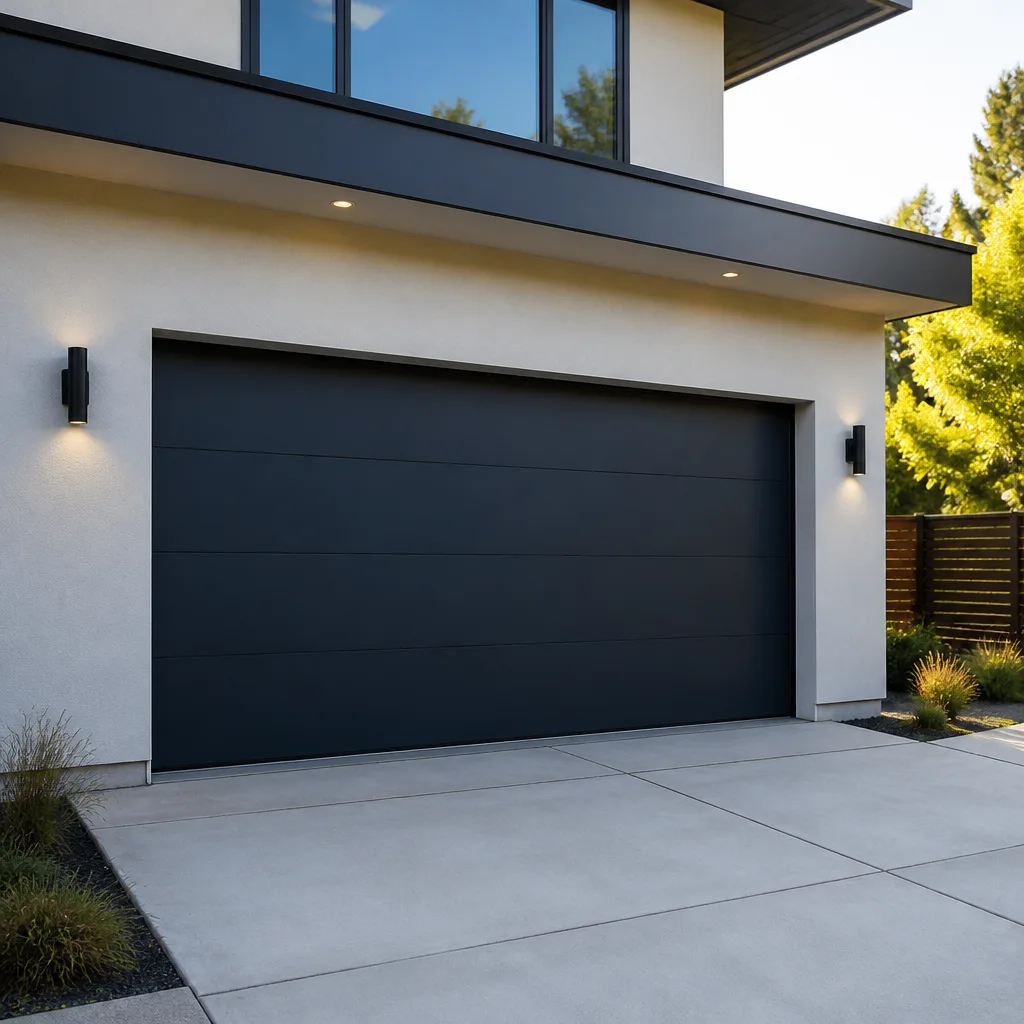 Modern flush
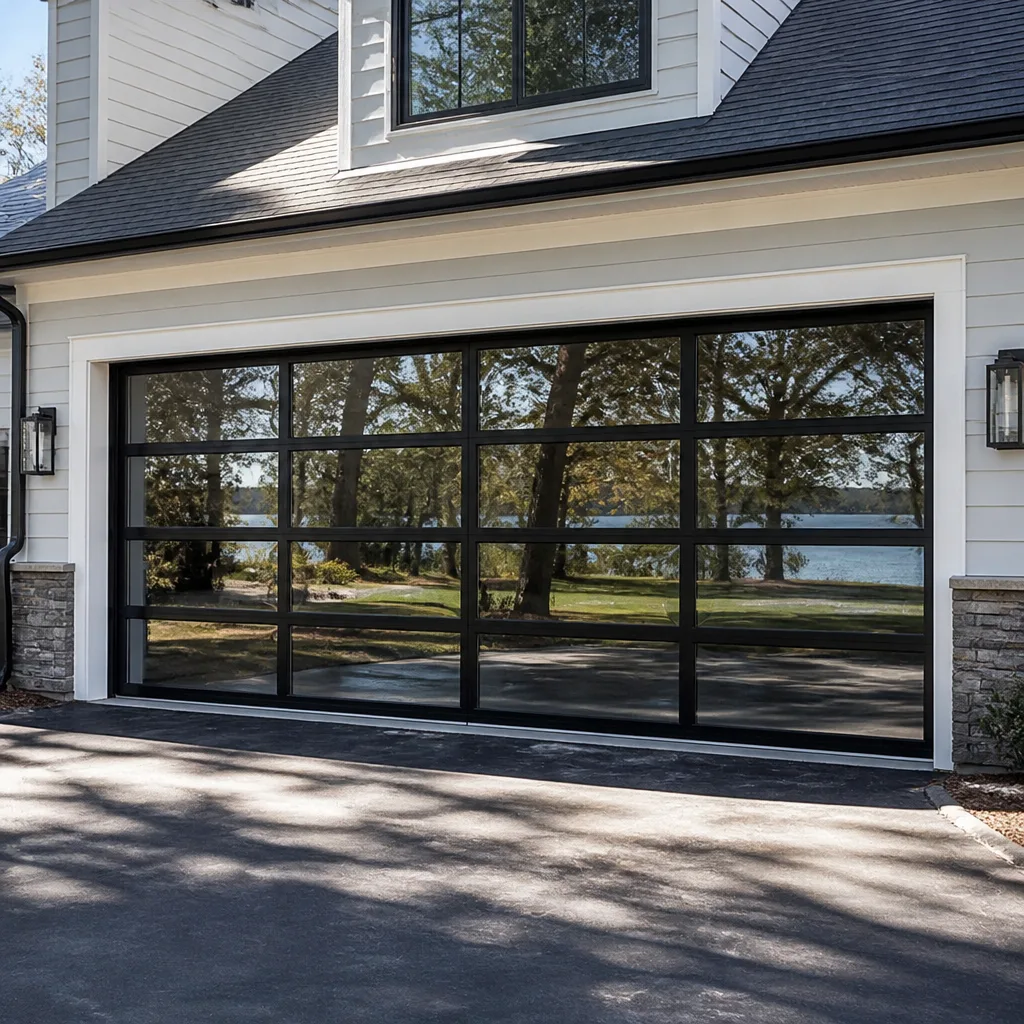 Full-view glass
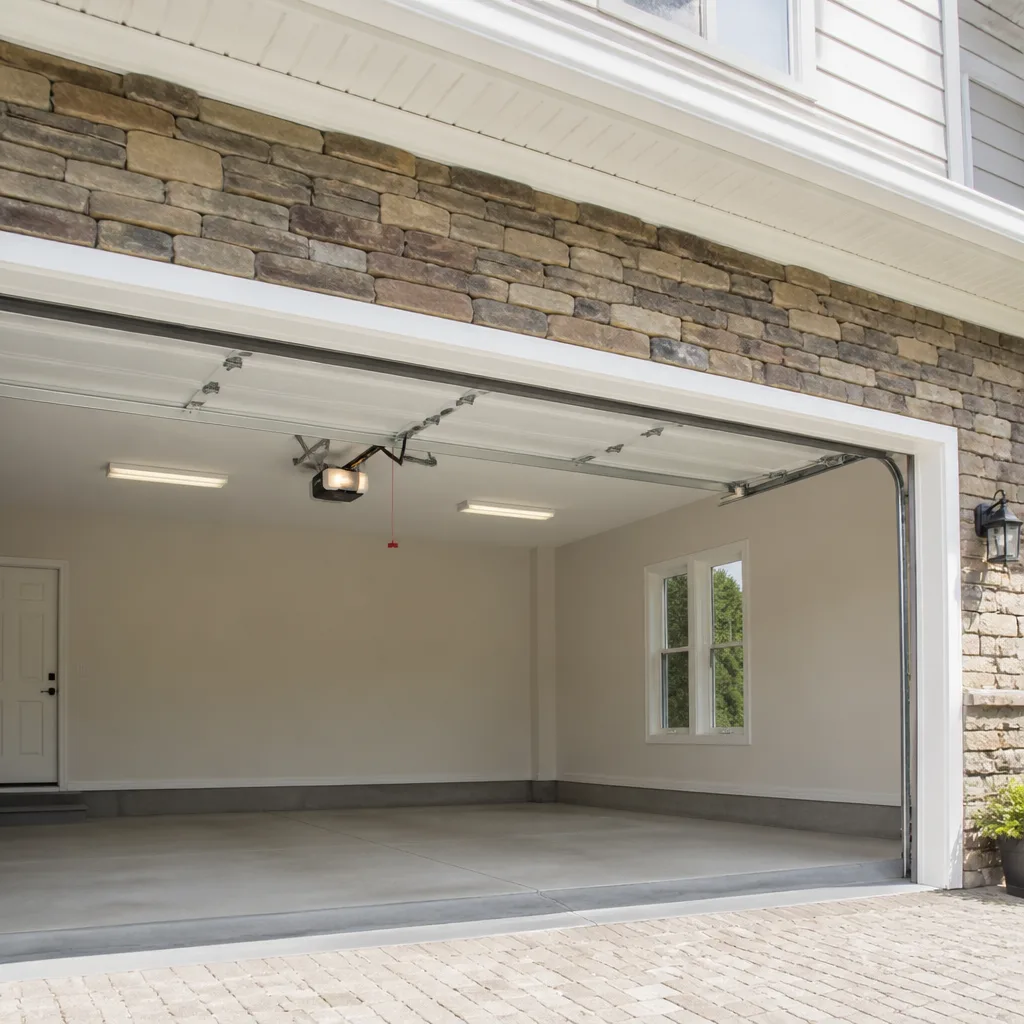 LiftMaster openers
 Chamberlain openers
Full 25-point door and opener safety check with every visit - springs, cables, rollers, tracks, and your LiftMaster or Chamberlain opener included
You get a price before we start. It does not change when the pro arrives.
Get your free estimateGarage Door Installation Maintenance Schedule: What to Do and When
New garage door hardware loses roughly 30% of its initial bolt torque in the first 90 days of use as metal components seat against each other. That single fact reshapes how you should think about maintenance after an installation. Most installers hand over a manual with a generic once-a-year checklist and move on, skipping the break-in phase entirely. In our experience servicing doors across Boulder City, the first twelve months decide whether a new door runs quietly for a decade or starts grinding by year two. This guide walks through the full first-year schedule, what each checkpoint actually involves, and how desert heat changes the rules here.
Quick Answer
After a new garage door installation, schedule checkpoints at 30 days, 90 days, 6 months, and 12 months. The first two visits focus on re-torquing fasteners and break-in lubrication; the later two confirm the door is tracking cleanly and that panel finishes survived their first Boulder City summer. After year one, move to a twice-yearly routine tied to your calendar.
Styles & brands we work with
- Raised-panel steel
- Carriage house
- Modern flush
- Full-view glass
- LiftMaster openers
- Chamberlain openers
Table of Contents
- Why the First Year Matters More Than Any Other
- The 30-Day Checkpoint
- The 90-Day Checkpoint
- The 6-Month Checkpoint
- The 12-Month Checkpoint
- Break-In Lubrication vs. Ongoing Lubrication
- Which Fasteners Need Re-Torquing (and How to Spot Them)
- How Boulder City Heat Affects New Panel Finishes
- Your Schedule After Year One
Why the First Year Matters More Than Any Other
A factory-fresh garage door is a system under tension. Springs are wound to spec, hinges are bolted straight, and the track is aligned to a fraction of an inch. When you first cycle the door, every one of those components begins to shift. Bolts turn a quarter-turn loose as paint and steel settle against each other. Rollers wear through their factory coating within weeks. The torsion spring, which handles most of the lifting weight, loses a small amount of its initial calibration as it cycles for the first few hundred times.
None of this is a defect. It’s normal break-in. But it does mean the first scheduled inspection catches more real issues than any later visit. We’ve seen doors in Boulder City where a loose hinge bolt went unnoticed for eight months and wallowed out the mounting hole, turning a two-minute tightening into a track realignment. The momentum is on your side in month one and working against you by month twelve.
New installations also carry one quiet advantage: the manufacturer’s hardware warranty. Missing a check that exposes a manufacturing defect can complicate a claim. Amarr and Wayne Dalton both expect the homeowner to notice abnormal wear early, so a documented inspection at 30 and 90 days gives you a record if something needs to be replaced under warranty.
The 30-Day Checkpoint
This is the most important single visit of the door’s life. Do it yourself or have a technician out. Here’s what to look at:
- Listen to the door cycle. Stand inside the garage and open and close it three times. Any new rattle, squeak, or hesitation is coming from a component that moved in the last month.
- Wipe and inspect the tracks. New tracks pick up metal bits from the rollers during the first weeks. Wipe them with a dry cloth only (no solvent), and check the rollers for flat spots.
- Hand-check every hinge bolt. With the door down, grasp each hinge and push side to side. Any movement means the bolt is loose.
- Look at the photo-eye alignment. The safety sensors near the floor should have solid indicator lights. Blown or misaligned sensors after a month usually mean the brackets settled.
- Check the balance. Disconnect the opener (pull the release cord) and lift the door halfway by hand. It should stay in place. If it drifts, the springs need adjustment.
If anything on this list feels off, that’s the signal to call. Balance issues especially deserve a trained eye, since torsion springs are under extreme tension and are not a homeowner service item.
The 90-Day Checkpoint
By day 90, roughly 30% of initial bolt torque has been lost on new hardware. Wait, that number isn’t universal. What we see in the field is that fasteners holding hinges and the bottom bracket show the most visible looseness by the three-month mark. This is the checkpoint for a real re-torque pass.
At 90 days:
- Re-torque the hinge bolts, the bottom bracket bolts, and the roller carrier bolts. A basic socket set does the job.
- Apply the second round of break-in lubrication to hinges, rollers, and the torsion spring (see the lubrication section below for the products that matter).
- Test the auto-reverse safety feature: place a 2×4 flat on the ground under the door, close it, and confirm the door reverses on contact.
- Inspect the weather seal at the bottom. In Boulder City, the seal can stiffen quickly in dry heat; look for cracking or a gap when the door is down.
If you have a Wayne Dalton or Craftsman opener, verify the travel limits and force settings haven’t drifted. The manual for your specific model will show the adjustment screws. A door that closes in a slightly different position than month one is telling you the mechanism has settled.
The 6-Month Checkpoint
Six months in, the door is through break-in and settling into its long-term wear pattern. The task here shifts from tightening to verifying. Do the following:
- Repeat the balance test (door disconnected, halfway up, should hold).
- Clean and lubricate the opener rail and trolley. Use the manufacturer’s recommended lubricant, not WD-40.
- Inspect the torsion spring for rust bloom at the coils; dry desert air can mask corrosion until it’s advanced.
- Check panel alignment: from inside the garage, look down the vertical seams. Any visible offset means a hinge or track bracket has shifted.
- Clear the photo-eye lenses and test them by blocking one with your hand while the door is closing.
This is also the checkpoint where we recommend a technician inspection if you haven’t had one, because it’s the point where real wear patterns can be read. In Boulder City homes, windblown grit gets into the tracks more than most places; the 6-month visit is a good time to talk about track cleaning.
The 12-Month Checkpoint
The first anniversary marks the end of the break-in schedule and the start of normal maintenance. It’s also the moment to look hard at finish condition and decide whether anything needs a warranty conversation.
- Panel finish review: scrub a small section with mild soap and water. If the paint underneath is evenly colored, the finish survived year one. Any bubbling, blistering, or peeling at the panel edges is a coating defect worth reporting to the installer or manufacturer before the warranty window narrows.
- Spring inspection: look for a light surface rust; that’s normal. Deep pitting or paint flaking is not.
- Full re-lubrication: return to the standard lubrication checklist, hinges to rollers to spring.
- Opener check: confirm the light bulb, safety reverse, and force settings are all still within spec.
- Photo-eye and safety test: repeat the 2×4 auto-reverse check.
Once you’ve cleared the 12-month visit, your schedule moves to the ongoing rhythm below. For any repair that surfaces during this schedule, our Garage Door Repair in Boulder City page covers how we handle those calls.
Break-In Lubrication vs. Ongoing Lubrication
The products you use during break-in should differ from the products you use after. New hardware ships with a light factory coating, and the wrong lubricant can either wash that coating off or cake on before the moving parts have seated.
For break-in (30 and 90 days): use a silicone-based spray lubricant on the hinges, rollers, and the torsion spring. Silicone is thin enough to penetrate tight clearances and doesn’t attract dust the way heavier grease does. On new rollers, a light silicone coat helps them spin smoothly while the bearing seats.
For ongoing (6 months and beyond): move to a garage door-specific grease or a white lithium grease on the hinges and the torsion spring. Rollers can stay on silicone. Do not use cooking spray, standard WD-40, or anything labeled as a “penetrating oil” as a lubricant; those are solvents, not lubricants, and they’ll leave the moving parts dry.
Take five extra minutes to apply the silicone with a cloth rather than spraying directly. In our experience the cloth method gets the product into the joint where it matters and keeps the overspray off your floor and off the panel finishes. On newer Garage Door Installation in Boulder City jobs, we always point this out to the homeowner before we leave.
Which Fasteners Need Re-Torquing (and How to Spot Them)
You don’t need a torque wrench to keep a new door tight. What you need is an eye for which bolts are load-bearing and which aren’t.
The ones that matter:
- Hinge bolts. These hold the individual panels together. They’re the most common thing to loosen in the first 90 days.
- Bottom bracket bolts. These hold the bottom roller carrier that the door’s lower edge rides on. Loose here means the door can bind.
- Track bracket lag bolts. These anchor the vertical track to the framing. If the door rattles on top of a wind gust, these are suspect.
- Opener mounting bolts. Where the opener rail meets the header, and where the motor hangs from the ceiling. New openers settle at the ceiling angle in the first weeks.
The test is simple: with the door down, hand-grab each hinge and try to move it side to side. Any play at all means tighten. For the track brackets, look for a faint dark ring or “witness mark” around the bolt head; that’s the paint sitting proud of the loosened bolt. Snug it with a standard socket or wrench, firmly but not aggressively. Over-tightening is its own problem, particularly on older framing where a lag bolt can strip the hole.
If a fastener won’t hold after tightening, that’s a sign the surround has worn out and you want a pro to look. Call it in rather than forcing it.
How Boulder City Heat Affects New Panel Finishes
New steel and aluminum panels expand and contract with temperature. A garage door facing west in Boulder City can cycle through 60°F of surface swing between a cool morning and a full afternoon sun, and that movement is normal. What matters is distinguishing the expected from the abnormal.
Normal in the first summer:
- A slight “oil-canning” sound when a large panel pops in the sun.
- Tiny gap adjustments at panel seams as the metal expands.
- Faint color shift on dark-painted panels as the paint cures.
Not normal, and worth reporting:
- Bubbling or blistering at the bottom edge of a panel where it meets the seal.
- Peeling at the factory seams or around hinge cutouts.
- Fading that’s noticeably uneven between panels.
Panel finishes on Amarr and Raynor doors carry a manufacturer warranty on the factory finish specifically, and defects that show up in the first summer are far easier to claim than later. Keep photos and the inspection date.
If you live near the historic district, remember that Boulder City’s design review rules apply to visible exterior changes. That’s worth knowing before you commit to a specific panel color on a new install. Our Garage Door Spring Repair in Boulder City page covers what to do if you notice spring problems during the first-year schedule, since springs are the one component we don’t recommend homeowners touch.
Your Schedule After Year One
Once the first twelve months are behind you, the maintenance rhythm simplifies. Move to a twice-a-year check, spring and fall, and use a simple calendar reminder system. Here’s what works for most homeowners:
- Set two recurring calendar events, one in April and one in October, each labeled “garage door check.” The April one catches pre-summer prep; the October one preps for the cooler season.
- Attach a short checklist to each event: lubricate hinges, rollers, and spring; hand-check hinge bolts; test photo-eye and auto-reverse; listen to a full cycle.
- Every three years, book a professional inspection. That’s where spring wear, roller condition, and opener health get the real once-over.
- Keep a note in your calendar of any repair or service call, so you have a history if a warranty question comes up.
Boulder City homes are hard on doors partly because of the dry air and windblown grit, and partly because most garage faces receive direct sun. Treat the schedule as a minimum, not a max. A door that gets opened 8 to 10 times a day needs more attention than one opened twice.
Common Mistakes to Avoid
- Skipping the 30-day check. It’s the highest-value visit of the door’s life, and most people forget it entirely.
- Using WD-40 as a lubricant. It’s a solvent, not a lube, and on new hardware it strips the factory coating fast.
- Over-tightening bolts. Snug is the target. On older Boulder City framing, an over-torqued lag bolt can strip out the stud.
- Ignoring the first-summer finish. Coating defects that show up in the first summer are much easier to claim under warranty than ones discovered later.
- Adjusting torsion springs yourself. Springs are under extreme tension and can cause serious injury. Leave them to a trained technician.
- Letting the auto-reverse test slide. The safety feature is a two-minute check and it’s the single most important safety component on the door.
- Not documenting anything. A written record of inspections and services makes any warranty conversation simpler.
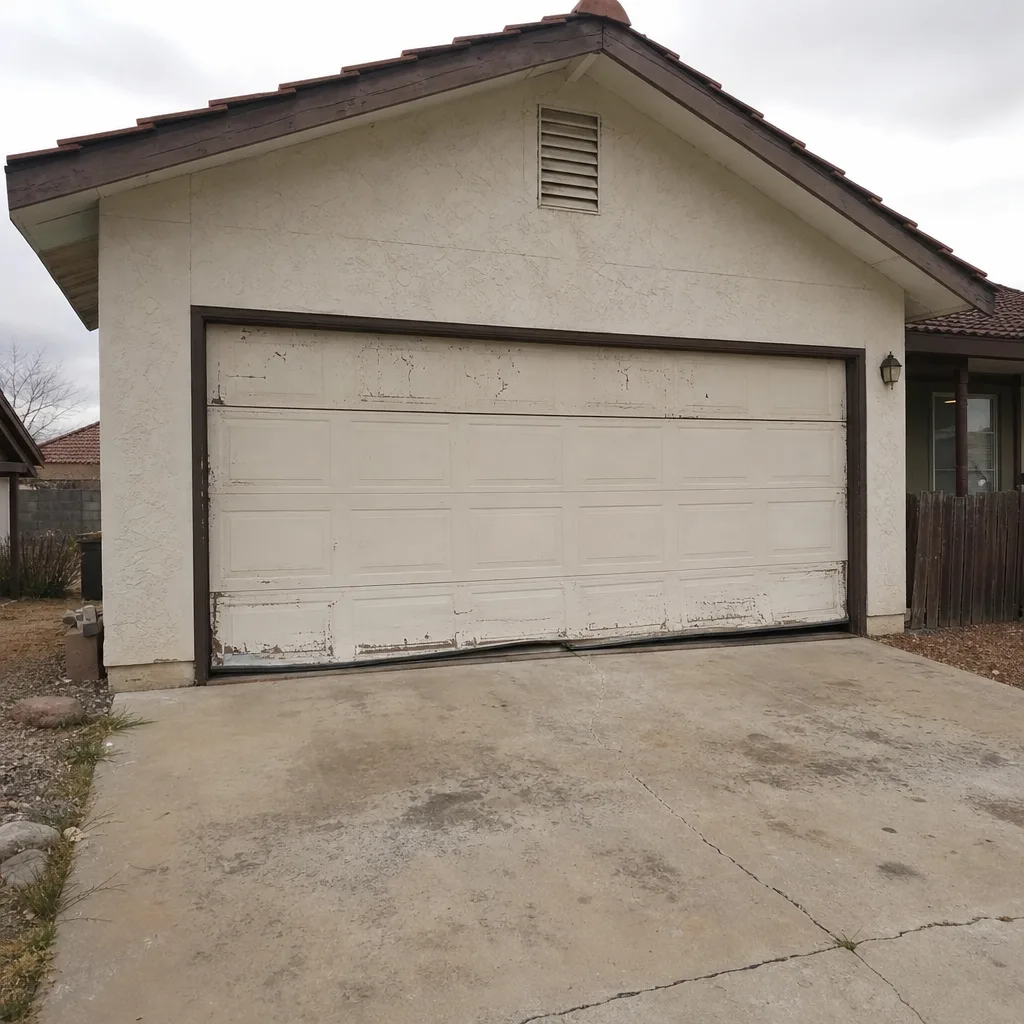
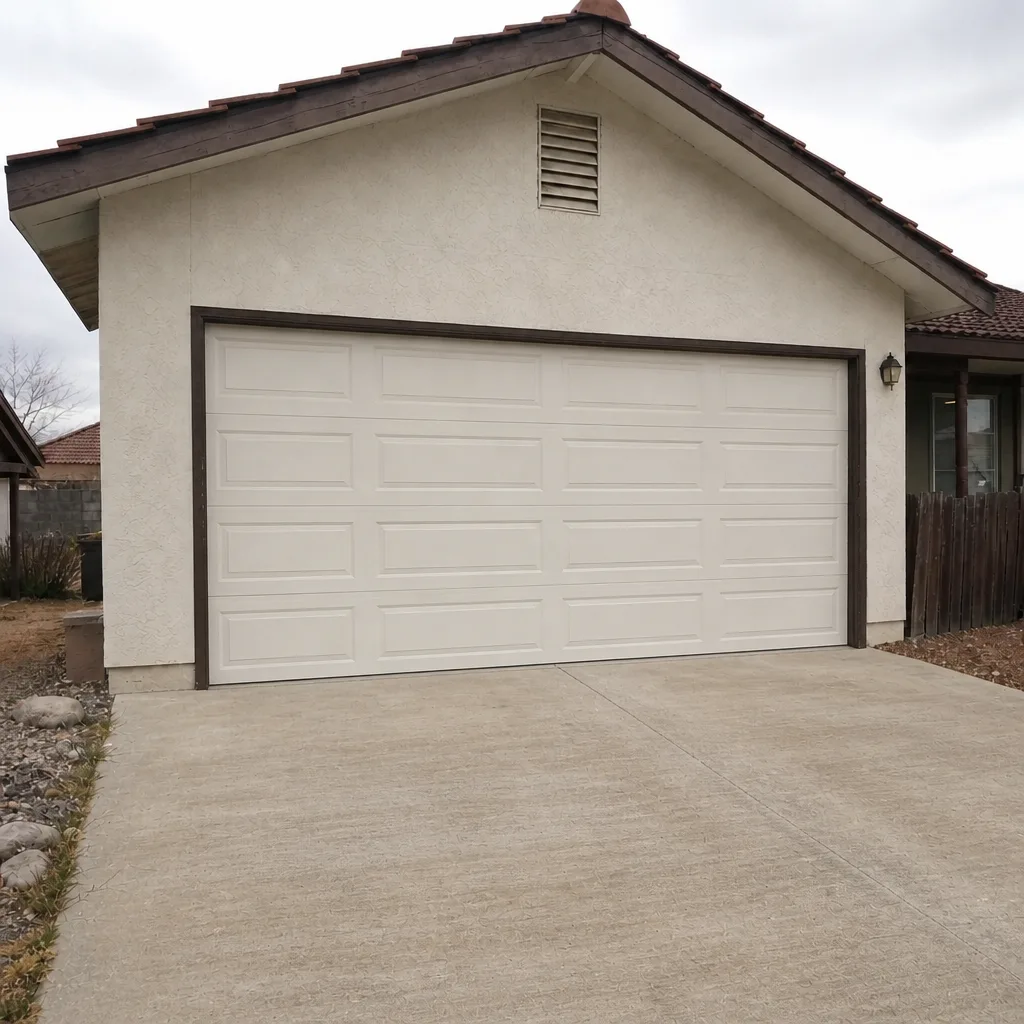
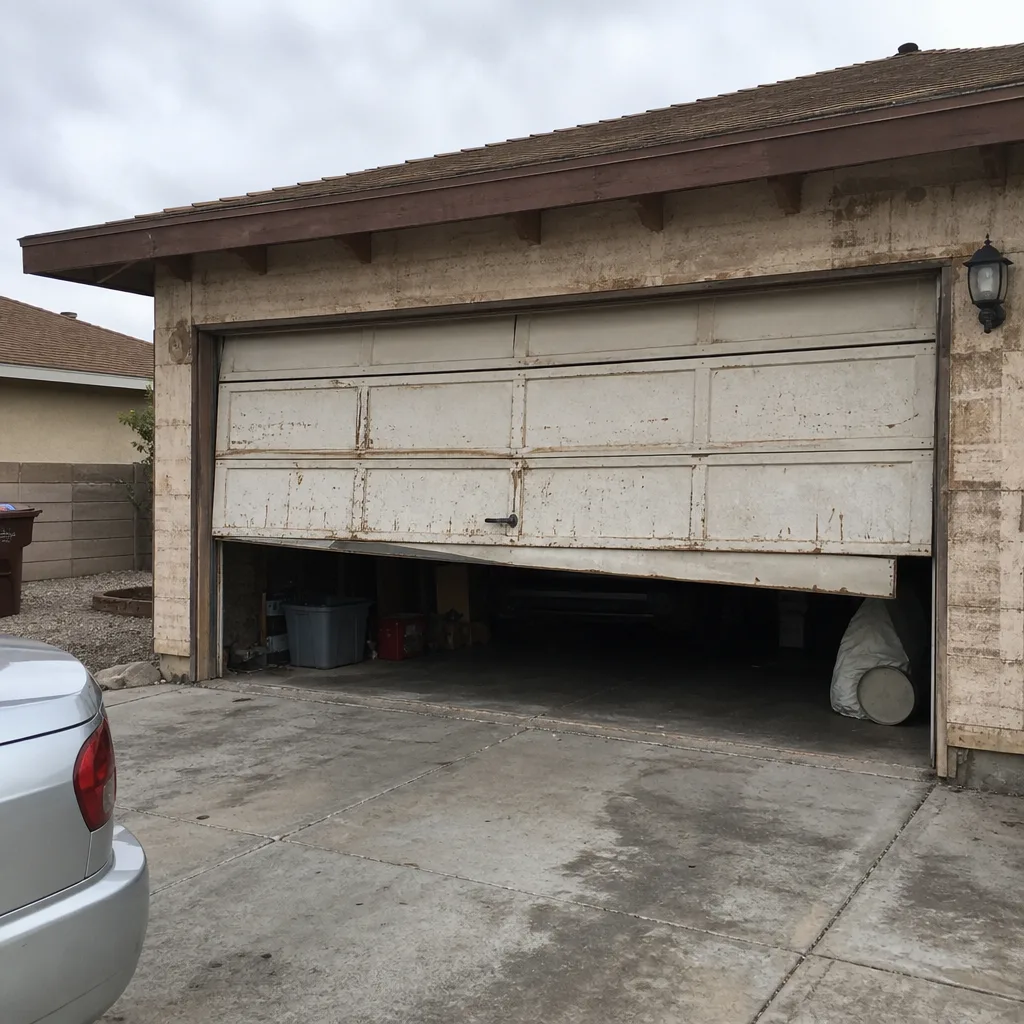
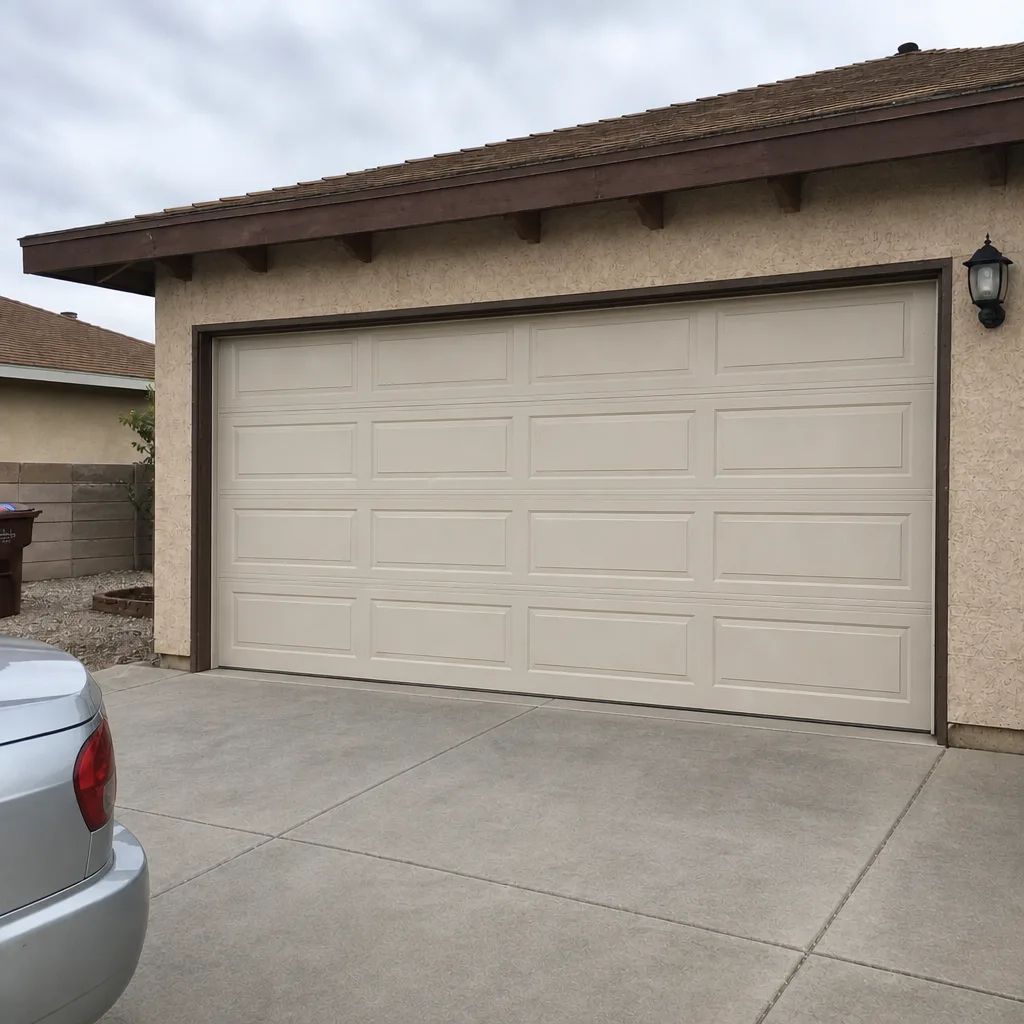
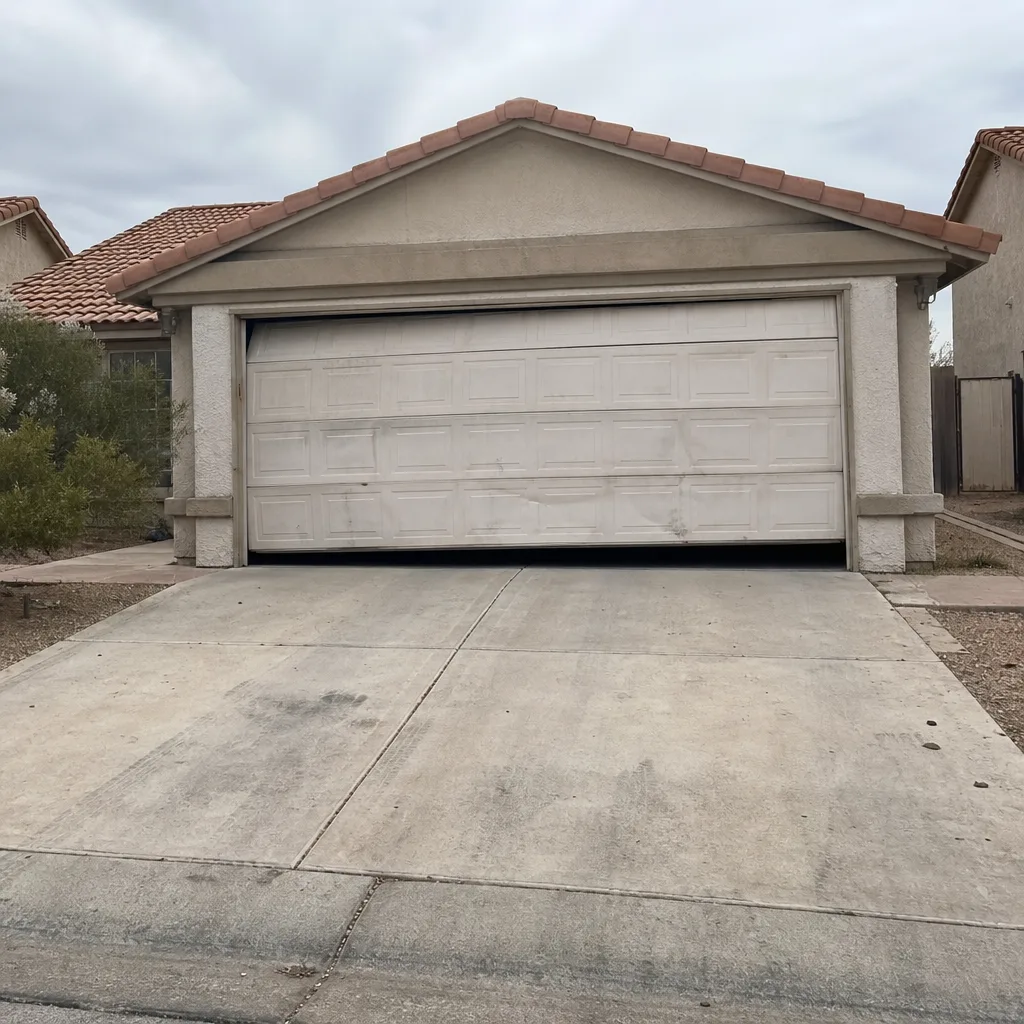
See the difference
 Before
 After
 Before
 After
 Before
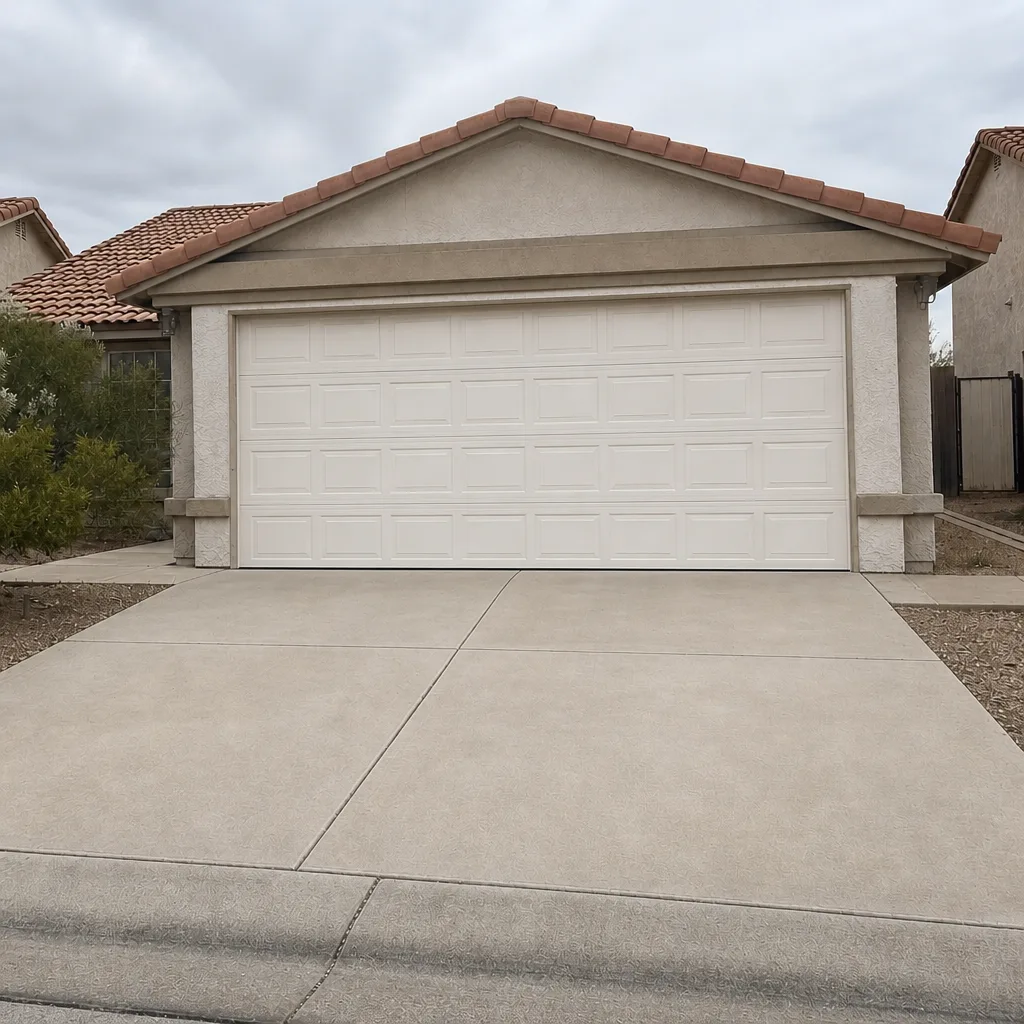 After
When to Call a Professional
Some of this schedule is fair game for a careful homeowner. Some isn’t. Call a professional the moment you suspect the torsion spring (never touch it yourself; the tension can be lethal), the cables look frayed or kinked, the door binds in one track position, or the opener runs but the door doesn’t move. Those are repair signals, not maintenance signals. A new door that won’t balance in month one is also worth a pro’s eye; that’s often a spring or track adjustment rather than a homeowner task. Bramwell Garage Door Repair Boulder City offers free estimates in Boulder City, with a written price before any work begins. Call (844) 560-4479 to schedule. The Kingswell Guarantee backs every repair, and our technicians have up to 25 years of experience.
Frequently Asked Questions
Schedule four checkpoints in the first year (30 days, 90 days, 6 months, 12 months), then twice a year after that. The break-in checkpoints catch settling issues before they become repairs, and the twice-yearly rhythm keeps springs and rollers healthy over the long run.
Yes. New hardware loses roughly 30% of initial bolt torque in the first 90 days as components seat. A hand-check at 30 days and a socket-set tighten at 90 days prevent far more expensive problems later. If a bolt won’t stay tight after a normal snug, call a technician to look at the surround.
Factory panel finishes on most brands, including Amarr and Raynor, carry a warranty against defects like blistering and peeling. Bubbling along a bottom edge or peeling at seam cutouts is a defect; even color fade from sun exposure is usually not. Report any visible finish defect during the first-summer check and keep dated photos.
Most routine maintenance visits run $100 to $200 depending on door type and what gets lubricated and adjusted. A preventive tune-up that catches a failing spring early saves far more than that against emergency repairs. Call (844) 560-4479 for an exact quote; estimates are free.
Yes. If you’re within the first 12 months of a new installation and want a trained eye on the break-in checkpoints, call us to schedule. Arrival windows are confirmed when you book, and the price is written before any work starts. Estimates are free; call (844) 560-4479.
Skipping the first-year checkpoints entirely. The 30-day and 90-day visits catch settling issues when they’re cheapest to fix. Miss those and a loose hinge in month two can wallow out a track bracket by month eight, turning a small tightening into a real repair. A short call now saves a longer one later.
The Bottom Line
The first year after a new garage door goes in is the maintenance window that matters most, and it’s the one most installation manuals skip. Bolt torque drops, lubricants need to distribute, and panel finishes face their first Boulder City summer. Stay on the four checkpoints (30 days, 90 days, 6 months, 12 months), use silicone for the break-in lubrication, then switch to a proper door grease after, and keep an eye on finish defects while they’re still under warranty. After year one, move to a spring-and-fall schedule and you’re set. If a repair comes up along the way, or you want a trained eye on the break-in inspection, Bramwell Garage Door Repair Boulder City is here to help. Call (844) 560-4479 for a free estimate. A live person answers, day or night, and we’ll show up in the window we promised with a written price before any work begins.
Written by the team at Bramwell Garage Door Repair Boulder City.