
Last updated November 18, 2026
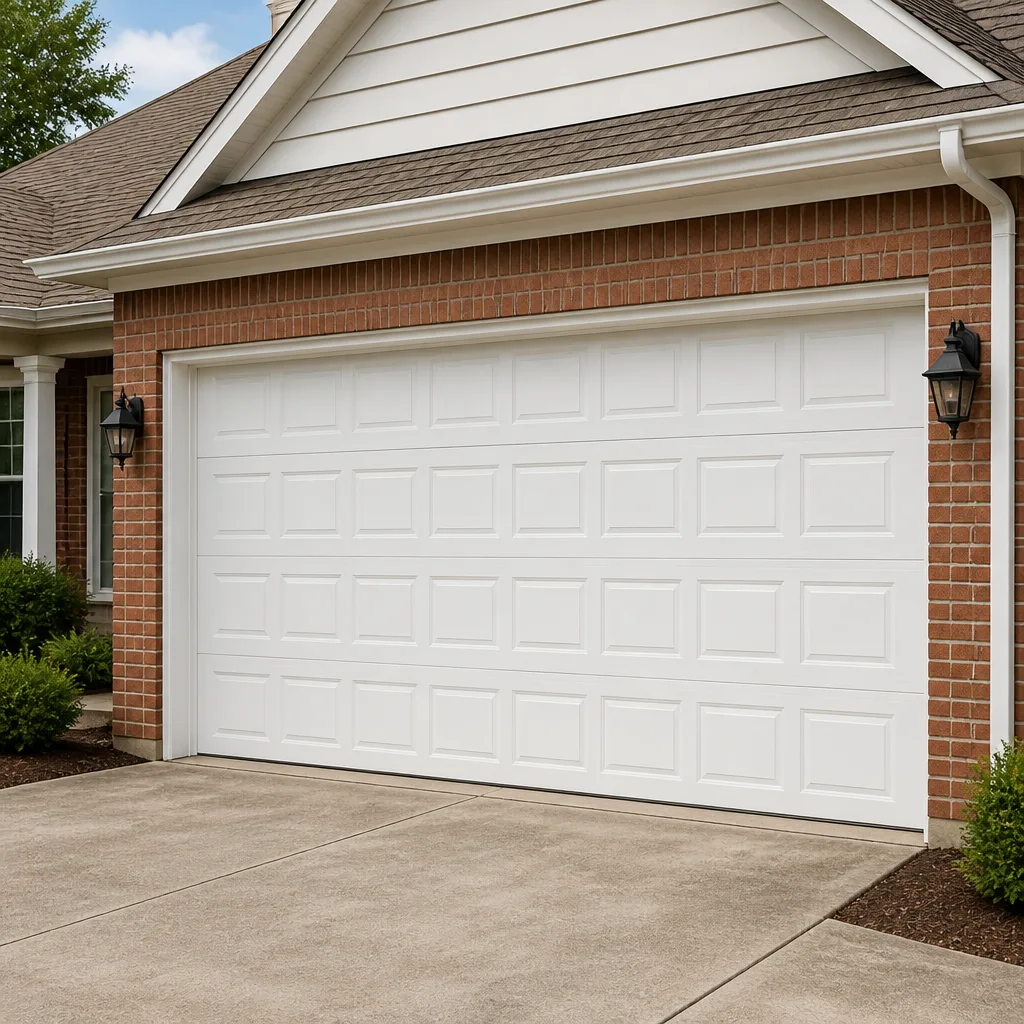 Raised-panel steel
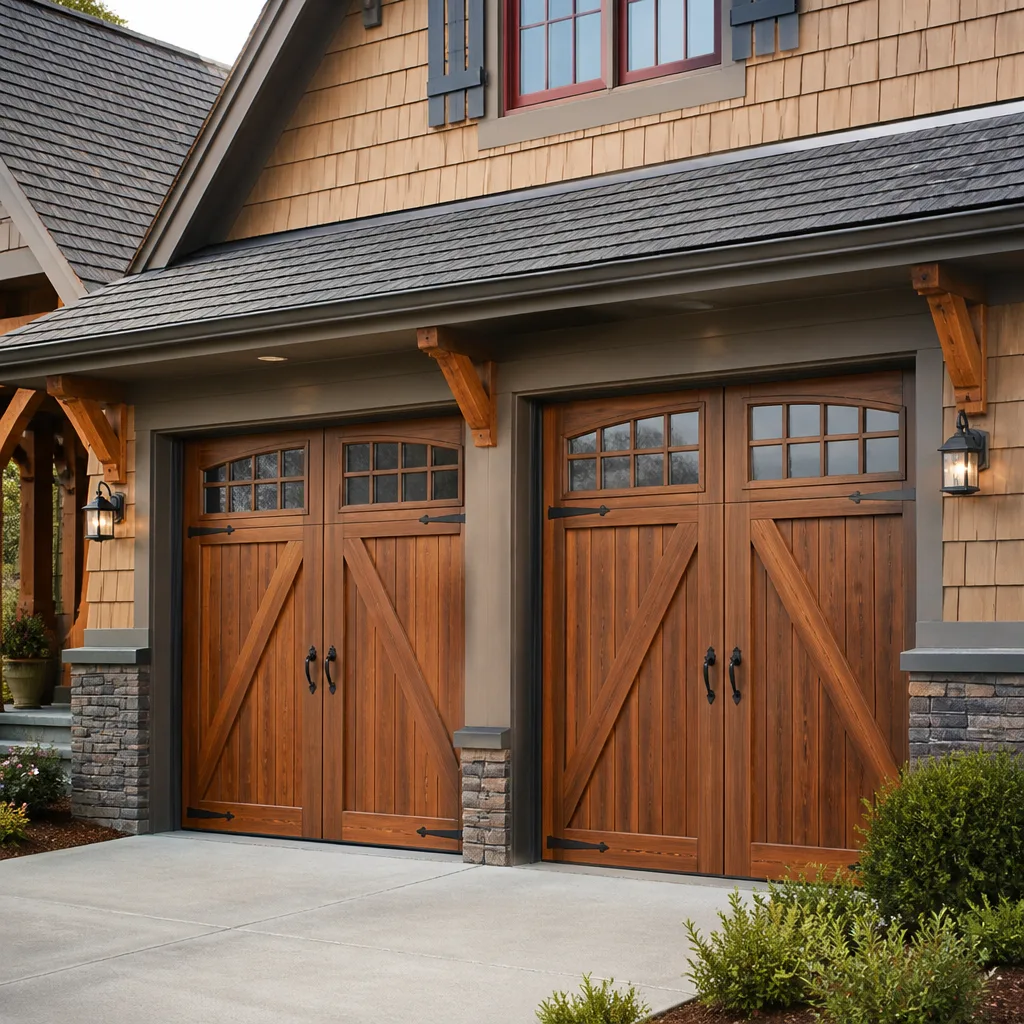 Carriage house
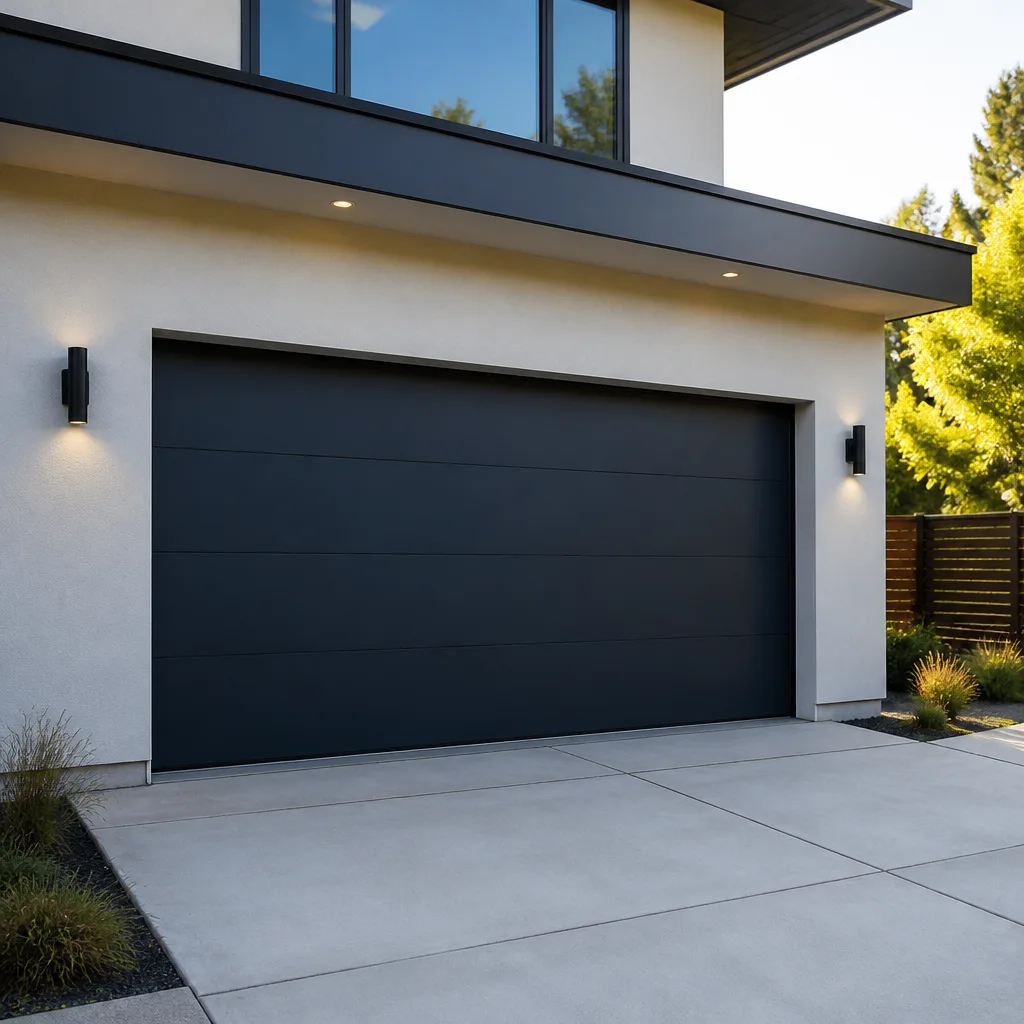 Modern flush
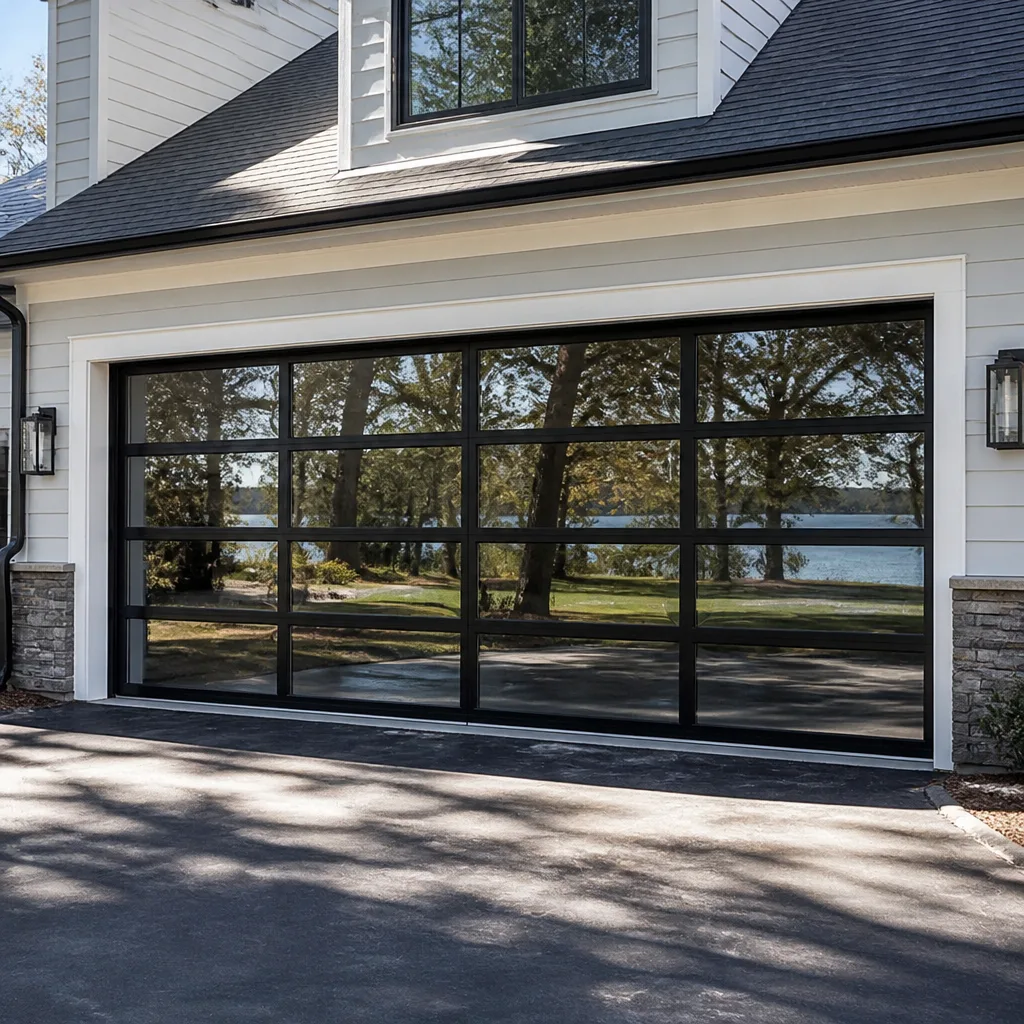 Full-view glass
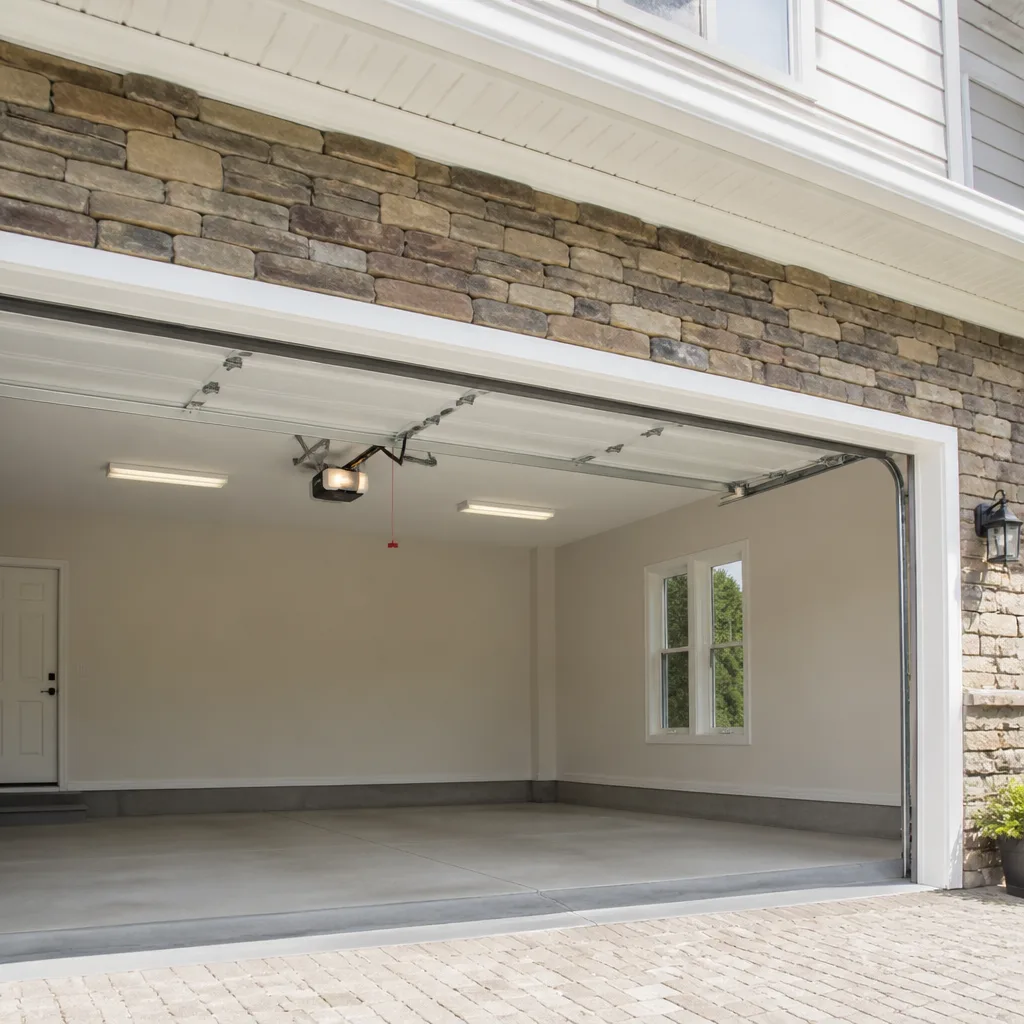 LiftMaster openers
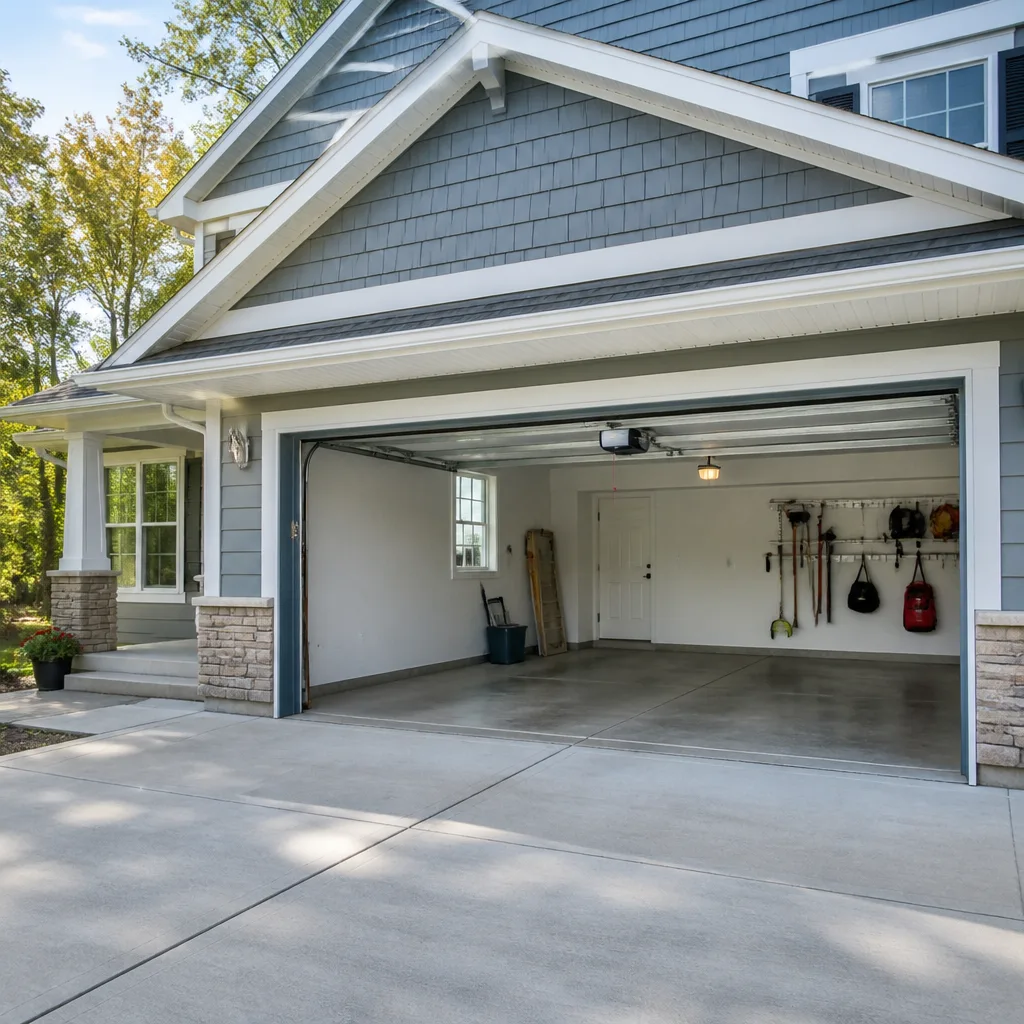 Chamberlain openers
Full 25-point door and opener safety check with every visit - springs, cables, rollers, tracks, and your LiftMaster or Chamberlain opener included
You get a price before we start. It does not change when the pro arrives.
Get your free estimateDIY vs Professional Garage Door Installation: What’s Safe to Do Yourself
A garage door installed with a badly tensioned torsion spring usually doesn’t fail on the first cycle. It works fine, then fine again, for a few weeks. Meanwhile the cable drums take on stress they were never designed to carry, and when the cable finally snaps, it tends to happen mid-travel with the door partway up and the full weight of the panels hanging on what’s left. That delay is what makes garage door work so easy to underestimate. The mistake doesn’t announce itself.
This guide draws the line for you: which steps a careful homeowner can genuinely handle in Boulder City, which steps need calibrated tools and load calculations, and what each approach really costs once corrections are factored in.
Quick Answer
You can safely replace a garage door opener, re-engage a trolley, adjust travel limits, lubricate moving parts, and replace rollers, hinges, and weather seals yourself. You should never touch the torsion spring, the cables, or the drums, and hanging a new door on an existing track is more dangerous than it looks. In Boulder City’s wind, header bracket anchoring and spring tensioning are the two steps where a DIY error turns into a structural hazard, so those belong to a trained professional.
Styles & brands we work with
- Raised-panel steel
- Carriage house
- Modern flush
- Full-view glass
- LiftMaster openers
- Chamberlain openers
Table of Contents
- Where the line actually sits: DIY vs professional garage door installation
- What’s genuinely safe to do yourself
- The steps that require calibrated tools and load calculations
- Header brackets, anchoring, and Boulder City’s wind load
- Cost comparison: full DIY, partial DIY, and professional installation
- What the manufacturer warranty says about DIY installation
- Three checks to confirm a professional install was done right
Where the line actually sits: DIY vs professional garage door installation
The interesting thing about garage doors is that most of the installation is mechanical assembly. You bolt panels together, you set hinges, you slide rollers into tracks. A reasonably handy homeowner can do that. The line falls where the assembly stops being a matter of fit and becomes a matter of stored energy.
A torsion spring – the heavy coil mounted above the door that carries most of the door’s lifting weight – holds enough stored force to throw a person across a garage if it releases wrong. Cables under tension can cut through a hand. Those parts are not “advanced DIY.” They’re a different category entirely. That’s why our own technicians treat spring work with the same caution every visit, and why you’ll see professional spring tools on a job that starts with “just replacing a roller.”
In our experience working in Boulder City, the split breaks down like this:
- Safe for careful homeowners: opener installation on an existing door, roller and hinge replacement, weather seal replacement, track debris cleanup, remote and wall-panel programming, limit switch adjustment.
- Borderline: full track replacement on an existing door where the spring is already balanced, though most homeowners should still watch this done once before trying it.
- Professional only: torsion spring installation and tensioning, cable and drum replacement, header bracket anchoring on a new door, bottom-bracket reattachment (the bracket is under spring tension), and full new-door installation.
If your existing door is worn and you’re weighing repair against replacement, our Garage Door Repair in Boulder City page covers the honest math on that decision.
What’s genuinely safe to do yourself
Plenty of it, actually. Since the Kingswell standard exists partly because so many people called us after a failed DIY repair, we’d rather you handle the safe work confidently and leave the rest alone.
Here’s what we’d do ourselves in our own garages:
- Replace the opener. A LiftMaster or Chamberlain opener with a belt or chain drive installs against an existing door in a few hours. Follow the manual, mount the rail, hang the unit, connect the trolley, program the remotes. The one thing to get right is the safety reversal test at the end – every operator manual has it.
- Swap rollers and hinges. Worn nylon rollers are the most common cause of a door that shudders. With the door fully open and springs relaxed, rollers slide out of their hinges with a screwdriver.
- Adjust travel limits. If your door stops short or reverses on its own, the limit screws on the opener’s control panel usually fix it in five minutes.
- Replace weather seals and bottom rubber. In Boulder City, the desert sun hardens bottom seals faster than most climates. A cracked seal is a dust and pest problem, not a safety problem.
- Lubricate. A silicone-based lubricant on hinges, rollers, and the torsion spring’s coils (sprayed lightly, not soaked) quiets most noise.
One rule applies throughout: never reach under a door that’s running. And never disable the photo-eye sensors, even temporarily. They’re what stops the door from crushing an object or a person.
The steps that require calibrated tools and load calculations
This section is deliberately written as “how it works” rather than “how to do it.” A torsion spring carries hundreds of pounds of stored force. The winding bars professionals use are specific tools; the lift height, number of turns, and spring wire gauge all need to match the door’s weight and width. Getting that wrong doesn’t show up as a door that won’t open. It shows up as a door that works for six weeks, then snaps a cable.
Here’s what’s involved, so you understand what you’re paying for:
- Weight calculation. Every door has a specific weight based on panel material, insulation, and width. A standard Clopay or Amarr single-car steel door weighs far less than a double-car insulated one, and the spring has to be wound to that weight.
- Turns and lift. The spring needs a precise number of quarter-turns based on door height and spring length. Undertensioning is more common in DIY jobs than overtensioning, and it’s often invisible until the opener starts fighting the door.
- Winding bars. These are specialized steel bars that hold the spring from unwinding while you work. Substitutes (screwdrivers, rebar) are the number one cause of DIY torsion spring injuries.
- Cable and drum work. Cables feed through the drums at each end of the shaft. They carry the counterbalance load and must be installed by a person who understands the geometry of the system.
When a spring fails, we’re called out on Garage Door Spring Repair in Boulder City far more often to fix a DIY attempt than to fix the original break.
Header brackets, anchoring, and Boulder City’s wind load
The header bracket is the piece of steel bolted into the wall above the door that holds the torsion shaft. On most installs it’s lag-bolted into a structural member – not drywall, not trim. Two things vary by location: door weight and wind load.
Boulder City sits at the edge of the Mojave, and the wind conditions here are demanding in a way flatland installs aren’t. Doors facing the open desert on the east side of town take sustained wind through spring, and the header, side brackets, and track jamb brackets all carry the resulting load. A door that’s correctly hung but under-anchored flexes in the wind. Flexing bends panels, wears rollers, and eventually cracks the welds at the bottom corners.
Structural anchoring comes down to a few requirements:
- Lag bolts sized to the door weight, not the smallest bolt in the box
- Header location at the exact height called out in the manufacturer’s manual (Clopay, Amarr, Wayne Dalton, and LiftMaster all publish this)
- Side bracket anchoring into solid framing, not fascia or trim
- Track jamb brackets plumb and level regardless of any slope in the garage floor or ceiling
Most failures we see in Boulder City trace back to a header mounted too high or bolted into trim. That’s the kind of thing that looks right when the door is down and reveals itself six months later when the door shimmies. If you’re looking at a full replacement, our Garage Door Installation in Boulder City page goes deeper into what a proper install involves here.
Cost comparison: full DIY, partial DIY, and professional installation
The dollar figures below are typical Boulder City market ranges and vary with door size, brand, and site conditions. The “correction cost” column is where DIY often loses its edge – it’s the average labor a pro bills to fix an install that didn’t work out.
- Full DIY new door (single-car steel): door and hardware $500 – $900, your labor $0, correction cost if springs or anchoring are wrong: $250 – $600
- Partial DIY (you hang the door, pro tensions the spring and sets the header): door $500 – $900, professional spring and header work $250 – $400, correction cost if the rest is off: $150 – $400
- Full professional install (single-car steel): $1,200 – $2,000, parts and labor included, correction cost: $0 because it’s covered
- Full professional install (double-car insulated, Clopay or similar): $2,200 – $3,800 depending on design and insulation
Read those numbers honestly and the DIY path saves real money but leaves a meaningful slice of risk exposed. Add a snapped cable, a bent panel, or a door that won’t close flat and the gap narrows fast. Factor in one emergency call-out and full DIY on the average job costs more than hiring it done right. Every Bramwell location provides a written price before any work starts, under the Kingswell Guarantee, so the number a homeowner hears is the number on the invoice. It’s a fair way for anyone to compare the real cost of a DIY install against a quote.
What the manufacturer warranty says about DIY installation
This is the part most comparisons skip. Every major manufacturer – LiftMaster on openers, Clopay, Amarr, Wayne Dalton, and Chamberlain on doors – warrants its products, but nearly all of them condition that warranty on proper installation. Some go further and explicitly require a qualified installer for coverage to remain intact.
What that means in practice:
- Year one: failures from manufacturing defects are rare. Most DI Y install issues surface between month six and month eighteen.
- Year two and three: this is where a warranty denial bites. A sagging panel that traces back to a crooked track or undersized anchor bolts is a “misuse” claim, not a defect claim.
- Opener warranties: LiftMaster and Chamberlain typically cover the motor far longer than the accessories, and frequently require mounting per the manual. A warped rail from improvised mounting hardware isn’t covered.
Keep your receipt whether you install it yourself or hire it done, and if you hire a professional installer, keep the install paperwork with the door warranty. A properly installed door is a warranty that stays alive for the full term.
Three checks to confirm a professional install was done right
Whether you hire us or anyone else in Boulder City, here’s how to confirm a good install while it’s fresh. Do these checks the day the installer leaves, not two months later.
- The balance test. Disconnect the opener (pull the red release cord). Lift the door to halfway and let go. A properly balanced door stays put. If it falls, the spring tension is wrong and the installer needs to return.
- The safety reversal test. With the door on the opener, place a two-by-four flat under the door’s path and close the door. It should reverse on contact. Do the same with the photo-eye sensors by waving a hand between them while the door is closing – it should reverse immediately.
- The sight line. Look at the door from directly underneath while it’s at chest height. The bottom edge should be level, and the gap on each side of the door should be equal. Uneven gaps mean a crooked track or an off-level install.
Any of these failing means the job isn’t done. That’s the standard every Bramwell location works to, and the 365-Day Done Right Promise exists so a homeowner isn’t the one chasing a fix. If it fails inside the guarantee period, the location comes back and corrects it at no charge.
Common Mistakes to Avoid
- Winding a torsion spring with improvised tools. Screwdrivers and rebar don’t hold against a spring under load. This is the single most common serious garage door injury, and it happens in seconds.
- Loosening the bottom bracket. The bottom bracket holds the cable that the spring is tensioning. Loosening it, even “just to look,” releases stored force. Leave it alone.
- Anchoring the header into trim. In Boulder City wind, a header lagged into wood trim instead of structural framing will pull loose. Check for solid framing before drilling a single hole.
- Skipping the safety reversal test. A door that closes without reversing is a door that can crush. The two-minute test protects every person and pet in the house.
- Mixing brands on the opener and door. A Genie or LiftMaster opener paired with mismatched hardware often runs the door past its limits. Match opener, door, and hardware to avoid travel-limit problems.
- Installing new panels on old tracks. Old tracks, tuned to a sagging door’s wear pattern, don’t align with a new door. The panels flex and the rollers fight. Replace tracks with the door.
- Disabling photo-eye sensors. Sunlight in Boulder City frequently trips mis-aimed sensors. Aim them – don’t disable them.
See the difference
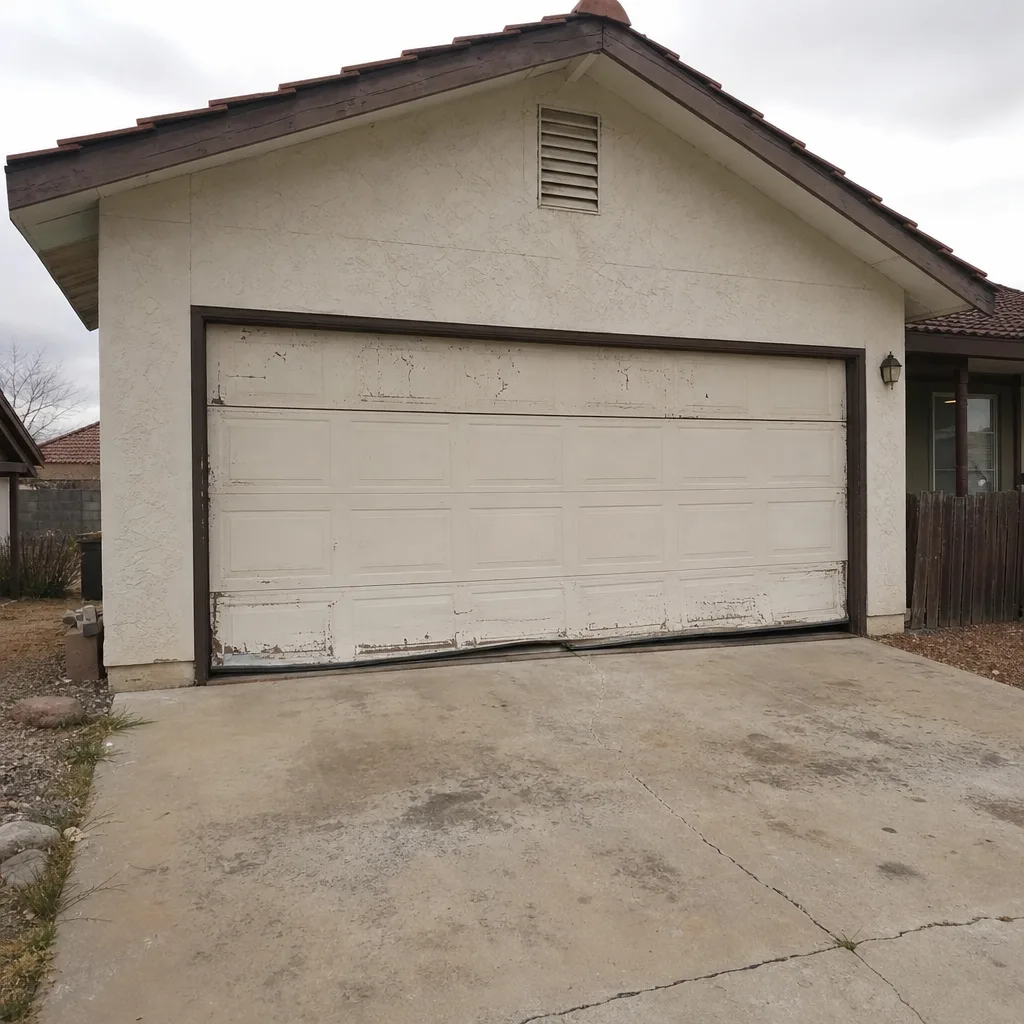 Before
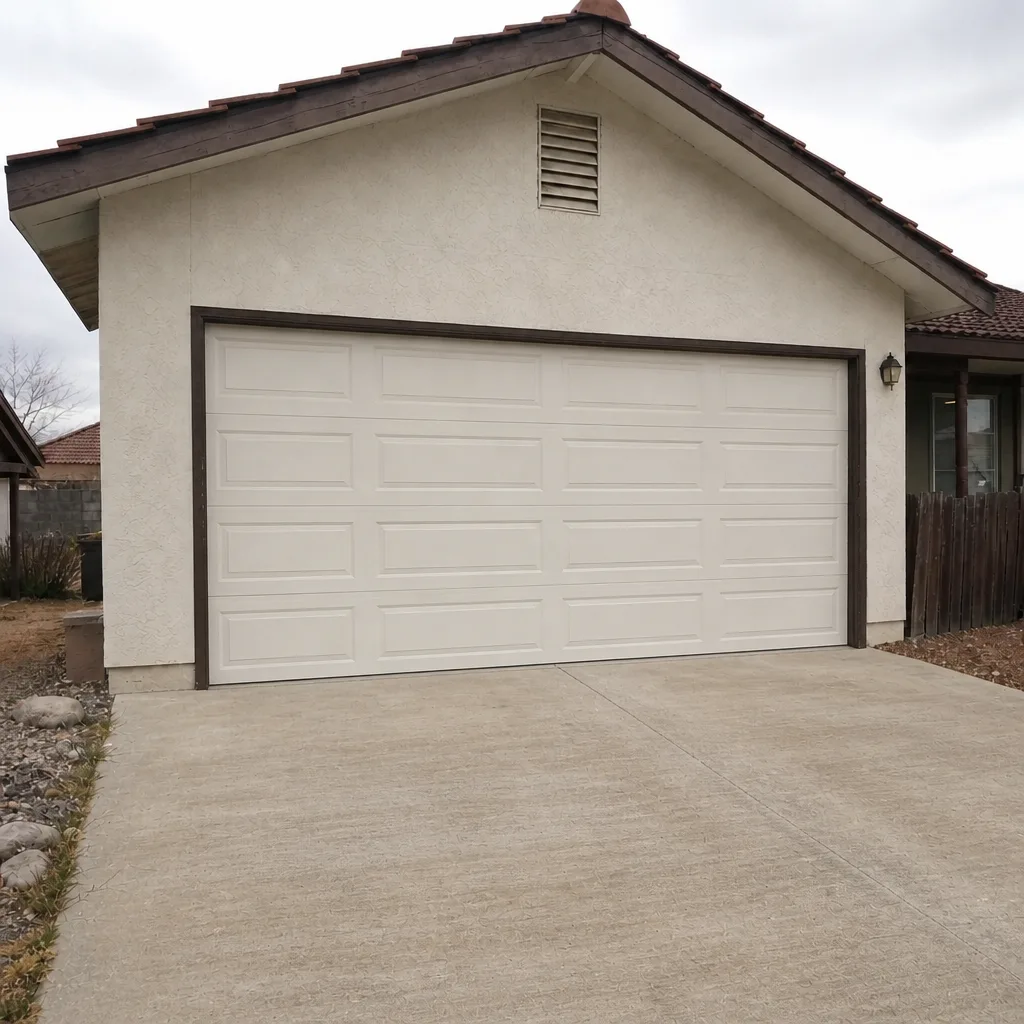 After
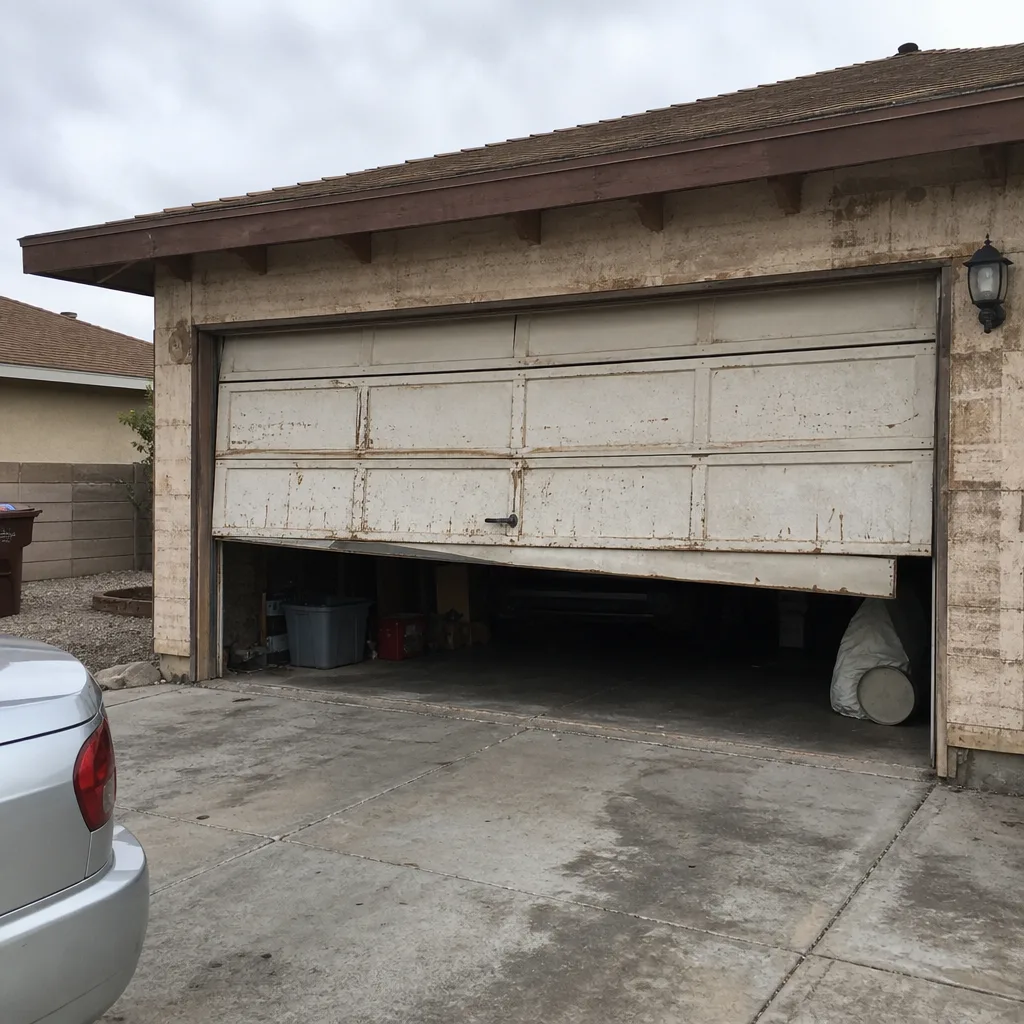 Before
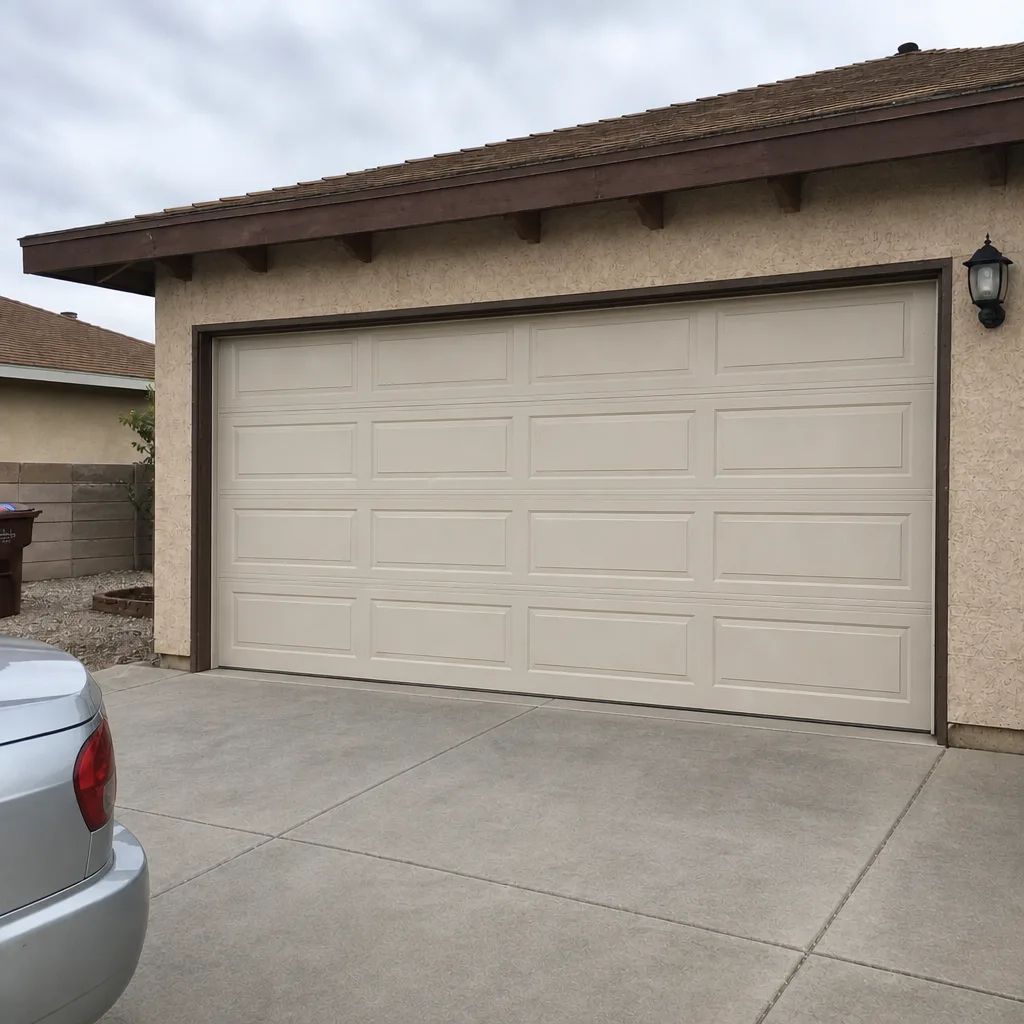 After
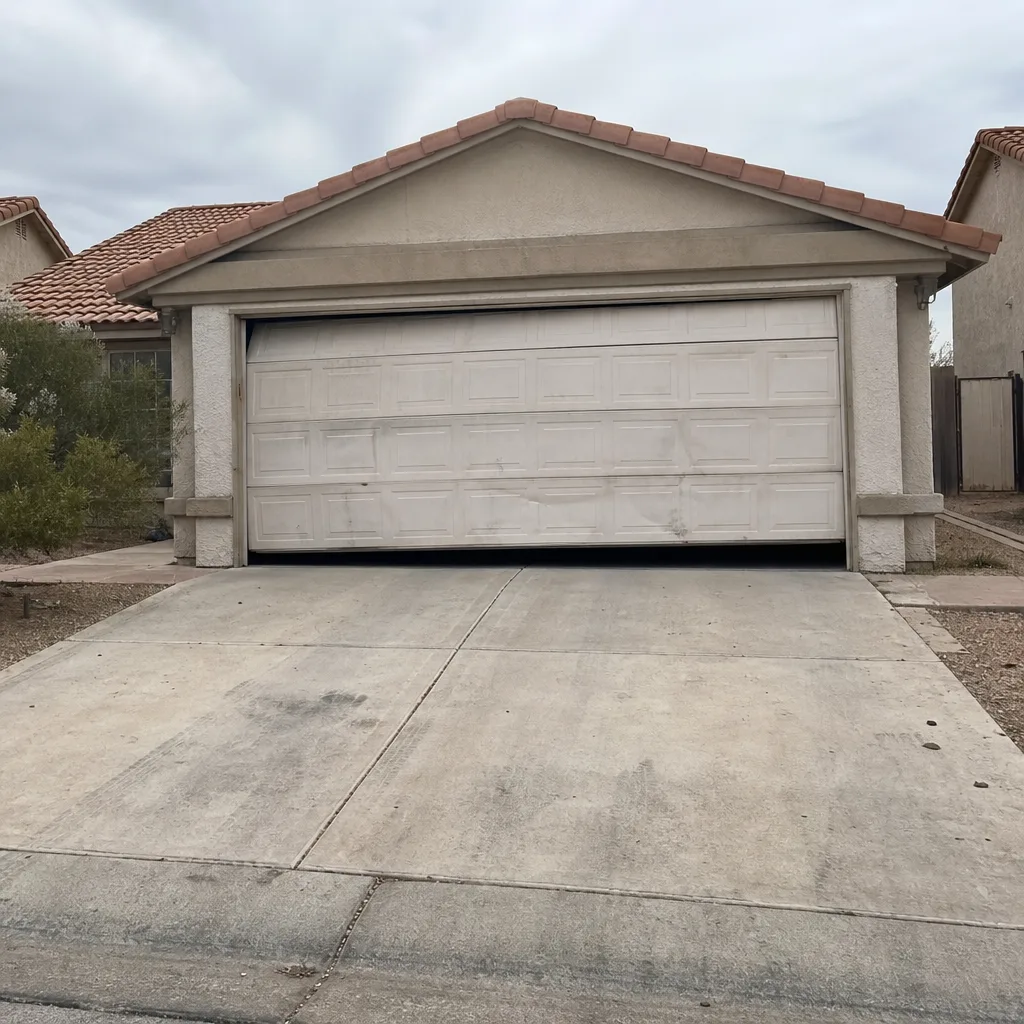 Before
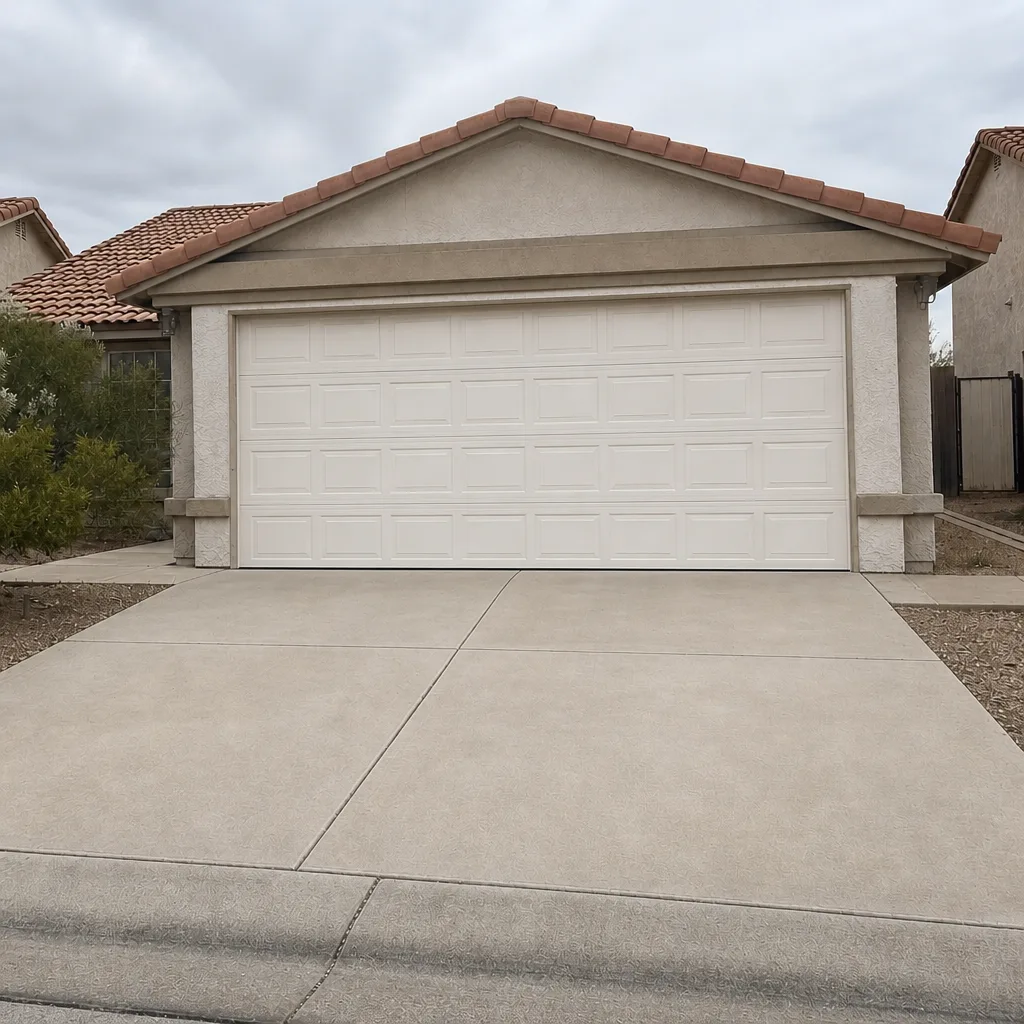 After
When to Call a Professional
Call a professional for anything involving the torsion spring, cables, drums, bottom bracket, or header anchoring on a new door. Call for anything where the door is visibly out of level or binding, anything where you’re unsure of the door’s weight, and anything on a two-car or insulated door where the load calculation matters more. Call for any install where the manufacturer warranty will be relevant – which is every install. And call for full new-door installs on any door wide enough that you’d need two people just to lift it.
Bramwell Garage Door Repair Boulder City offers free estimates in Boulder City – call (844) 560-4479. A live person answers the phone 24 hours a day, 7 days a week, and the written price arrives before any work starts.
Frequently Asked Questions
It’s safe for parts of the job, not all of it. You can safely handle opener installation, roller and hinge replacement, weather seals, and limit adjustments. You should not install or tension the torsion spring, work on the cables, or anchor a new header bracket without professional experience. Boulder City’s wind load makes header anchoring and side bracket work particularly important to get right.
Most single-car steel door installations in Boulder City run $1,200 – $2,000, parts and labor included. Double-car insulated doors typically run $2,200 – $3,800 depending on design, brand, and insulation. The written price is presented before any work starts, and any Bramwell location will provide a free estimate. Call (844) 560-4479 for an exact figure on your door – estimates are free.
It can, depending on the manufacturer and the failure. Most warranty claims are denied when the failure traces to improper installation, undersized anchoring, or incorrect spring tensioning. Manufacturer warranties on LiftMaster, Chamberlain, Clopay, and Amarr doors and openers nearly all condition coverage on proper installation. Keep the install paperwork with your warranty documents either way.
Hand and wrist injuries from torsion spring winding accidents, followed by back injuries from attempting to lift a door panel that’s heavier than expected. Both happen during install, not during ordinary use. Bottom-bracket release is a third common cause because the bracket sits under spring tension even when the door looks at rest.
Yes. Replacing an existing opener with a new LiftMaster, Chamberlain, or Genie unit is a reasonable DIY project if the door itself is balanced and moving freely. Follow the manual exactly for header mounting and travel limits, and always finish with the safety reversal test. If the door isn’t balanced, fix that first.
Run three checks the day the installer leaves. Disconnect the opener and confirm the door stays put at halfway (balance test). Place a two-by-four under the door and close it – it should reverse on contact (reversal test). Then sight the bottom edge of the door while it’s at chest height to confirm the gaps on both sides are equal. If any of the three fails, the job isn’t done.
The Bottom Line
The line between DIY and professional garage door installation falls at the torsion spring and header bracket. Everything else – openers, rollers, hinges, weather seals, limit adjustments – you can reasonably do yourself. Do the spring, cables, drums, and any new-door header work professionally, because those carry stored energy and structural load that go wrong slowly and then suddenly. In Boulder City’s wind, that margin matters more than it does in most places. If your door needs the careful work, call the team at Bramwell Garage Door Repair Boulder City at (844) 560-4479 for a free estimate – written before any work starts.
Written by the team at Bramwell Garage Door Repair Boulder City.